Lodgepole pine DNA extractions
If you’ve read any of my previous posts, you may be aware that I have a truck-load of lodgepole pine samples collected last summer that are destined for SNP genotyping in the near future. I am close to wrapping up all of my DNA extractions (fingers crossed) for sending out, and because I tinkered a bit with the standard extraction protocol, I thought I’d discuss it here. Before I get there though, I have to give huge, gigantic, endless thanks to Kristin Nurkowski and Robin Mellway for all of their help. Most of these adjustments are a direct result of their insight and suggestions. They also taught me the standard protocol, how to use the lab’s robot, and saw me through lots and lots of troubleshooting.
To start at the beginning, I have needle samples collected on silica gel. In the field, my assistants and I tried to take the freshest tissue possible (new needle growth at branch ends), which was then kept on silica gel in coin envelopes within sealed ziplocs. When it was not possible to collect new needles, older ones were taken, and we even sampled some clearly dead trees (brown needles) in the off chance they’d work and some dying trees (recently fallen tree, needles not yet brown and brittle, but clearly dead); I’ll discuss this again a bit later. My collections in the Yukon were much later in the summer, so new growth was not new anymore, and we ran into a couple rainy days here which is a real pain when storing on silica. Other notable points were that these samples then sat in tupperwares in the back of a truck for at most 2 weeks while we continued collecting, so they definitely experienced some warm temperatures, but I have seen no correlation in the time since collection and the quality of DNA.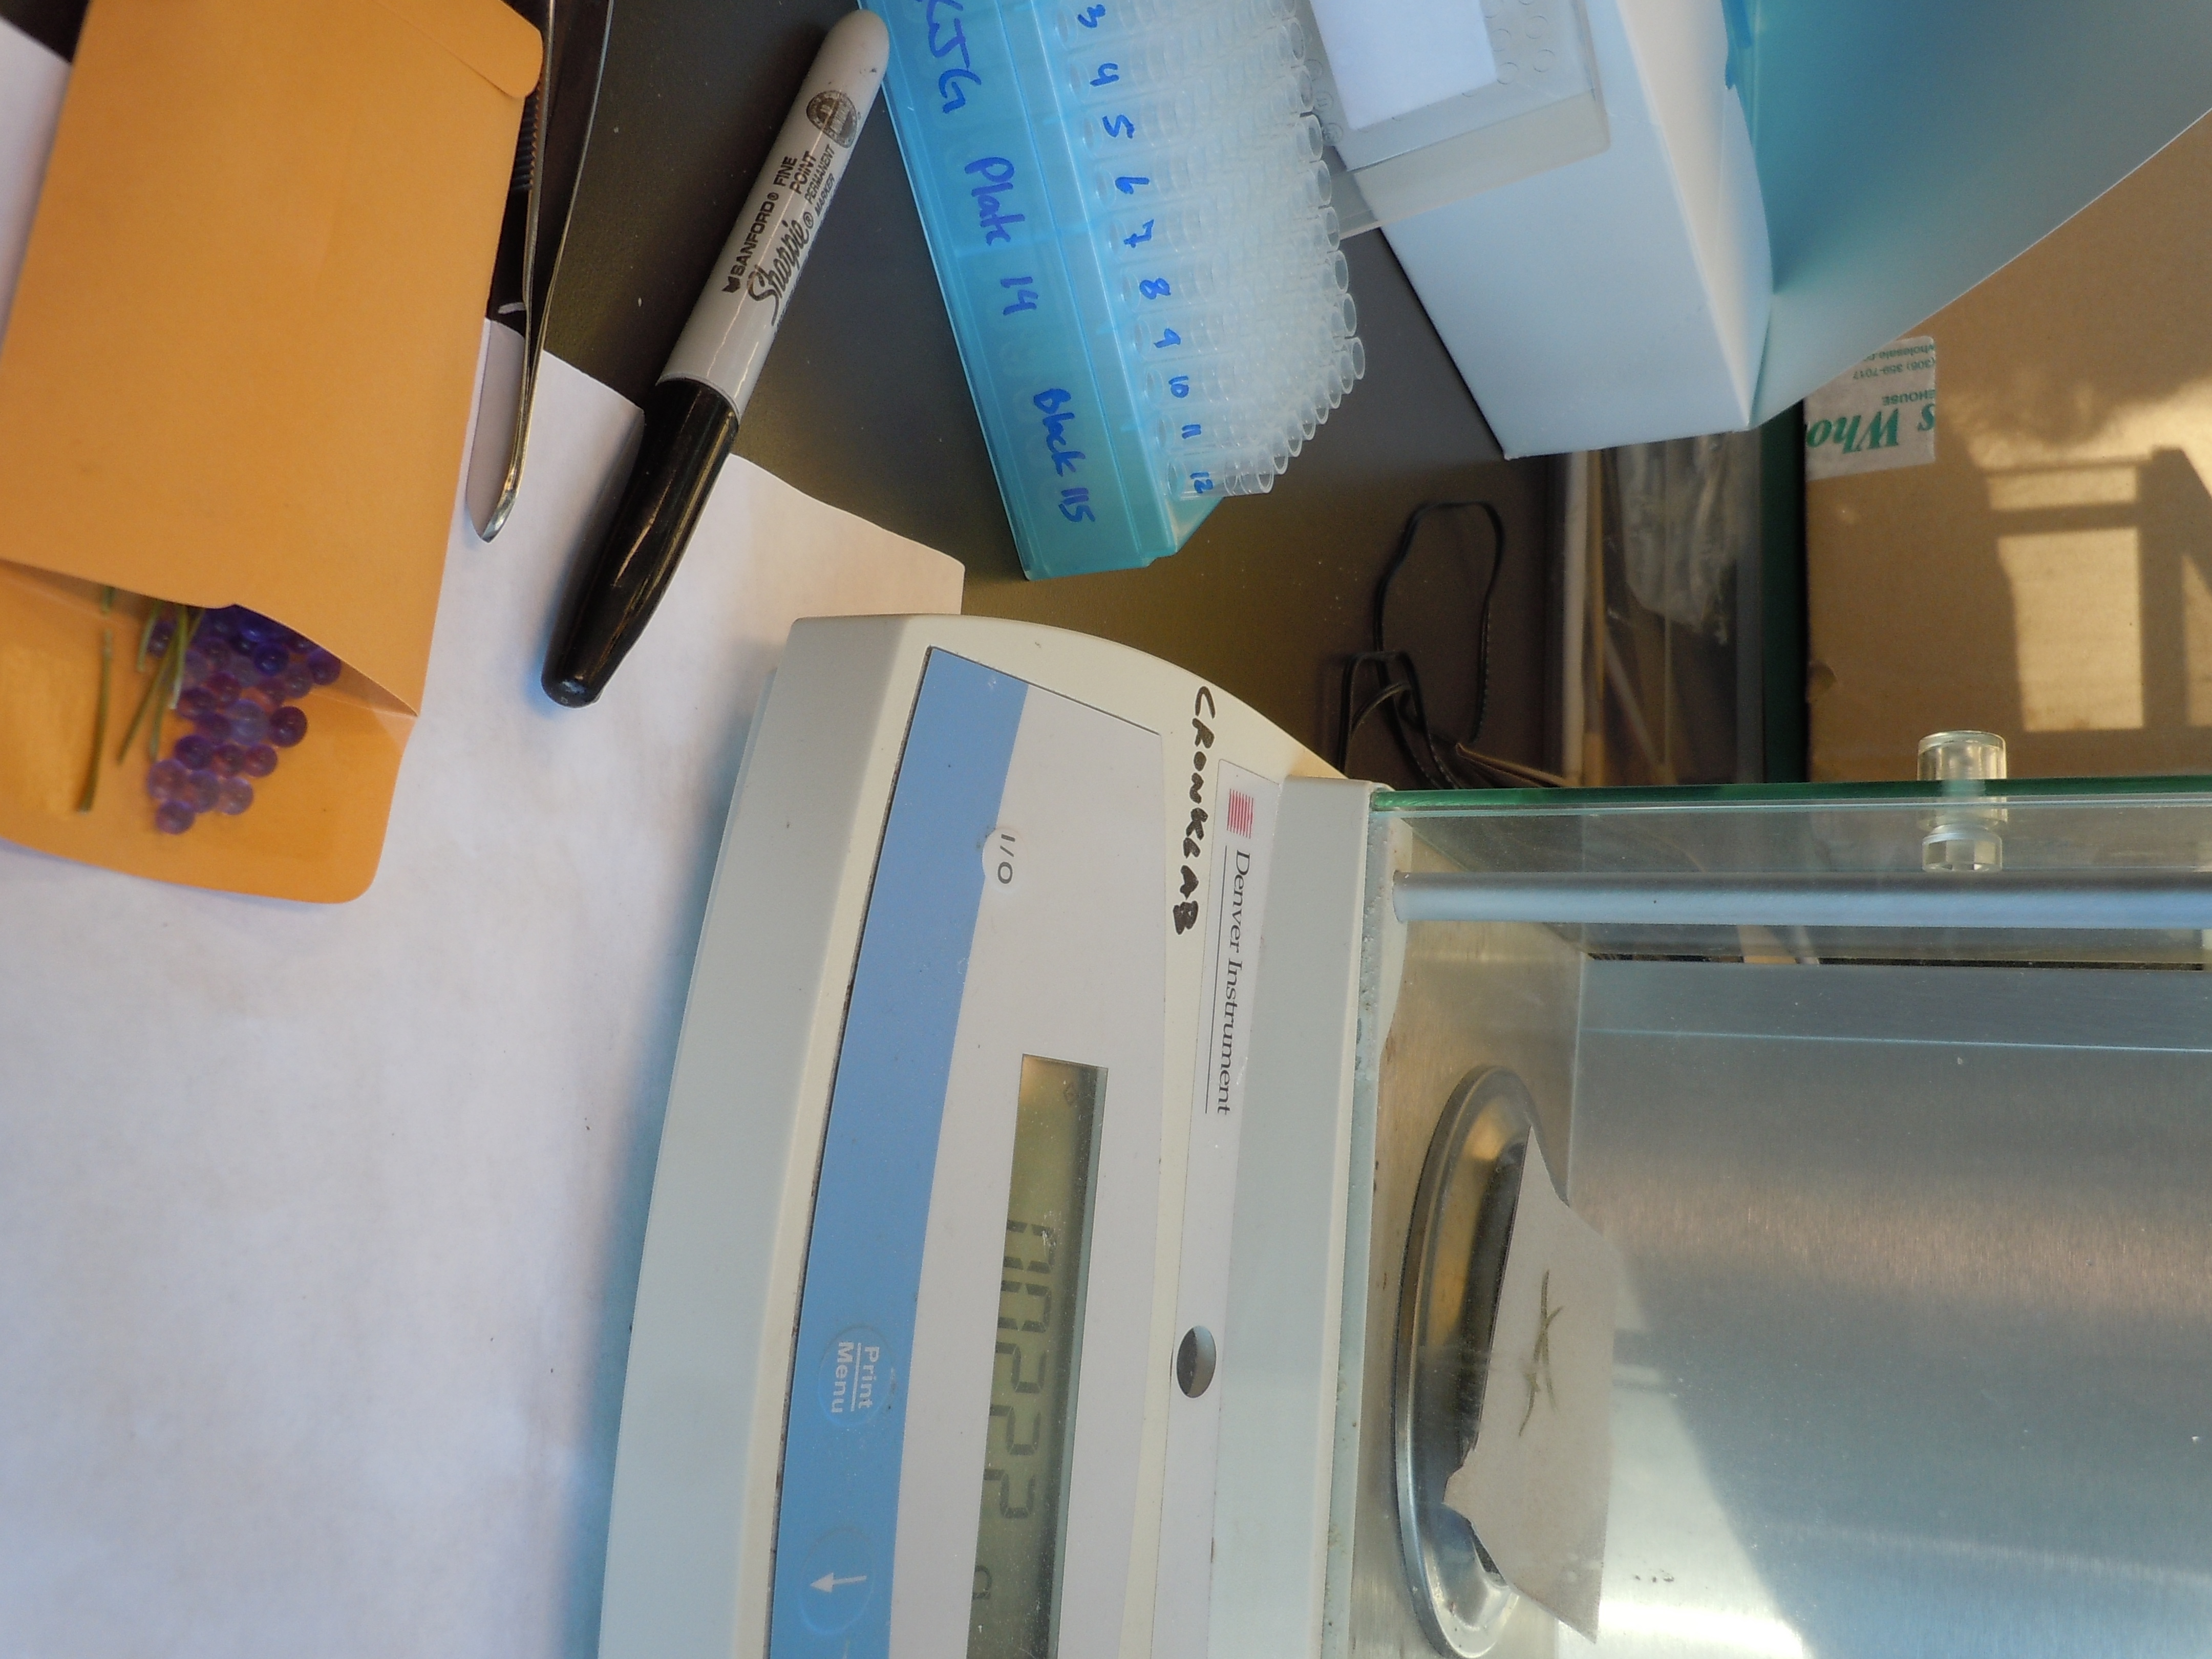
For the standard extraction, we used Machery-Nagel kits with NucleoSpin filters. These come with two different protocols using either PL1 lysis buffer or PL2 lysis buffer. From an initial test of both protocols and various weights of tissues, I found for my samples that the PL2 protocol worked better. PL1 is based on a CTAB extraction while PL2 is SDS based and has an additional step of a protein precipitation using potassium acetate (PL3). 20mg of tissue (dried) also seemed to be best, with less not giving enough DNA, and more also decreasing in yield. Presumably one could increase the amounts of buffers and reagents used per reaction relative to increase in tissue if more tissue wanted to be used, but at these volumes the filters were filled quite high with supernatant at the binding step, so eventually there is a limit. Except where I have pointed out exceptions, I followed the protocol outlined in the manual and used the volumes given, and just upped my lysis incubation to 45 minutes at 65C and my protein precipitation to 20 minutes at -20C (on ice, and in the freezer).
Initially I stuck with this protocol and it worked well. I had about 80% success per plate, which I was pleased with considering the quality of some of my tissue samples. And believe it or not, some of the dead needles we had collected yielded DNA with enough to meet the cutoff! After completing eight plates of extractions, we had some issues crop up with our robot, and then extractions after that started failing. It is unclear if it was a product of the robot or a bad set of reagents or something entirely unknown, but it was clear nothing in the protocol had changed. It was also clear that it was not alone due to the quality of samples being used as some were trees from the same sites and provenances as samples that had already worked successfully. I did a lot of troubleshooting at this point to try to get things back up and running and eventually we found that adding PVPP to the PL2 buffer got us back up to an 80% success rate.
I used a 1% PVPP buffer for a while and then increased to 2% which improved it further. Because PVPP is mainly insoluble in liquid, I didn’t see the point in increasing past this as it was clear that there was undissolved PVPP in my buffer. I added 1 gram of PVPP to 50 mL of the PL2 buffer (preheated at 65C) plus 10 ul of antifoaming agent since the PL2 is quite bubbly, and incubated this overnight at 65C with 1 mL of RNaseA being added just before starting the extraction. A shaking incubator might be nice to use here since in the water bath, a lot of the PVPP just settles at the bottom of the tube. Using the PVPP improved my 260/230 from about 1.75 on average before to 2.33 on average.
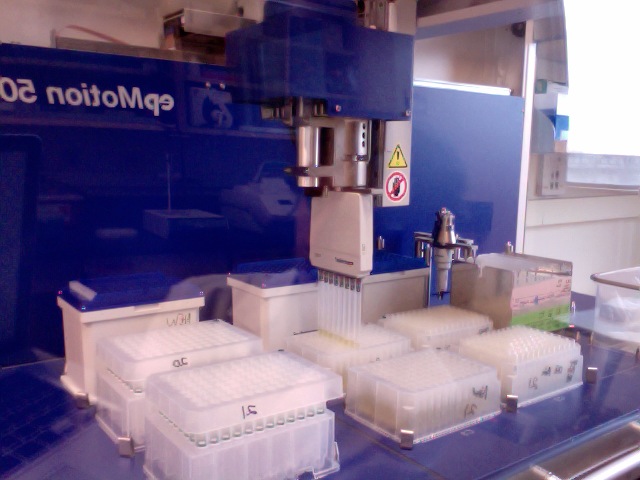
Additionally, it seemed that the second plate from each extraction was on average coming out with poorer quality — the robot can do two plates at once. The robot is not incredibly fast at pipetting, so with a second plate, it sits there a little longer than the first before it is acted upon. This can be helped in the beginning by not removing the second plate of ground tissue from the freezer until just when the robot is ready to add lysis buffer to it. Because I did not have a very large number of plates to do, I instead began single plate extractions and simply kept an old used plate, filter, and elution plate to balance the centrifuge at the necessary steps. It is worth pointing out here that this was not the most efficient route. Though I have not raced the robot, if I had had access to a multichannel pipette, it is clear that doing this protocol sans robot would have been faster and easier. The robot is by no means a requirement for this extraction protocol, but it does have the added benefit of freeing you up to do other work while it pipettes away. I have even heard that newer models of robots have arms that will move the plates around for you! And the robot will definitely be a huge help for the plate normalization step once I have all my samples.
 Some final points to make for anyone following along: from nanodropping my samples and qubiting a subset of them, most had about 40% less DNA per ul than was shown by the nanodrop, and I found no significant correlation of this with either my 260/230 or 260/280, though others in the lab have found that to be related for samples extracted from fresh, frozen tissue under the PL1 protocol, and with less of a decrease in DNA quantity between the two.
For samples that didn’t meet my cutoff criteria in terms of quality and quantity, performing the same extraction protocol a second time was successful about 60% of the time. I would speculate that the first failure in these cases was due to either the robot picking up some of the pellet with the supernatant which happened on rare occasions, or due to differences between different needles collected from the same tree.
And lastly, for those samples that did not succeed the first or second time around, it is now time to perform the more labor-intensive but hopefully cleaner and higher-yielding CTAB extraction protocol! Most of my samples that fall into this category are those I collected from the Yukon, so a product of the tissue being older and additionally not drying as quickly from the rainy day extractions. So for anyone out there planning a field season, I definitely advise lots and lots of extra silica gel and the youngest tissue possible — two already-well-known points that cannot be emphasized enough. If I have any serious alterations to the CTAB protocol, I may update this post or add another, but until then I hope that some of this information might be useful to anyone else out there working with conifers and their pesky secondary compounds!