The next demo in my mixed-media class was to add even more texture to the spackle mix by adding sand, pebbles, grit or other similar things. The trick is to mix it thoroughly, NOT just sprinkle it on top. Jeanne made up several samples of these for us to play with.
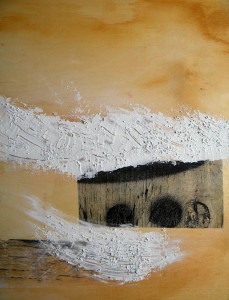
I loved the look of the pebbles in spackle and went a bit nuts scraping them with a palette knife to form streaky lines; in addition I was covered up the worst transfer, as well as the bad edges of the others. Jeanne had me smear the plaster edges into the painting, as a way of blending in the texture to the rest of the painting.
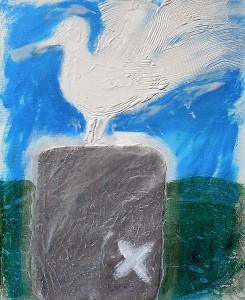
Seagull with a comb-over texture: The ‘rock’ that the seagull is standing on has had a plaster/sand mix applied, then medium, then gray paint and finally dry brush. To do ‘dry brush’ lightly apply paint to one side of the brush only, and then lightly brush over the surface to bring out the texture. As with most techniques in this class it is harder than it looks, and I haven’t yet acquired the knack.

plaster textures include a seagull with a comb over, plus a plaster/medium/sand mix on the rock, painted grey and dry-brushed with white
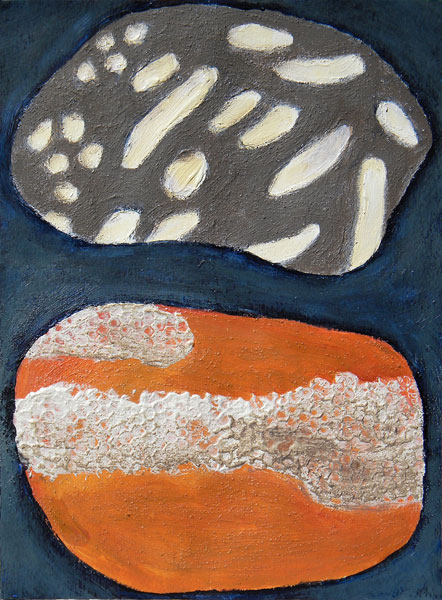
One of the students made up sheets of samples of each type of spackle mix, a great way to keep track. I decided to incorporate the various techniques I’m learning into my studies of rocks. The top rock is plain spackle (the whitish sections) and a sand/spackle mix (the gray). The bottom rock is sand/spackle mix (the rust) and very thick spackle with ex-sequin stencil pressed in (whitish bits).
The originals of these rocks as photographs/concepts: https://blogs.ubc.ca/albatz/2011/05/13/expanding-on-my-studies-of-rocks/
Our super instructor’s site: http://jeannekrabbendam.com/ On her site she has her work and offers lots of different workshops and courses.


