Section 4: Tech Tutorials
**I recommend NEVER giving children a link to YouTube’s website or app, even the kids versions. This is because YouTube’s “autoplay” and “recommended video” features lead users to unwanted content that ranges from inappropriate, to traumatizing for children. I recommend children DO NOT use YouTube’s websites or apps unsupervised. Find out more information from this Ted Talk with James Bridle from 2018** This video and its comment section contain visuals and subject matter that may be disturbing. It is not suitable for children – https://safeYouTube.net/w/lnlL – “If you take one thing away from this it’s that if you have small children, keep them the hell away from YouTube” – James Bridle
This page will include guides on how I have gone about making material for online learning.
Screen recording:
While there are multiple free options for recording your screen, I’ve chosen to go with Open Broadcaster Software. I’ve used this program to capture my webcam, and my screen at the same time. It can also capture any program window and allows you to customize the overlay.
It’s available for free download on Windows, Macintosh, and Linux operating systems at https://obsproject.com/
I’m working on a video series for teachers on how to use OBS to record videos. Check back for more parts to this series.
Using OBS for Teaching Video Tutorials
- Part 1: Settings
- Part 2: Creating a Scene
- Part 3: Filters – Coming Soon
- Part 4: Audio and Recording Live – Coming Soon
- Part 5: Using Livesplit – Coming Soon
Distributing video content:
Most methods of video sharing online come with file size limits. This makes it hard to send video files through email or Teams, or indeed this blog space. There are other methods that work well but I’ve found the best way to share videos is by uploading them to YouTube.
I use an account that is solely dedicated to videos for teaching. All my uploads are unlisted. Another important detail is that you need to honestly indicate whether your video is intended for children or not as it’s being uploaded to YouTube. The site won’t let you upload without filling this section out.
**I recommend NEVER giving children a link to YouTube’s website or app, even the kids versions. This is because YouTube’s “autoplay” and “recommended video” features lead users to unwanted content that ranges from inappropriate, to traumatizing for children. I recommend children DO NOT use YouTube’s websites or apps unsupervised.**
Since we can’t configure YouTube settings for children in their own homes, we can’t ensure the harmful features of the website are properly monitored. The solution to this is to share videos using a safe YouTube viewing page. These are websites designed to stop the user from being directed to the YouTube website or app. They wrap the video in a secure html. These are the links that children should receive if you wish to share videos uploaded to YouTube with them.
Two currently working safe YouTube websites are:
- SafeYouTube – https://safeyoutube.net/
- SafeShare TV – https://safeshare.tv/
These websites claim no responsibility for copyright claims made against the videos they host. They state they will remove any video that receives a copyright claim immediately.
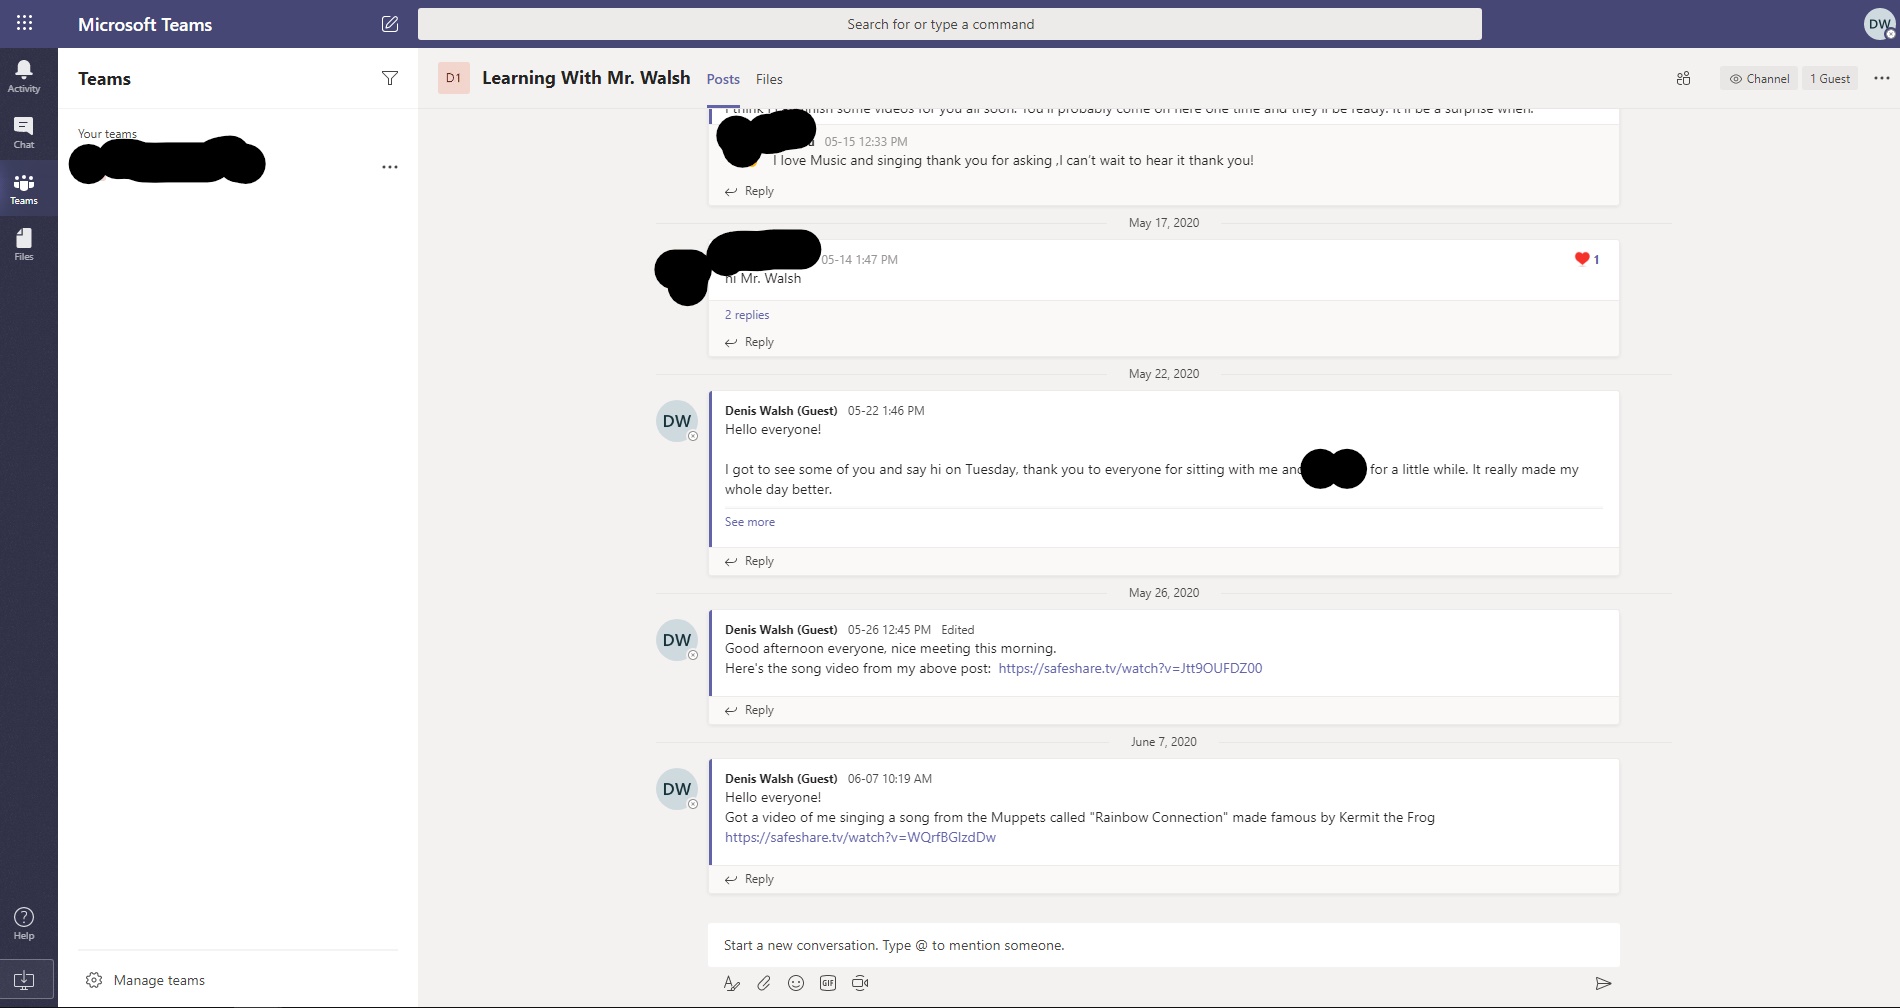
Running an online classroom using Microsoft Teams
The very commonly used platform, Microsoft Teams, allows all users to upload files, including photographs, to be shared and downloaded. If your school is using Teams, it’s likely you will continue using it through September, 2020. Staff can communicate with each other on this platform, where video staff meetings are regularly taking place. Each class is given a “team” with spaces for people to post comments visible to everyone in the team. Students use these spaces to varied degrees of social interaction. The amount of participation from students is dependent on the age of the students, family beliefs about screen usage, school policies, and health and safety orders regarding COVID-19. As more equitable services are offered in different ways, the reliance on Teams will fluctuate unpredictably.
Using Teams, you can communicate with the students in a secure online environment. The chat rooms allow users to send links and upload media, so students can receive material this way.
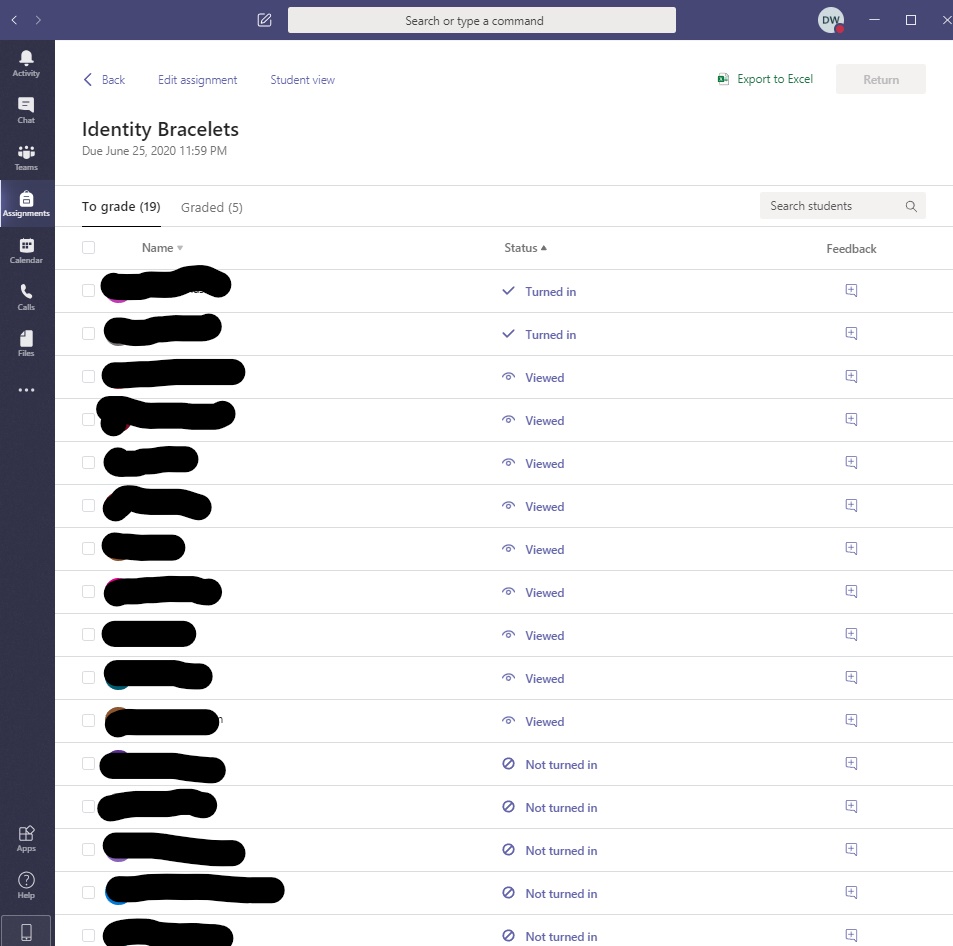
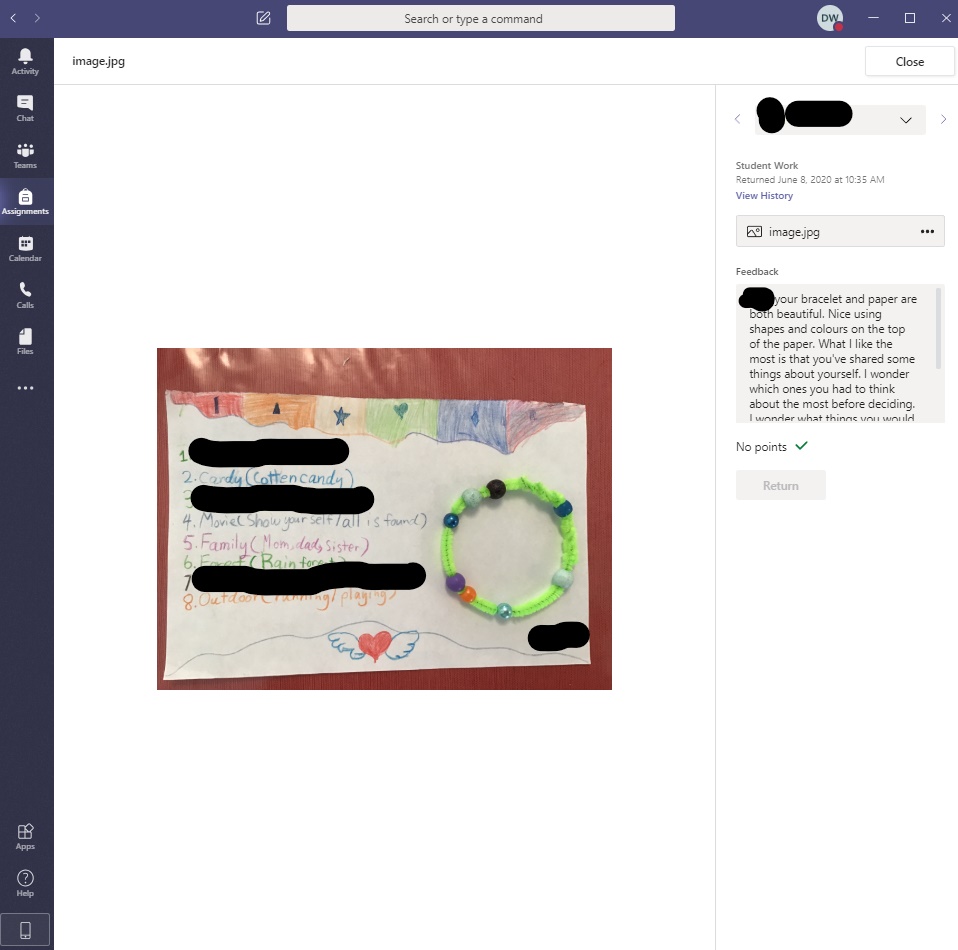
There’s also a system for distributing, collecting, and grading online assignments.

Teachers and students can join secure meetings for live online video classes where the teacher can share the screen, moderate chat, and control the students’ microphones.
During these meetings, I like to use the virtual whiteboard
I also use the program LiveSplit to keep time, and display a shape of the day that students can follow while they participate.

LiveSplit is a free program available here: https://livesplit.org/
Teams allows students to chat privately with their teachers, and depending on age, requires a certain amount of parental guidance. It’s likely that younger grades will attempt to limit reliance on this platform.
In the next section I’ll share some unit and lesson plans I’ve created since the start of my Bachelor of Education program.
Previous Section – Instructional Material
Next Section – Lesson and Unit Plans