Reilly, Linda, and Cole created a new Day 2 mini-group feedback form. The feedback form targets participatory learning and highlights the importance of alignment. Please feel free to email me for the document and I have printed some and left them in the feedback form area at the printer room.
Category Archives: New ideas
New ideas!
How do we begin building group dynamics in the small or large group? Facilitators have shared with me some great ice-breakers and have left the supplies in the grey drawer:
a. Throwing ball competition (from Shaya and Emily bought the plastic balls): This is for the small group. You divide the mini-group into 2 and each group is one one side of the room with an imaginary line between the two. In 1 minute, each team will throw the balls to the other group (you get to time this activity). After the minute is over, the winner will have the least number of balls on their side.
b. Knots (from Kieran and the supplies are in the set up is already done): This is for the large group. You divide the large group into 3 (4 participants in each table). There will be four cups on the table and the participants has to use an orange string (each person holds one side of the string) to maneuver the cups in a certain pattern – i.e. as a row, stack up after another, or pyramid. The winning team will finish the task first.
c. Story-telling (Cole and Serb): This is for the small group. Each person gets to pick one word to write down on a piece of paper. A snowball fight begins and each individual receives one piece of paper. As a group, a story has to be formed as each individual contributes one/two sentences using the word they have picked.
d. Charades (Kieran): This is for the small group. The group is divided into two and each group 'presents' together. In the group of three people, two people will act out what is written on the powerpoint slides (i.e. Kolbs Cycle) and the other individual has to guess the word written.
e. Ninja (Deb, Kyle, Jeff): This is for the small group. Each individual gets one 'action' – to block/attack the other person using their arms. This is done in quick succession and the winner is the person who isn't 'hit'.
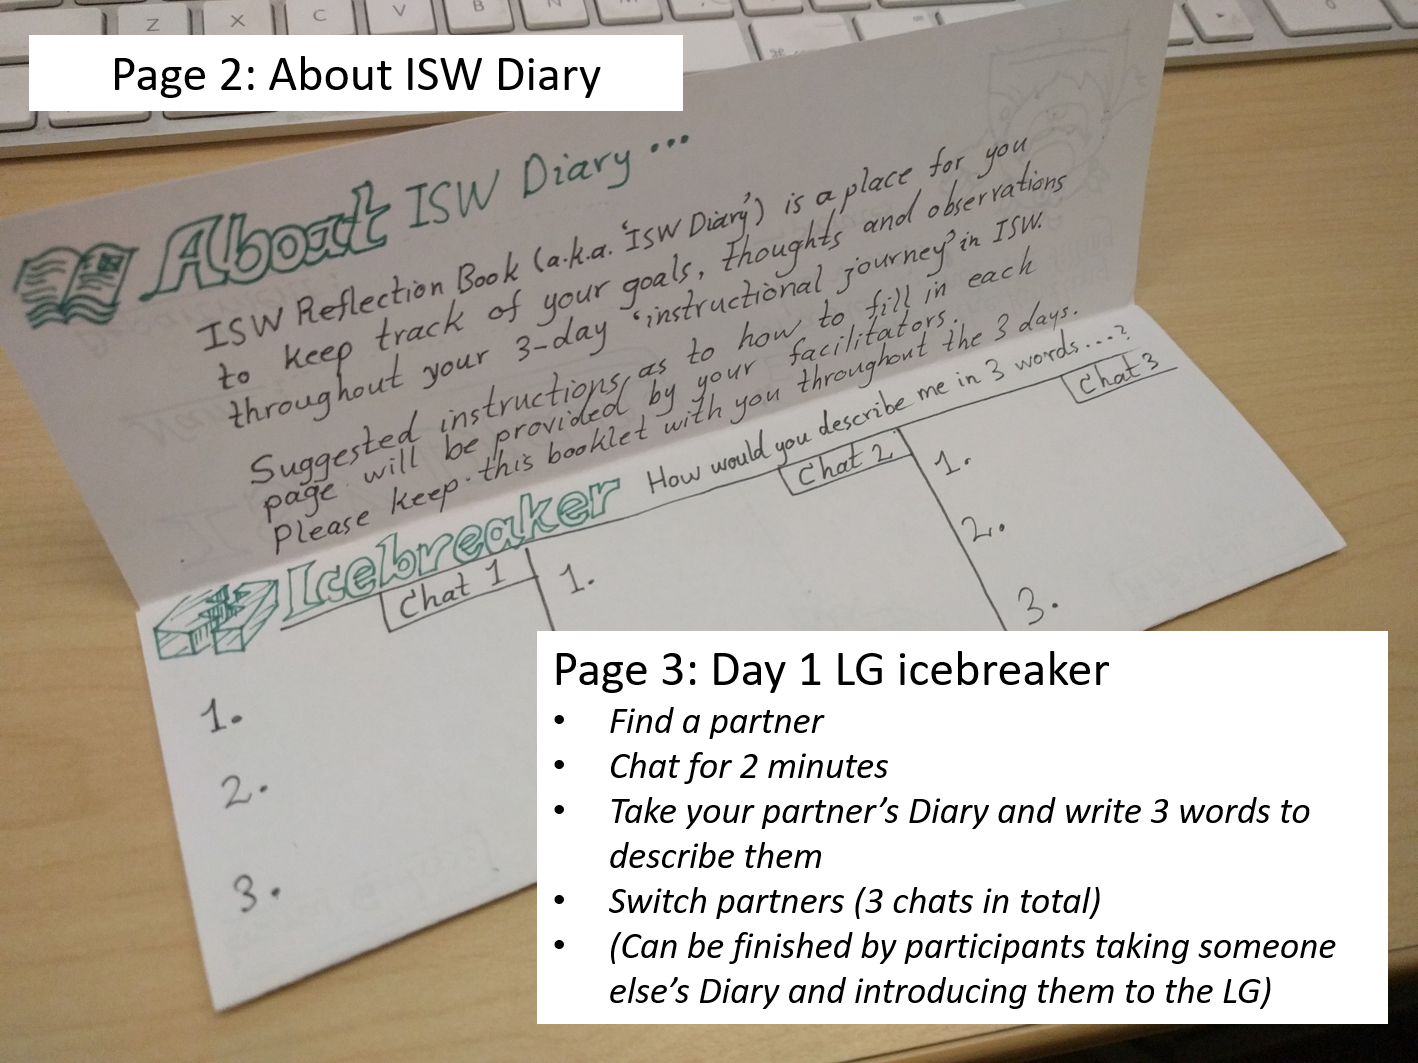
f. How would you describe me in 3 words (Rowshan): This is for the large group. Each person has a piece of paper and they will talk to 3 other individuals. When each chat is done, they will write 3 words to describe the individual.
As with any activity, these will require modifications based on the participants and grouping.
ISW Diary (personal reflection book)
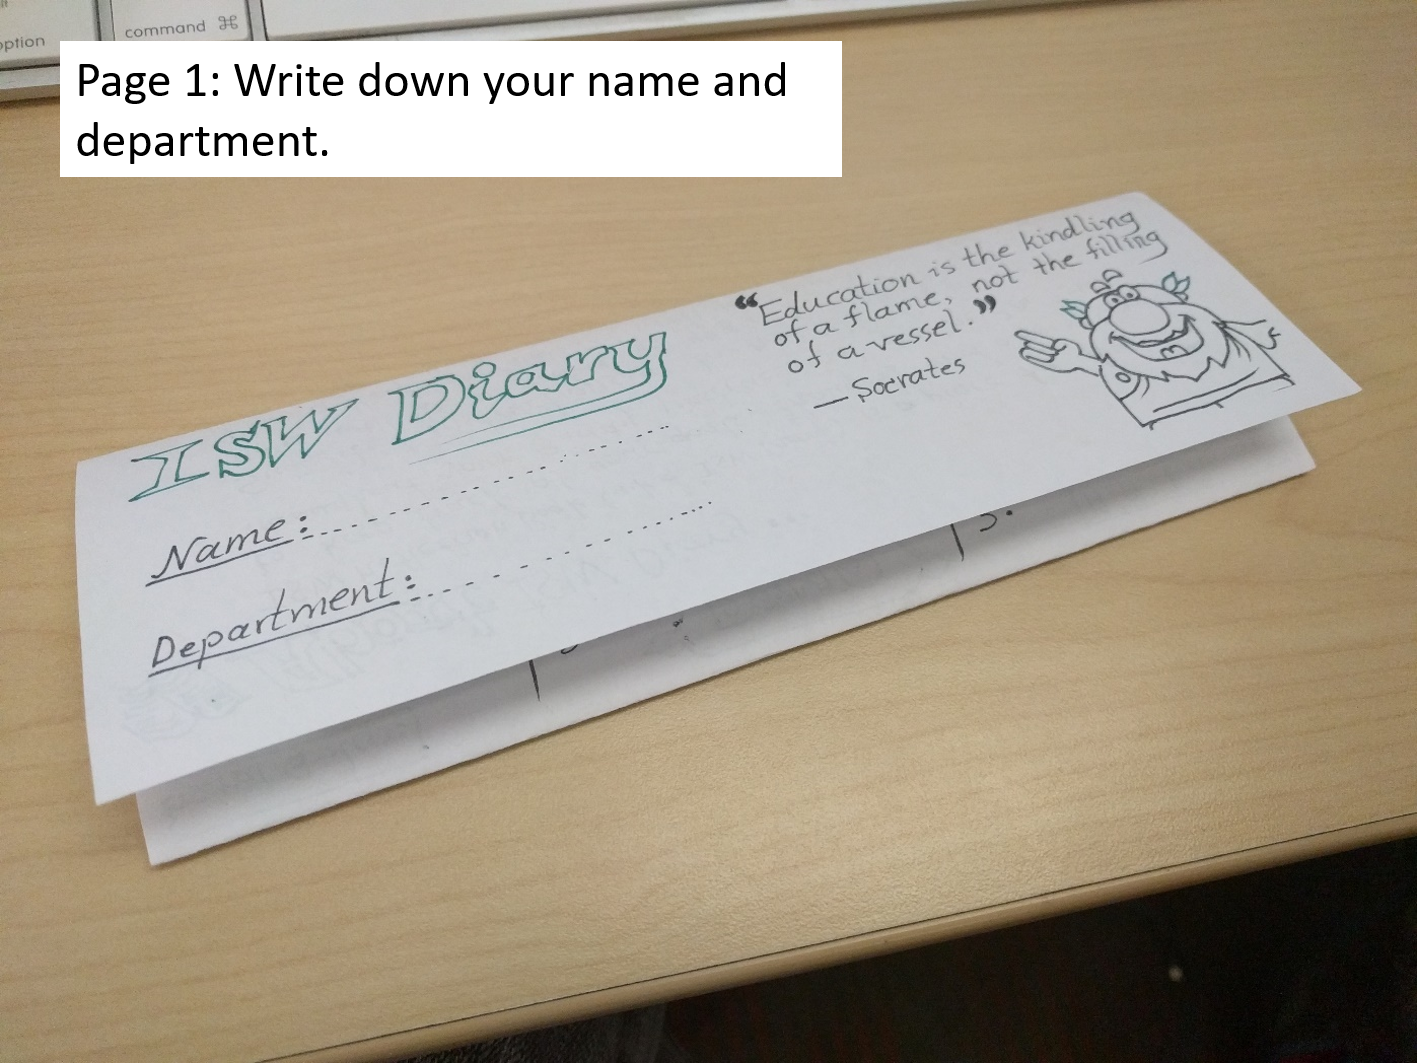
Here is a variation of ISW reflection booklet I have tried: ISW Diary (reflection book)
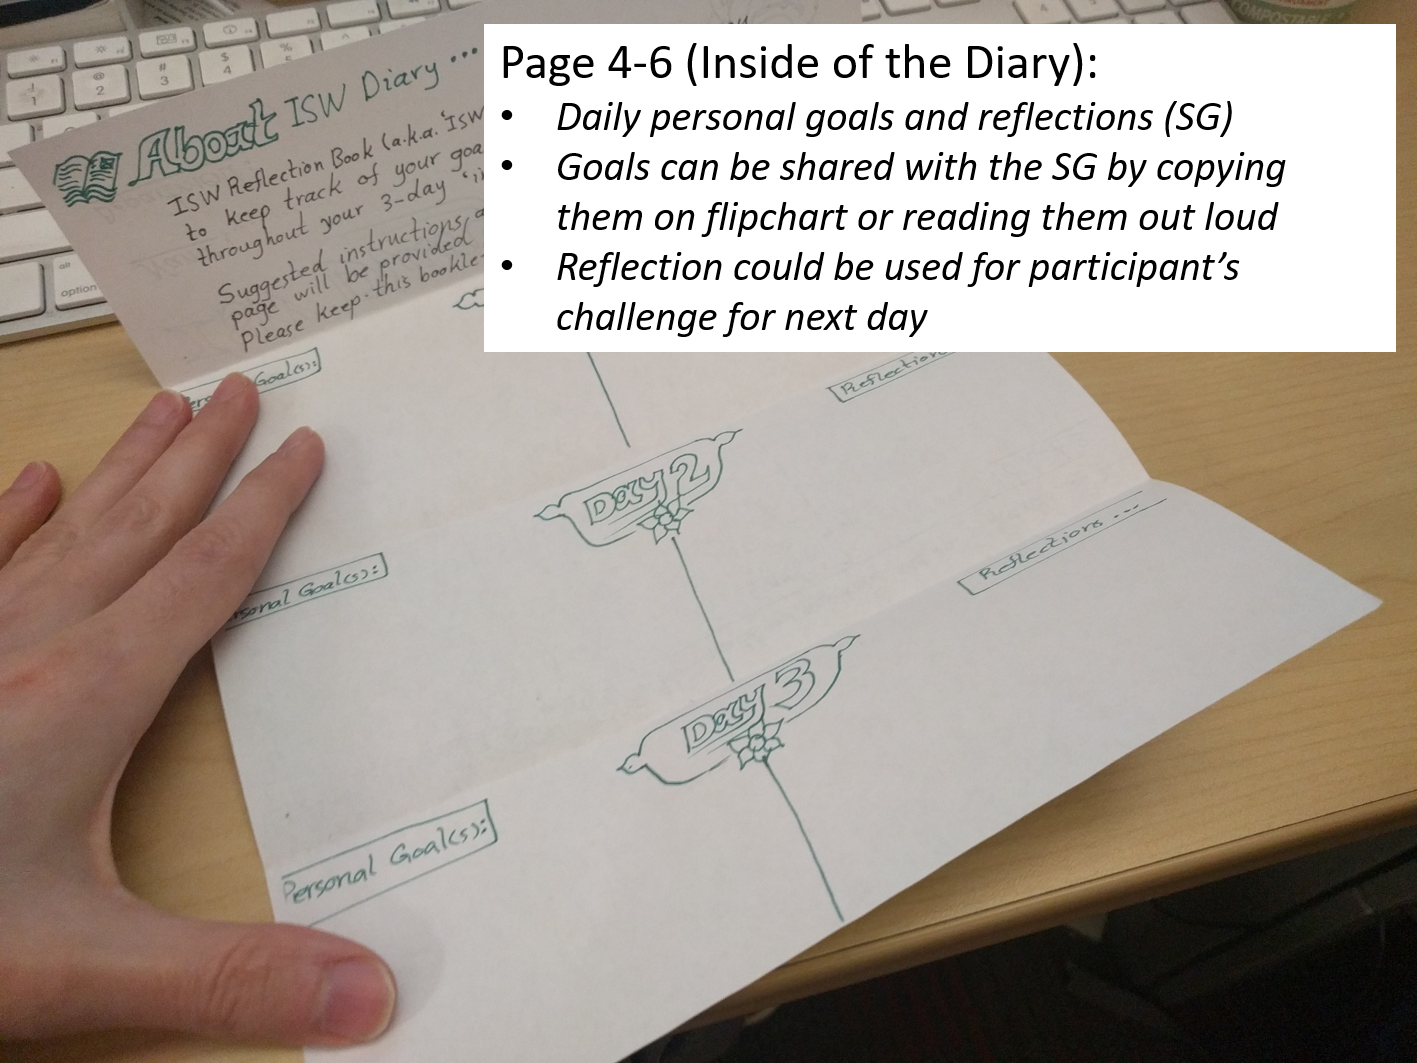
The idea is to have a compact, portable and accessible booklet that serves a variety of functions throughout the ISW, and can be a memorable personal record of a participant’s growth over the 3 days. ISW Diary is handed to the participant at the beginning of Day 1 icebreaker and captures their journey through their workshop by recording:
- Their very first interactions with other participants in Day 1 Large Group icebreaker,
- Their daily personal goals and reflections for the Small Groups,
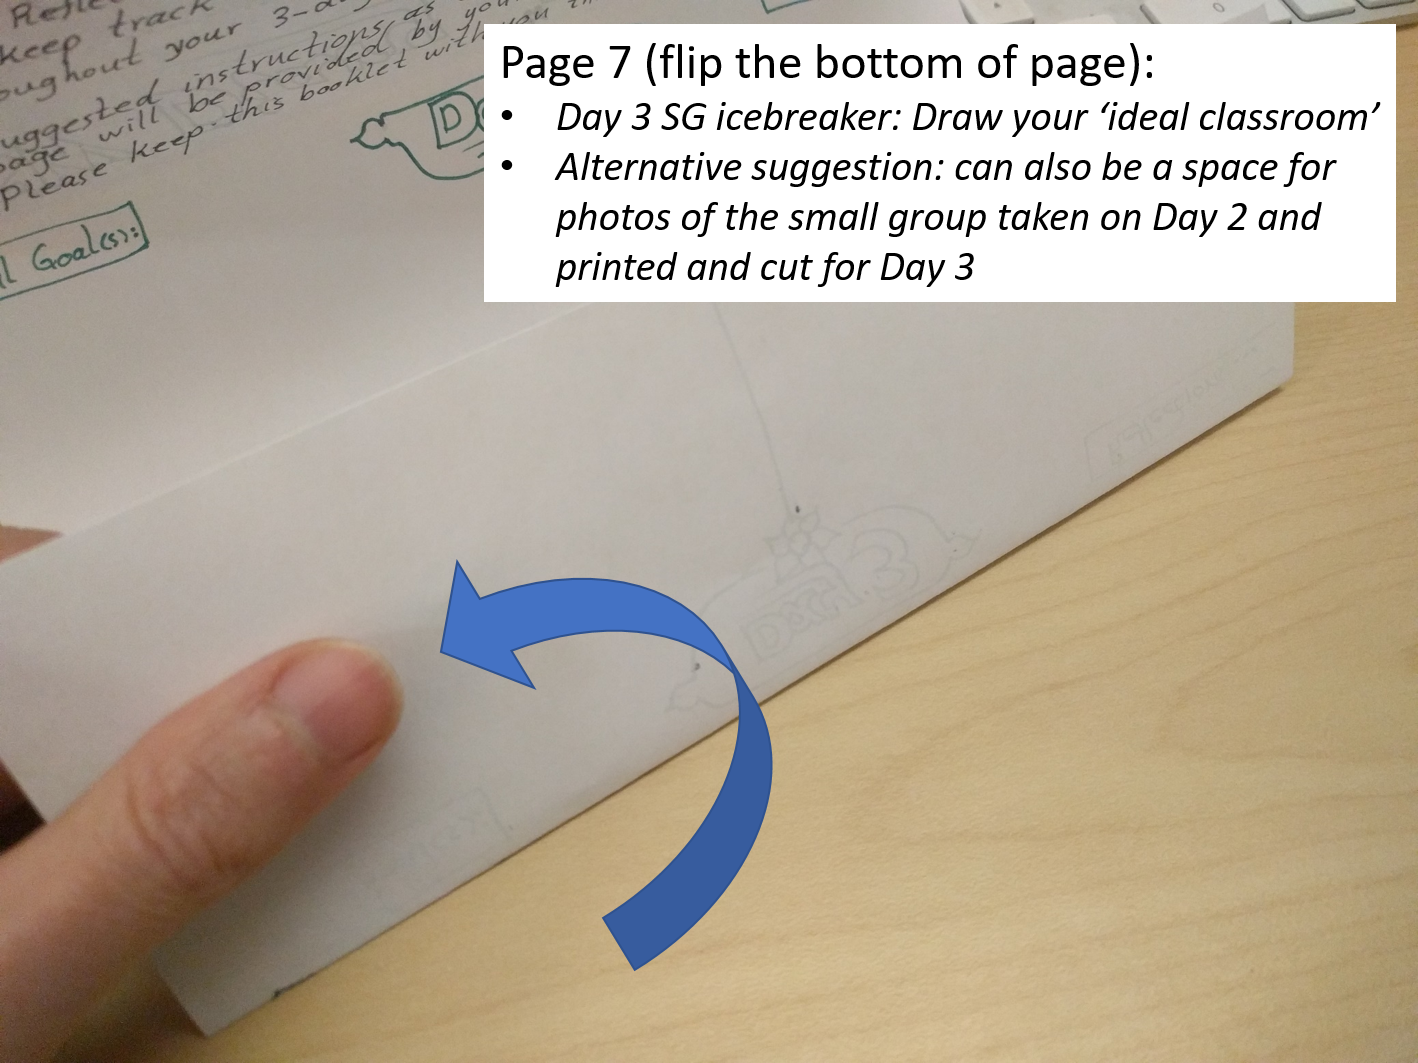
- Their creative expression of what they see as an ‘ideal’ classroom (Day 3 Small Group icebreaker), and finally,
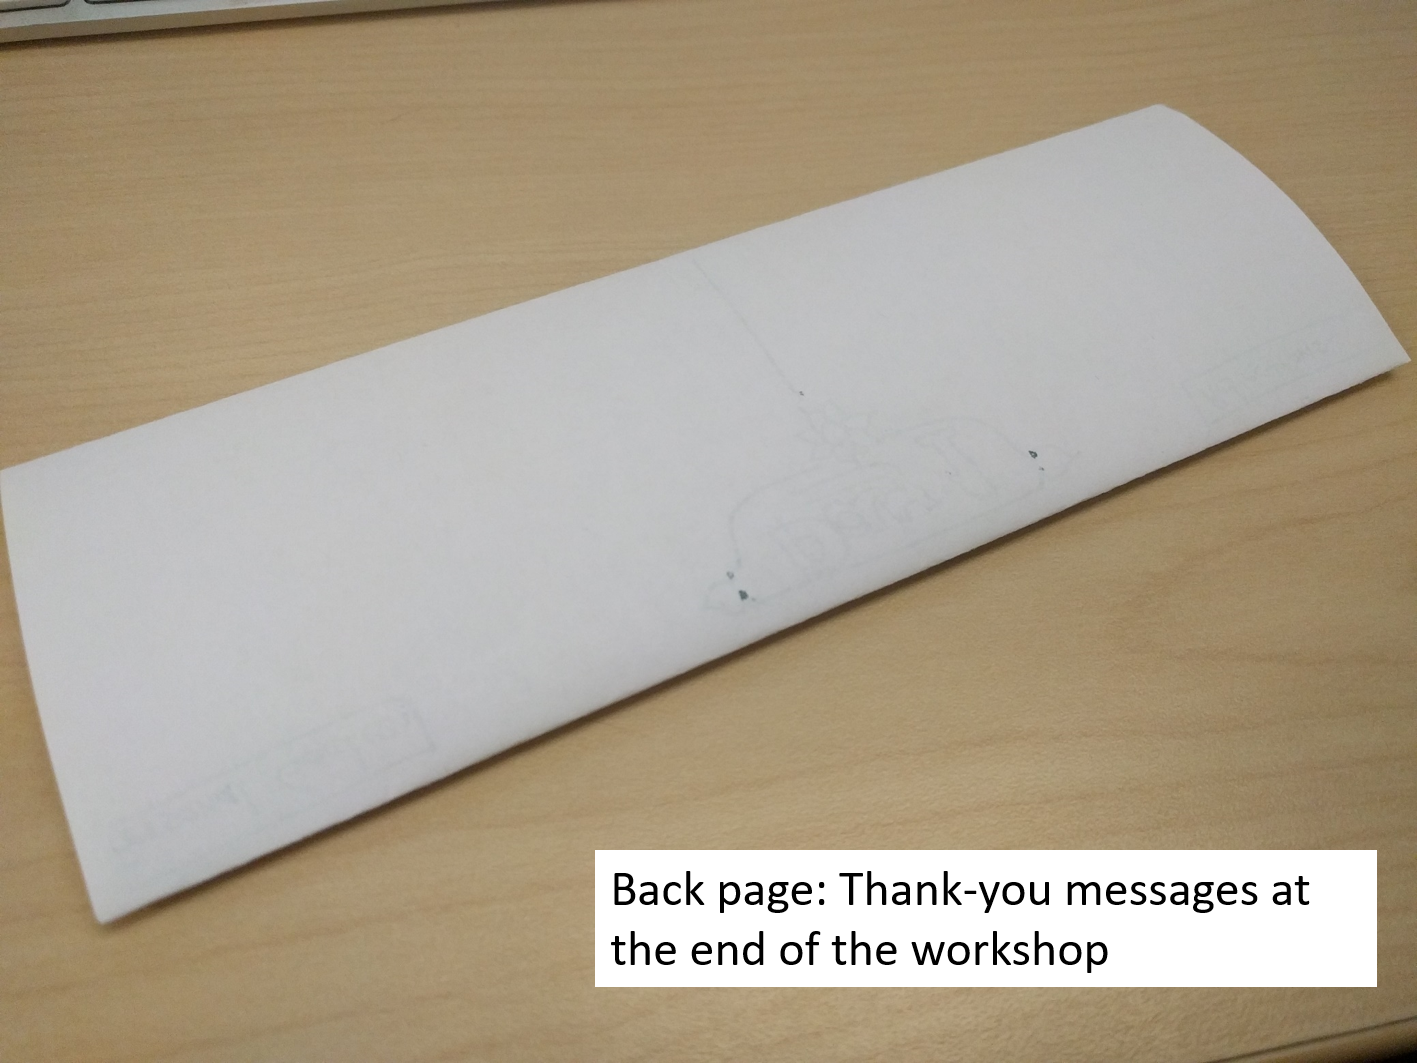
- Their thank-you messages at the end of Day 3.
The pictures below demonstrate how the booklet is folded and used. This particular version is designed for a specific Day 1 Large Group icebreaker and Day 3 Small Group icebreaker (details explained below on the pictures). Please feel free to modify and improve it to include different cool ideas you might have!
Lesson plan on Experiential Learning: Blended, meta lesson, with happy ending!
I have been trying for a while, to develop a lesson on Kolb’s cycle that helps the participants go further from merely understanding the concept of experiential learning, but be able to actually use it for lesson planning. The last version of this session worked pretty well. Here is a sketch of the online and f2f parts of the lesson:
Online module:
- Watch a video on EL
- Think back on a particular learning experience from Day 1. Can you identify the 4 stages of Kolb’s cycle? [RO/AC]
- Think about a skill you have developed in your personal/professional life. Discuss the following: [AC]
- Have you gone through all 4 stages over the course of developing that skill?
- What about in a single class/session? Have you gone through all stages at least once?
- Do you feel all stages have been equally involved in your learning?
Face-to-face:
- An overview of the 4 stages
- Any questions/clarifications?
- Metacognitive reflection:
- Think back to the online module. Can you identify different stages of Kolb’s cycle as you experienced them in doing the module as a learner? Hint: one stage is missing! (the meta might need a little clarification depending on the group; could be helpful to walk them through it if they find the idea confusing: ‘you watched a video and answered a few questions. what part worked for you as CE?’ etc.)
- Ask them to identify which stage is missing (AE)
- ‘As you mentioned, Active Experimentation stage was missing from the module. Now, what type of activity do you think we could do to enable this stage?’ (facilitate a short, guided large-group discussion). Once they came up with a close enough idea, reveal the LOs: ‘Well, that’s exactly what we are going to do in our session today!’
- Reveal LOs:
- Suggest a few simple activities to enable each of the 4 stages of Kolb’s cycle for your learners
- Re-design your Day 1 mini-lesson based on experiential learning
- Activity 1: ‘What are some of the activities/tasks we could design for our students to help them go through each stage?’ (Suggestions revealed one by one on the slide. Additional suggestions from the group can be added directly onto PPT. A few examples are as below)
- CE: Watch, read, do an activity, do an experiment, debate, …
- RO: Think, reflect, summarize, identify the most important points, identify what did/didn’t work, …
- AC: Think, discuss, analyze, compare, identify the underlying principle, …
- AE: Plan next step, suggest improvement, discuss what you would do differently, …
- Activity 2: Re-design your mini-lesson
- Revisit your Day 1 lesson
- Can you re-design it based on experiential learning? (a handout provided with a simplified planning template and a few suggestions)
- Share your lesson plan with people from your SG (pairs or groups of 3, depending on the time)
- Closing: selected LG sharing, questions? (depending on the time)
- Summary/Post-assessment: 1-minute paper.
- 1 thing that worked best for you in this session
- 1 thing we could change to promote experiential learning in this lesson. What stage?
For more details about the lesson plan, handout and slides, please e-mail me (rowshan@mail.ubc.ca)
Express Thank-you Cards
In an ISW where we had limited cards and ended up having limited time to do the thank-you cards, I tried the following:
- Gave the participants regular index cards (5 * 3 in, or larger, if available) at the beginning of Day 3 SG session
- As icebreaker, asked them to draw their ‘ideal teaching environment’ on the blank side of the card
- Collected the cards for the time being and told them that we’re going to do something fun with them at the end of the day
- At the end of the day, gave the cards back to the participants, asked them to pass their card to the next person, and asked them to write one or two words that expresses what they admire in that person
The process takes considerably less time than a conventional thank-you card, and the resulting cards can be very creative and inspiring!
Connecting Day 1 Sessions
In the April (8,15, 16) ISW, we introduced the day 1 theme sessions as a single theme session on Lesson Design (Theory). We created a worksheet that the participants used during the 4 parts of the lesson (LO; Motivation; PL; Assessment). During each part, they were asked a couple of questions on the worksheet that got them to apply the lesson to the design of their first mini-lesson. At the end of all 4 parts they had 10-15 minutes to look at their mini-lesson and make changes to it based on their worksheet.
This worked well on a couple of levels:
- It connected the 4 theme sessions we do on day 1 without the facilitators having to design them together.
- And it helped our participants solidify what they were learning by providing them with an opportunity for an immediate application of their learning (on which they also received feedback in the afternoon).
If you are interested to know more, send myself, Mabel or Linda an e-mail or stop by the office:-)
Ice breaker!
All My Neighbors
This could be a good large group ice breaker.
from the Cornell Trainer Network Icebreaker-Mini Conference held on July 2nd, 1996
This game is a distant cousin to “musical chairs”. Everyone begins by sitting on chairs in a circle with the facilitator standing in the middle. Facilitator explains that the person in the middle needs to find some “neighbors”. To do so, they’ll make a true statement about themselves and hope that it will be true for others. Everyone that “identifies” with the statement has to then stand up and go to the middle of the circle. When facilitator indicates (using chimes, etc.) everyone who is standing in the centre needs to find an empty chair and sit. This means that someone will be without a chair, and they get to go to the middle and find some “neighbors.”
After giving the above instructions, the facilitator begins with something like: “All my neighbors wearing blue jeans”. At this, everyone who is wearing jeans should jump out of their seats and go to the centre. When facilitator indicates, everyone in the centre will look for an empty seat. The odd person outgoes to the middle. And so on!
This game can easily last ten to fifteen minutes.
Cards
Small Group wrap-up activity:
On day three take a picture with your small group. Have everyone write in blank cards for each other and write their addresses on the envelopes. Later, print the group picture, paste on the card and send out to everyone. That way, you will also have a card with a picture of your small group 🙂
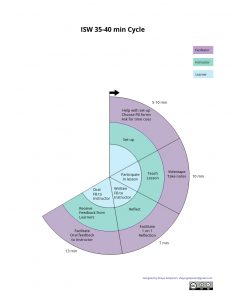
ISW Cycle
Energizer
Clean Up Your Room
For Small Group
Props needed: Soft objects to throw – at least one per participant and a way to mark 2 halves area used for the activity
Form two groups facing one another in a line. Draw an imaginary line in the center. Give each person at least one soft object to throw. Explain the imaginary line is the center of the room and they are responsible for keeping their side of the room clean by throwing all objects to the other side.
When the sound is made time is up and the side with the “cleanest room” wins.
