
Please supplement your donation kit with our poster
Version 1: CLICK HERE TO ACCESS AND DOWNLOAD A PRINTABLE POSTER
Version 2: CLICK HERE TO ACCESS AND DOWNLOAD A PRINTABLE POSTER
(After registration you will receive a registration number. Label your containers with this number. You can start fundraising right away.)
You can use almost any type of container for your collection kit!
Below are two examples using two different types of plastic containers.
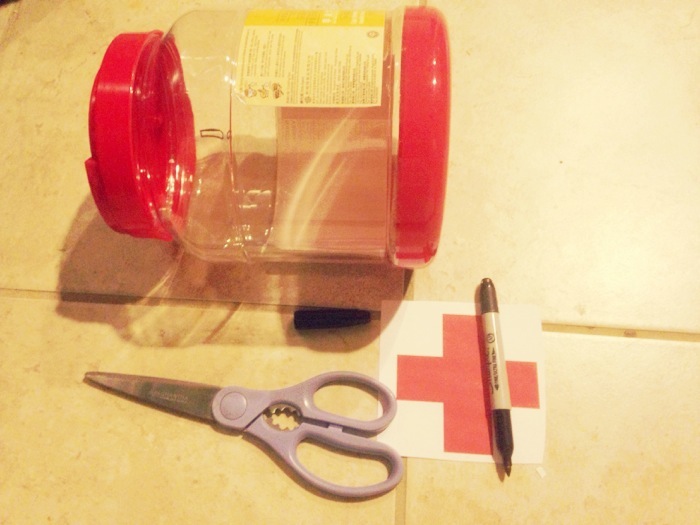
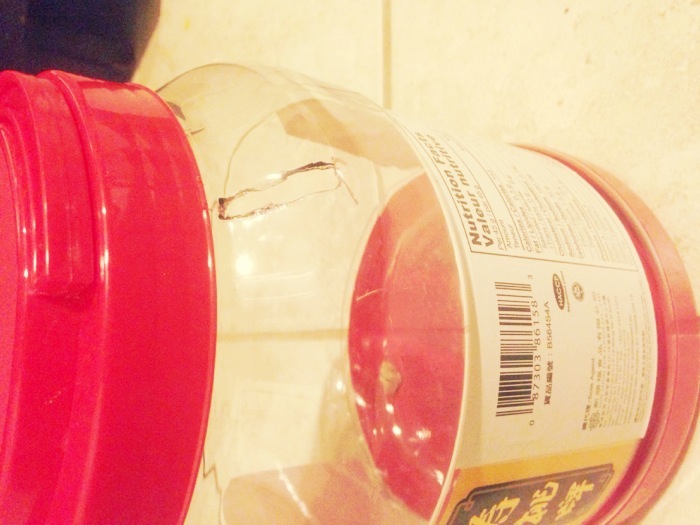
Part 1: Containers with lids
(Materials: container, print out of the red cross, scissors/box cutter, tape, marker)
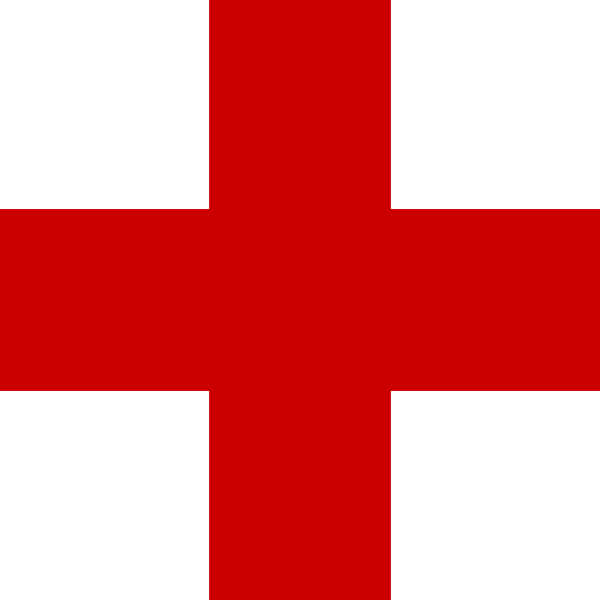
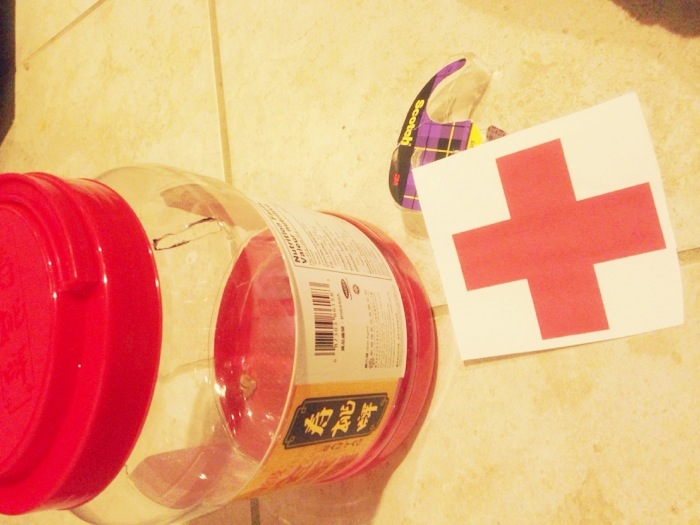
You will need some graphics for your collection kit. You can either print an extra copy of the poster and cut out the graphics to fit, or download and print the Red Cross graphic below. Or click here to download our graphics in different sizes for your containers!
Step 1: Outline the container with a marker large enough to fit a Loonie.
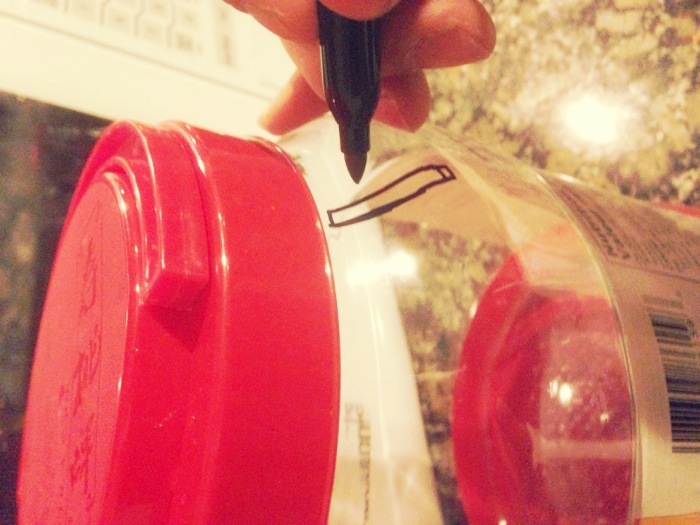
Step 2: Cut out the outline with a pair of scissors or a box cutter.
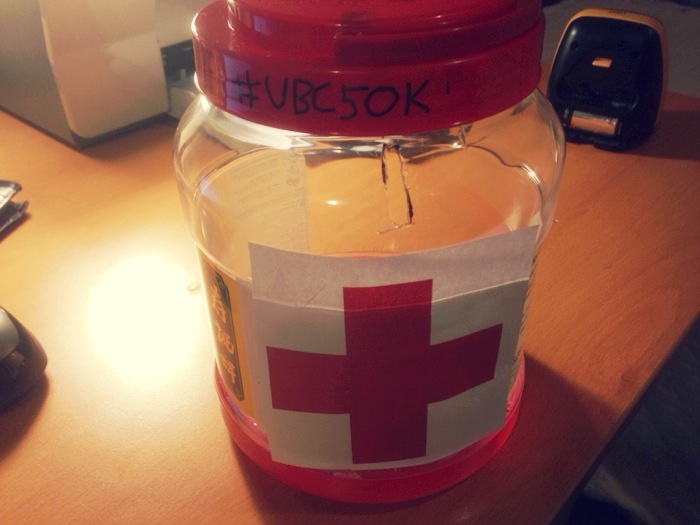
Step 3: Use tape to attach our design to the container.
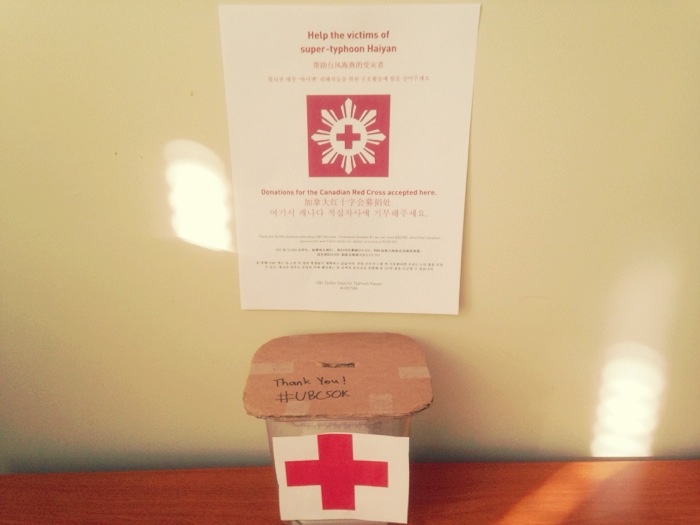
Finished!
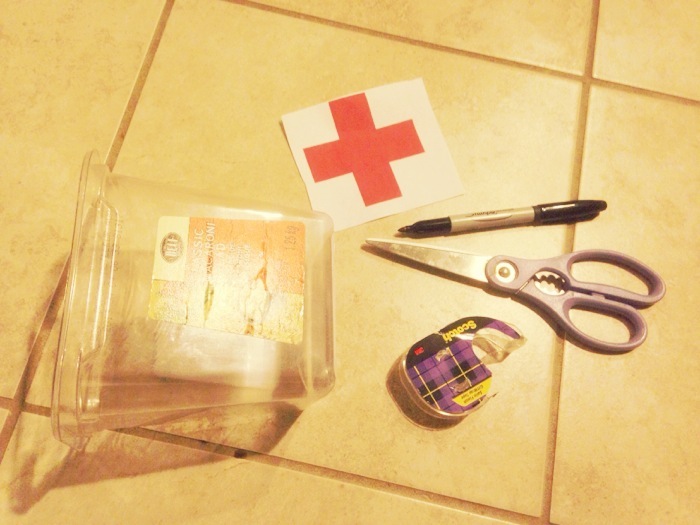
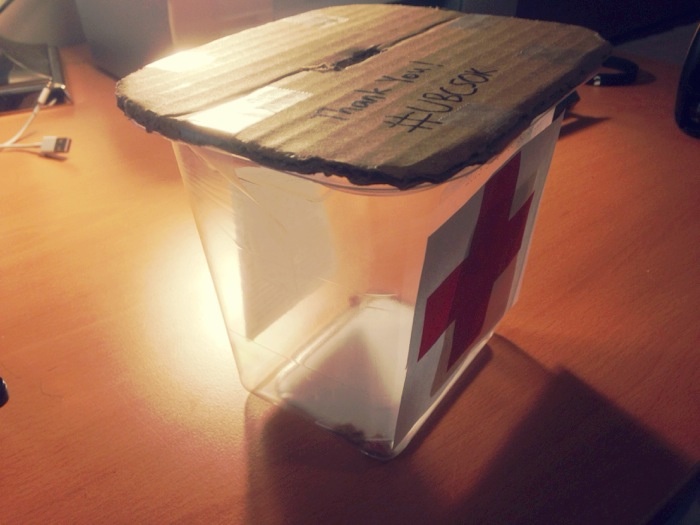
Part 2: Containers without lids
(Materials: container without a lid, box/cardboard, print out of the Red Cross, scissors/box cutter, tape, marker)
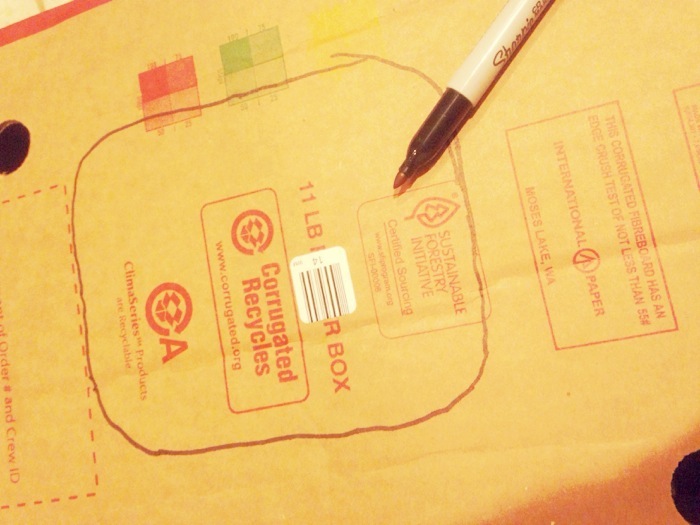
Step 1: Trace the top of the container onto a box with a marker to make a lid.
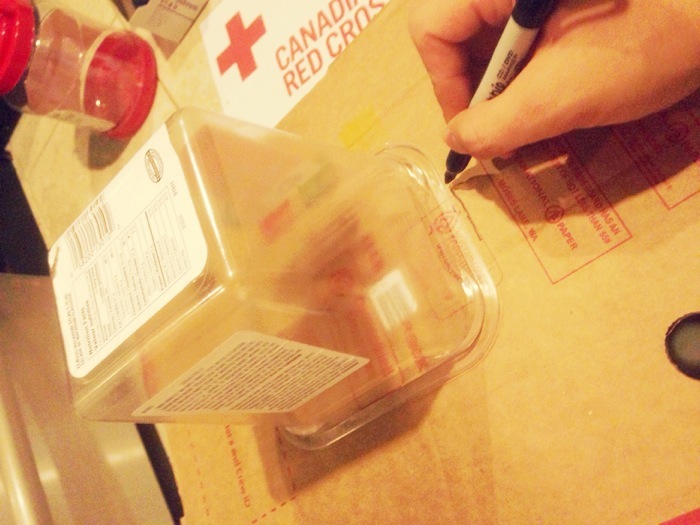
Like this
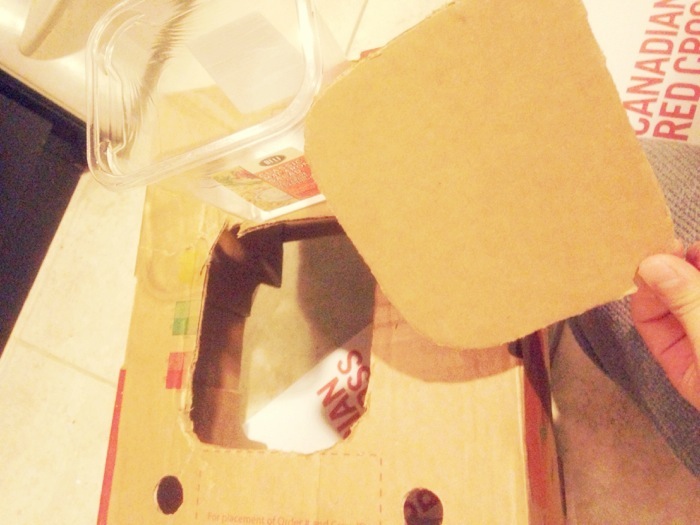
Step 2: Cut out the traced box with a pair of scissors or a box cutter.
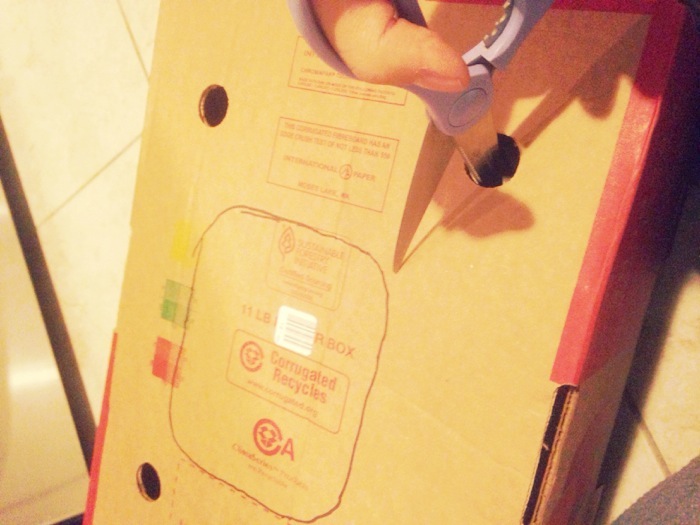
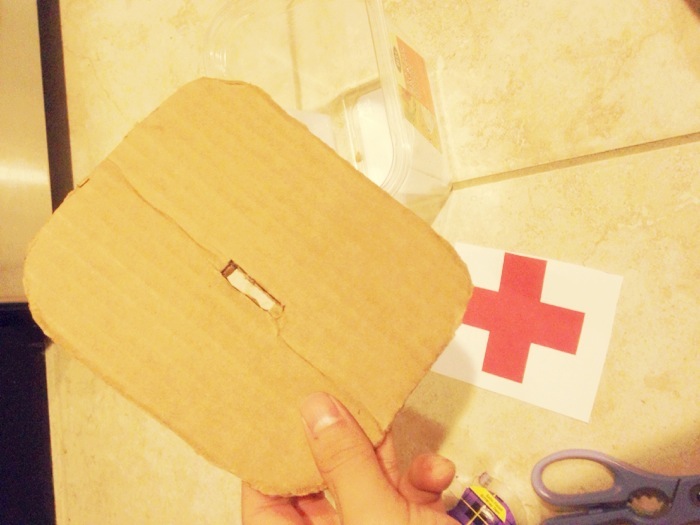
You have a lid!
Step 3: Outline the lid with a marker large enough to fit a Loonie.
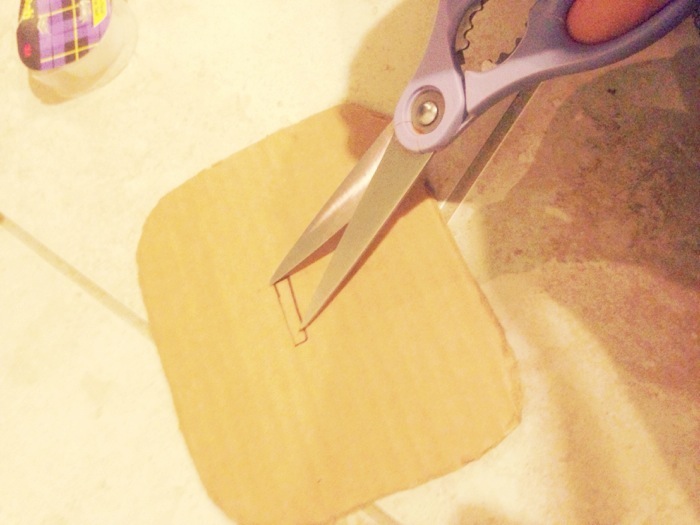
Step 4: Cut out the outline with a pair of scissors or a box cutter.
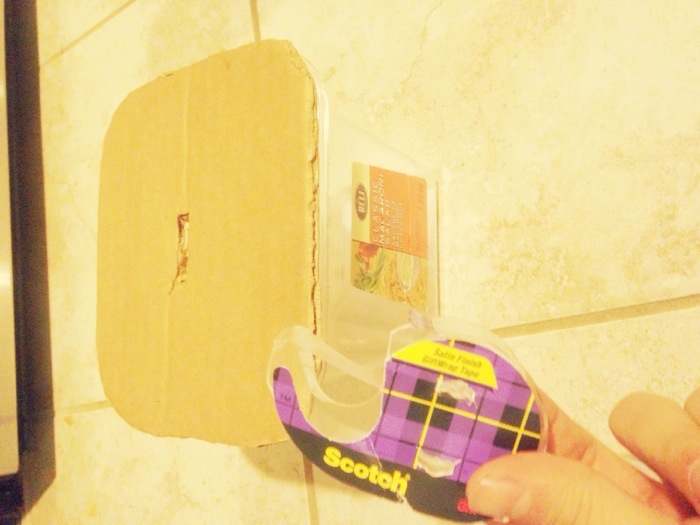
Step 5: Use tape to attach the lid onto the container.
Step 6: Use tape to attach our design to the container.
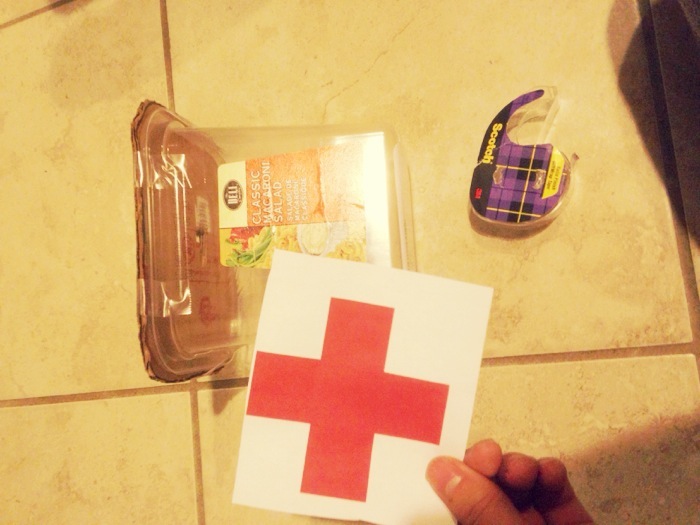
Here is what it looks like!
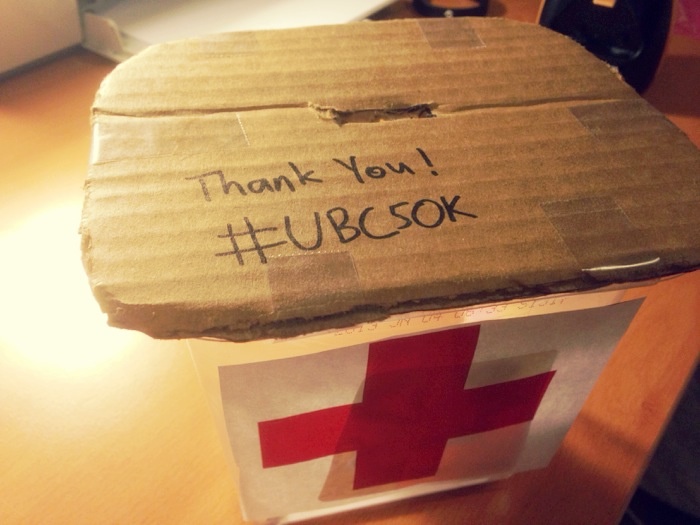
Thank you!
Send us a picture of your container via Pinterest
You can contact us with any questions or concerns at: contact.dollarproject@gmail.com
You can go back to our main page by clicking here
#UBC50K #typhoonHaiyan