A scrapbook is a tangible way to record your memories. Making a scrapbook helps you reflect upon your experiences and appreciate the people who’ve been supporting you and the opportunities that you’ve been blessed with. I’m usually a go-go-go as fast as you can person and the act of making a scrapbook slows me down and reminds me that how lucky I am to have such a great past and present and of the people and things that I value. I recently made a scrapbook from kindergarten to high school graduation, which reminded me how far I’ve come and how I really need to enjoy exactly where I am in my life journey right now. I like to often think about where I want to be in the future but the present and past are equally important. I’m going to start a scrapbook for this school year and will hopefully fill it with new faces and experiences.
My co-workers and I are currently making a scrapbook for another co-worker who was such an inspiring and patient mentor to me. We’ve all had many meaningful memories with her so we hope to convey how much we appreciate her through this scrapbook.
I highly recommend that you start a scrapbook too! It’s not as hard as you may think. Making a scrapbook doesn’t have to be expensive. Just give it a try. It doesn’t have to perfect. The only thing that makes is that you like it!
Here’s how to start:
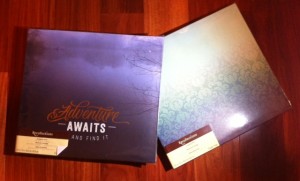
1. Get a scrapbook. I’ve gotten scrapbooks from a thrift store and Superstore for cheap. These are the first scrapbooks I’ve ever purchased from Michael’s as Michael’s can be a little pricey. However, there was a buy one get one free sale so these two were a good deal. I might use the “Adventure Awaits” book for First year. Super cute: MBI by MCS Industries 860107 Filmstrip Scrapbook Album with Top Load Pages, 12 by 12-Inch
2. Print out photos. Take your photos from your Dropbox or cloud or you’ve been hoarding all your photos. Go to a Photo Centre and print out some physical versions of your photos. London Drugs, Superstore and Costco are all places that have relatively inexpensive photo printing.
- Candid photos are often the best!
- A photo with a smaller number of people is often better
- Just choose the best from an occasion. No sense printing 8 pictures that look almost the same.
3. Gather supplies! Besides buying from craft stores, you can find materials inexpensively at dollar stores and around your house. Gel pens, wrapping paper, construction paper leftover from elementary school, ribbons… things that were lying uselessly around your house can be nice decoration. Instead of labels, I usually use scrapbooks of white paper from my trash can. Be resourceful.
Some basic supplies are:
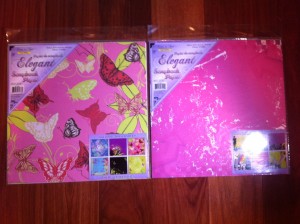
- Background paper
- Photo corners
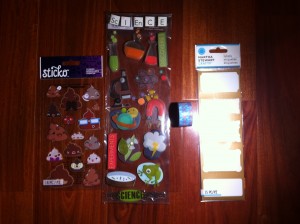
- Stickers
- Labels ( for a more polished look)
- Washi Tape (I haven’t used mine yet but the online crafting community has been lauding the versatility of washi tape.)
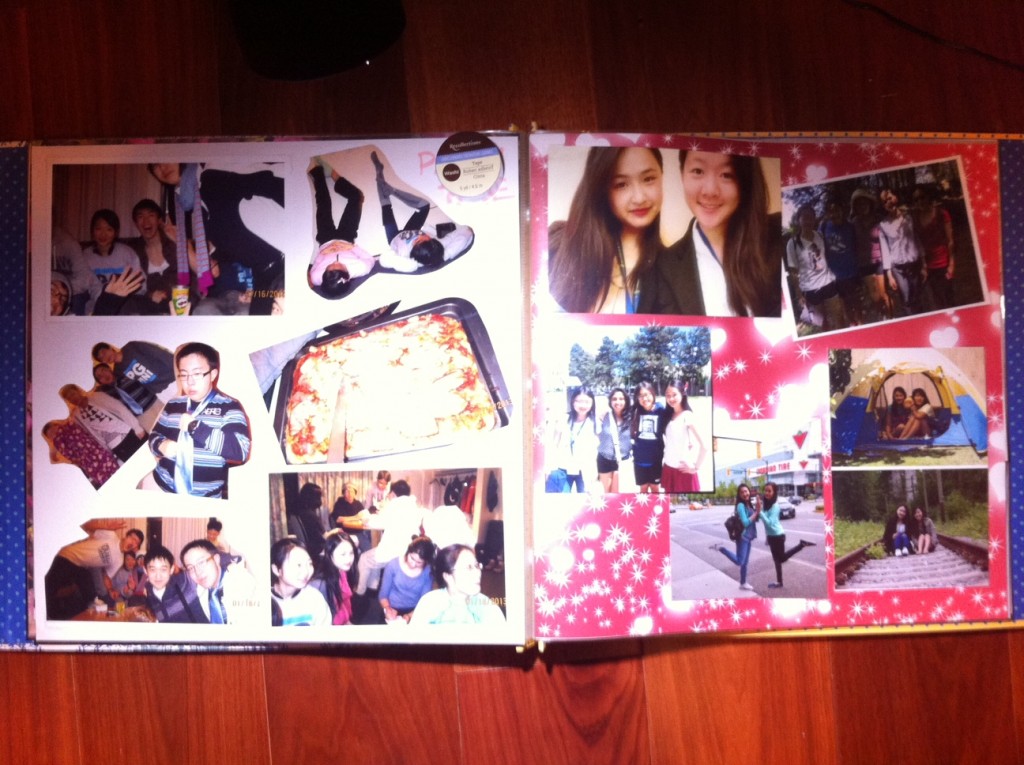
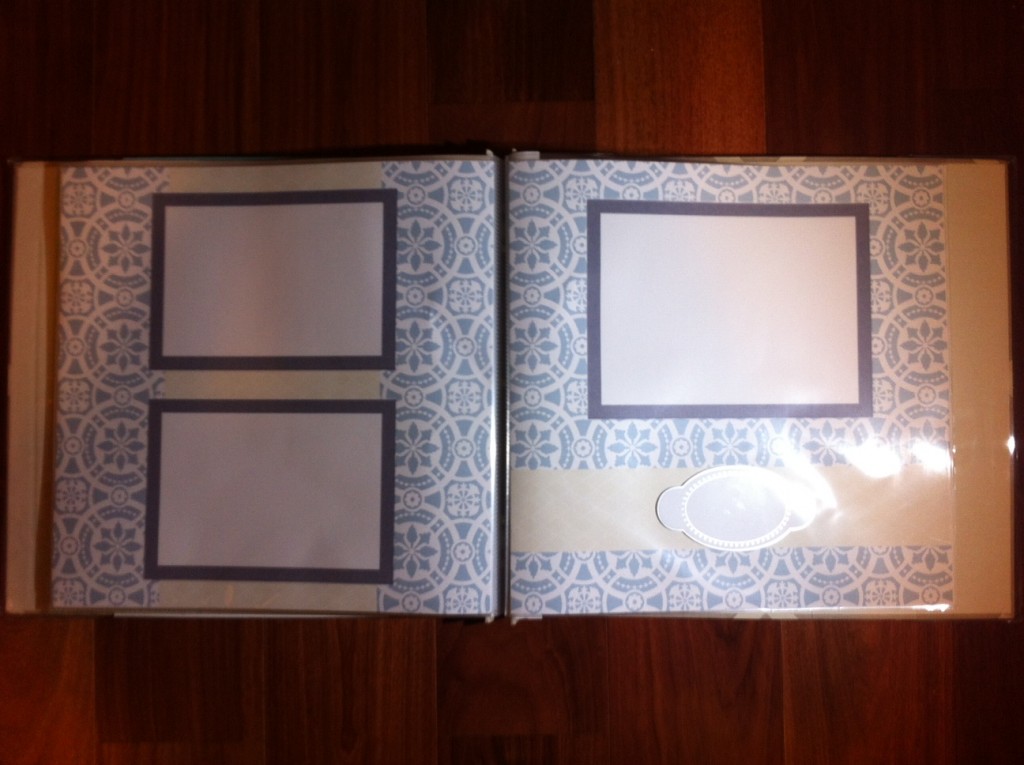
4. Arrange a layout for your photos
- What’s the theme of your page? A certain trip or special occasion? Your hockey team?
- How many: a lot or a few
- Will you cut out the background to focus on certain people or objects or scenery? Or will you keep the photos whole?
- Do you want your photos straight or at a variety of angles?
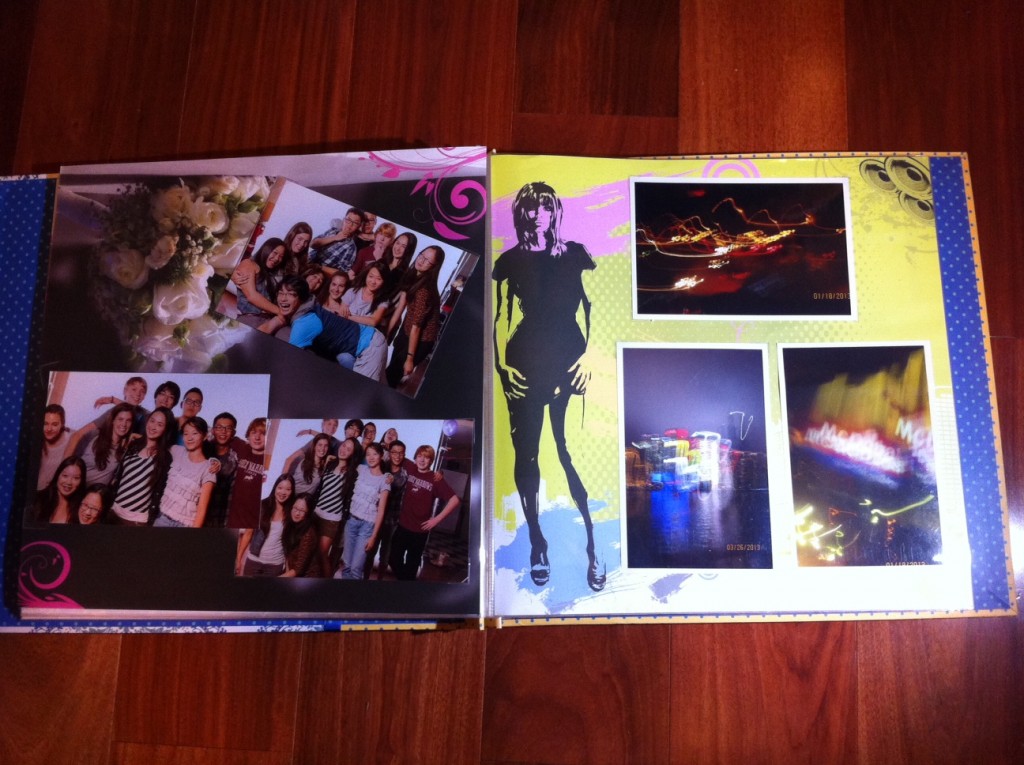
Here are some samples
5. Decide on background and embellishments. This is the fun part!
6. Glue or tape everything in place.
7. You might go back and add in labels and more embellishments.
You’re done!
 Follow