01/12/17

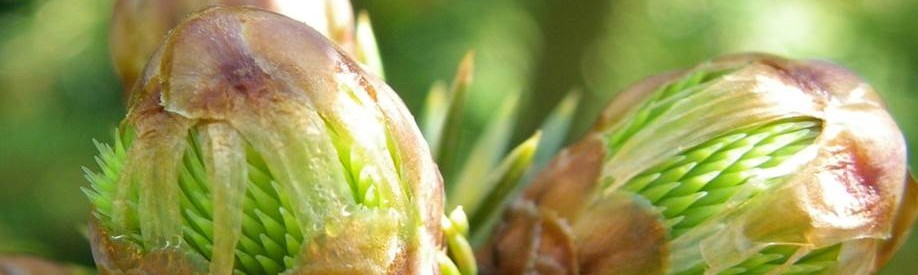
We do other things too: extracting DNA from cambium

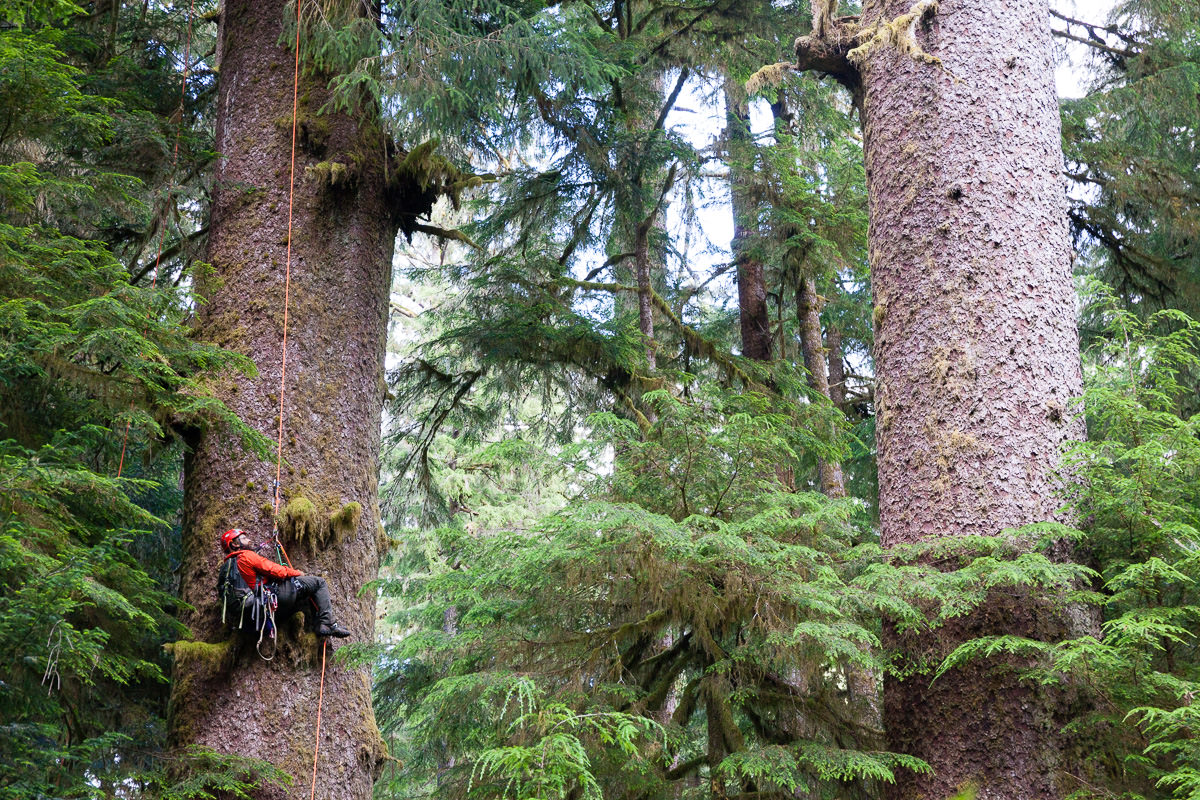
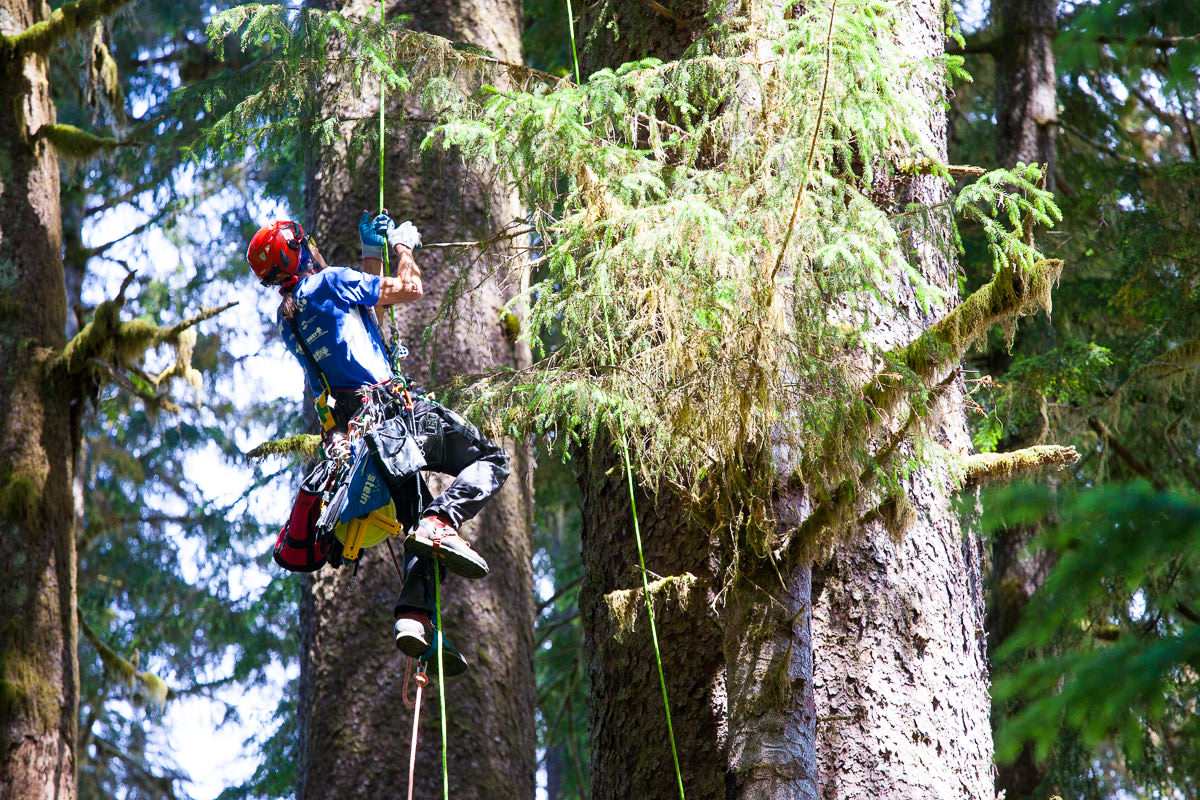
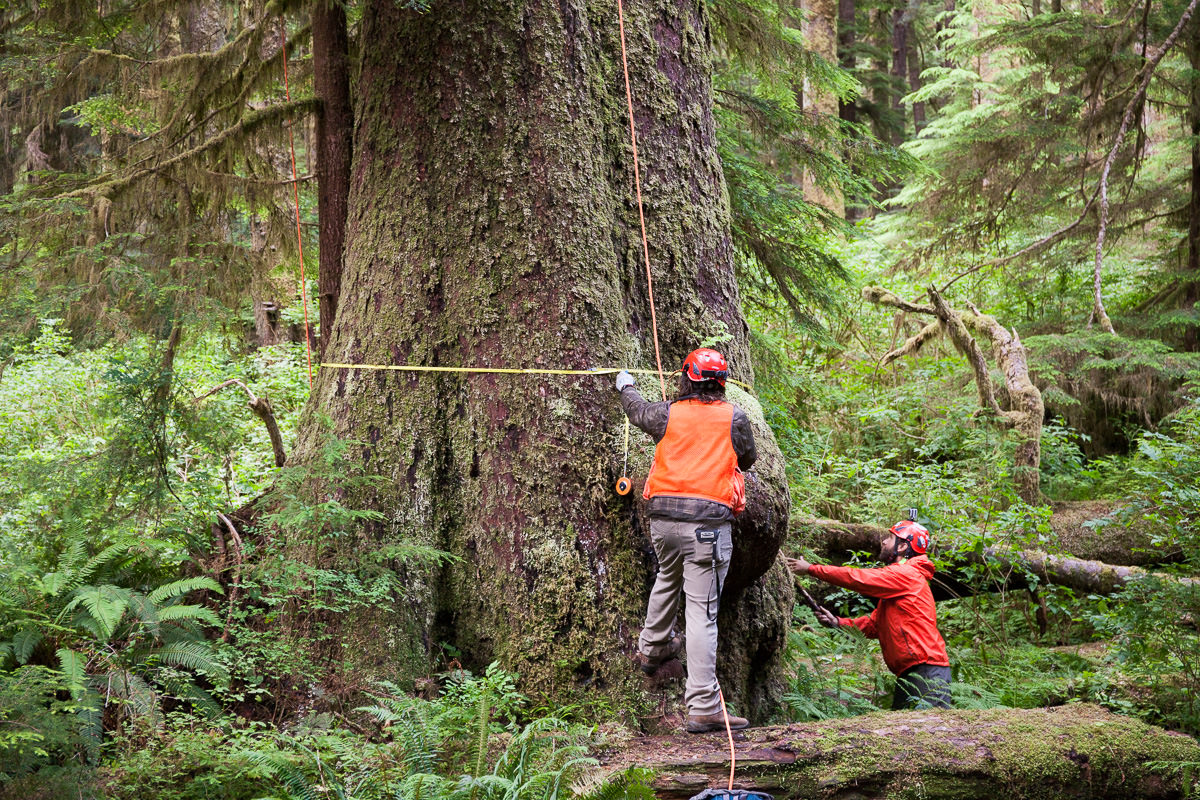
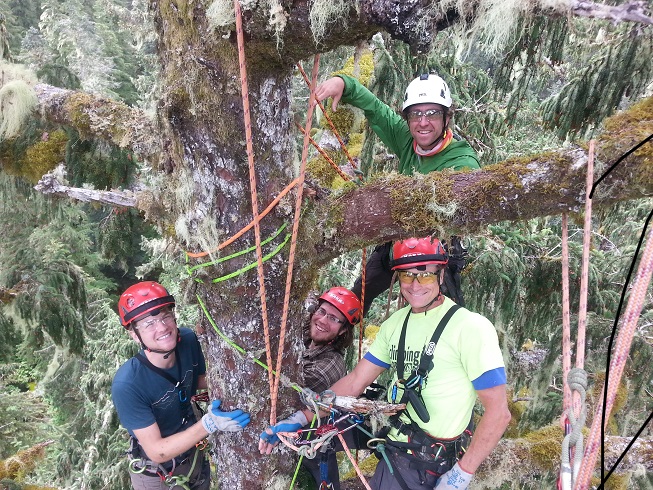
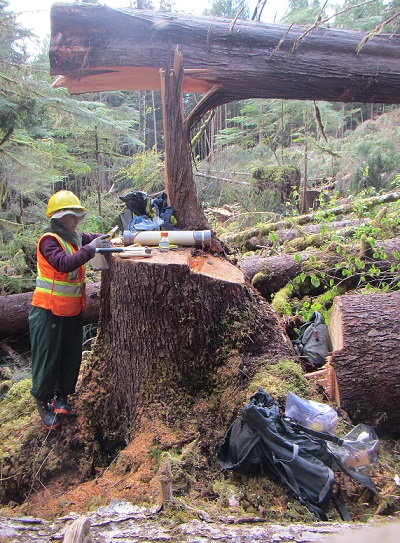
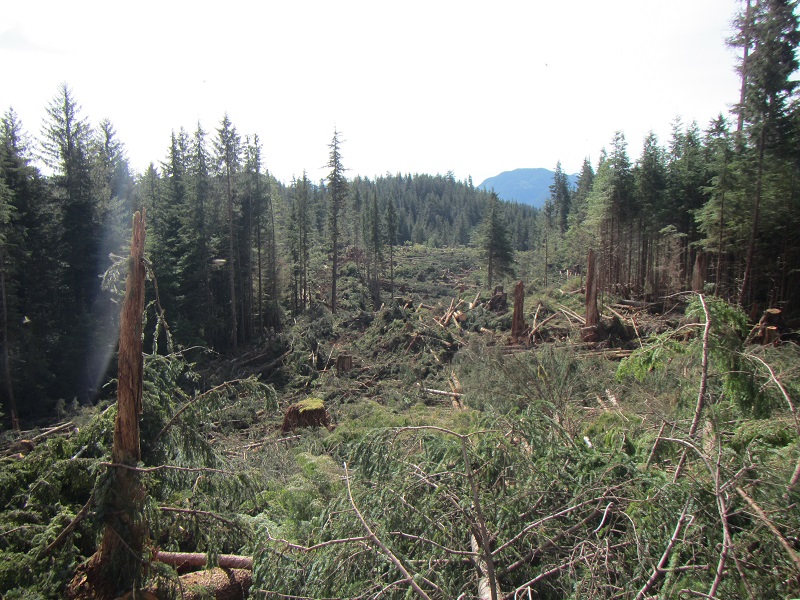
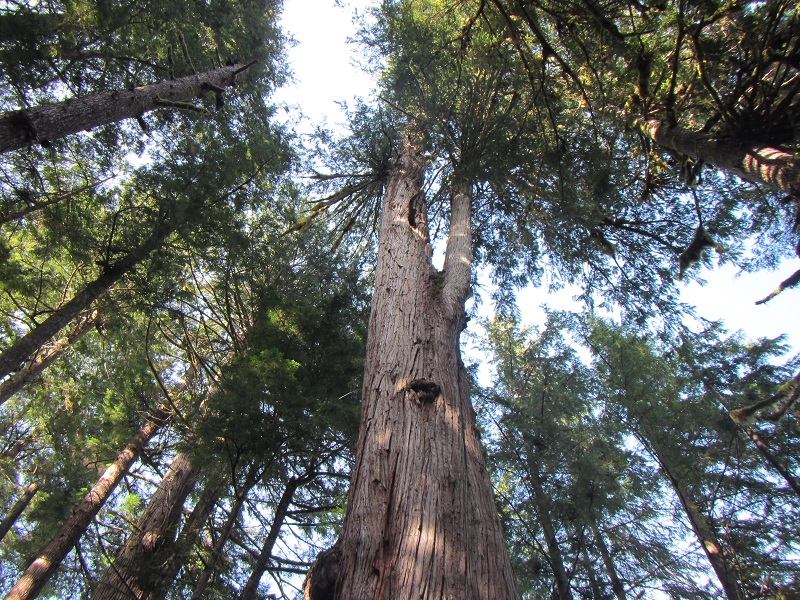
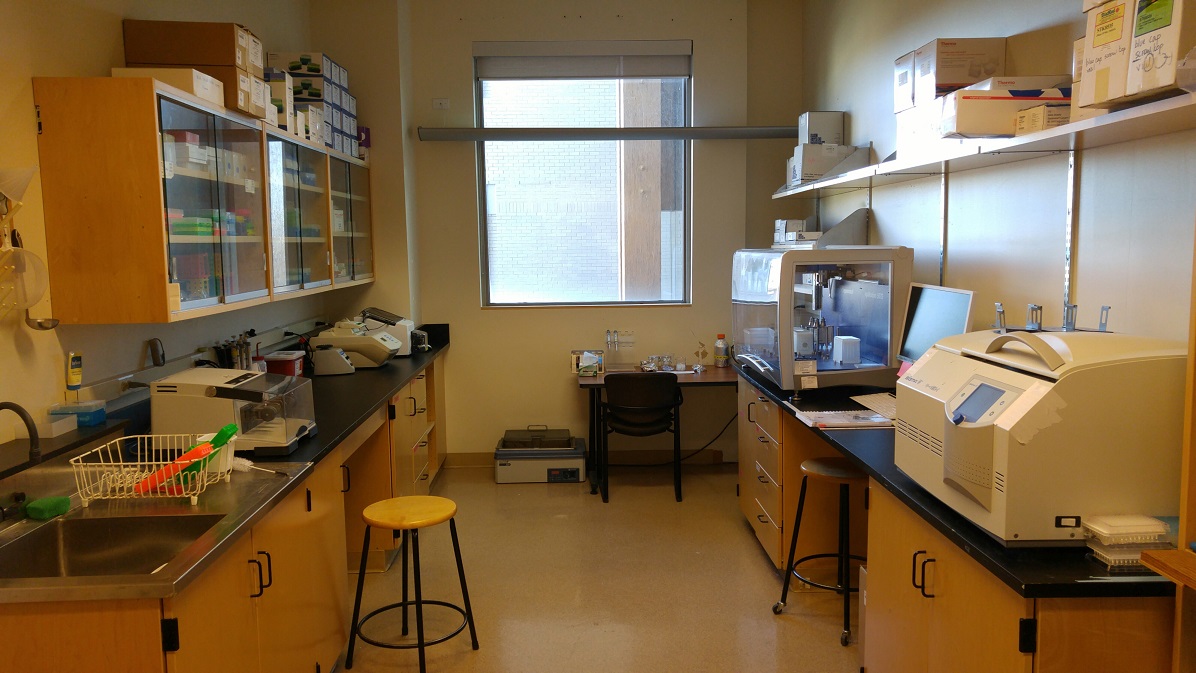
This post is about labwork. Anyone reading our blog might have the idea that being in the Aitken lab is much like being Indiana Jones (or possibly Tarzan) – and sure, we are a good-looking bunch of rugged adventurers. But the truth is that although most lab pictures show our feats of courage ascending massive Sitka spruce, or wandering the wilds of Alaska, we spend a lot of time in the lab.

Joane Elleouet and I tried to extract DNA from dried Sitka spruce cambium for six months or so last year, on and off. We went through a number of protocols, and although we eventually modified one of them enough that it mostly worked, we were amazed at the lack of guidance online for cambium extractions. Surely someone had done this before! Nope. We thought that the world wide web had our back, and then it didn’t.

This is the wetlab, the room that hears the most cursing and cheering. We (mostly Dragana) recently cleaned, which is why it looks so good.

What you’ll find below is an annotated version of a CTAB DNA extraction protocol we got from Kristin Nurkowski (who got it from Marco Todesco at the Rieseberg Lab),  which we have modified for cambial tissue. It’s not perfect, but if you’re having trouble getting DNA out of cambium it may be your best bet. Probably some more improvements can be made. Note also that the suggestions we offer are just what one or both of us thought worked best for our own samples as we extracted them: we haven’t tested them with other batches of samples, and often we haven’t tested each alteration to the original protocol in isolation. But despite our recalcitrant tissue, we managed to scrape a 60-90% success rate, depending on the exact methods and samples (which is actually pretty good). Hopefully you can do as well or better.

When not in the lab or the field, this is what we do: Joane, Ian, Jon, and Pia being productive.

Unfortunately, for those of you who are just reading this for fun, recess is over once you cross the dashed line below.

————————————— Beginning of the protocol —————————————

The protocol has been through a number of modifications, but originally it was from Zeng et al. 2002, Acta Botanica Sinica 44; 694-697. There are a few other papers published that have other methods for extracting DNA from cambium (preserved in different ways) that you could look for in case of difficulty.

PART I: Preparing the buffers

CTAB-free Buffer (100 mL total volume):

20 mL 1M Tris-HCl stock, pH 8.0
10 mL 0.5 EDTA stock, pH 8.0
5 mL 5M NaCl stock
65 mL PCR-clean H2O
Autoclave

3% CTAB Buffer (100 mL total volume):

10 mL Tris-HCl stock
5 mL EDTA stock
30 mL NaCl stock
3 g CTAB
1 g PVP
55 mL PCR-clean H2O
Do not autoclave, the PVP will be destroyed.

High Salt TE (100 mL total volume):

20 mL NaCl stock
80 mL TE buffer
Autoclave

TE Buffer (100 mL total volume):

1 mL Tris-HCl stock, pH 8.0
200 uL EDTA stock, pH 8.0
98.8 mL PCR-clean H2O
Autoclave

PART II: Tissue collection

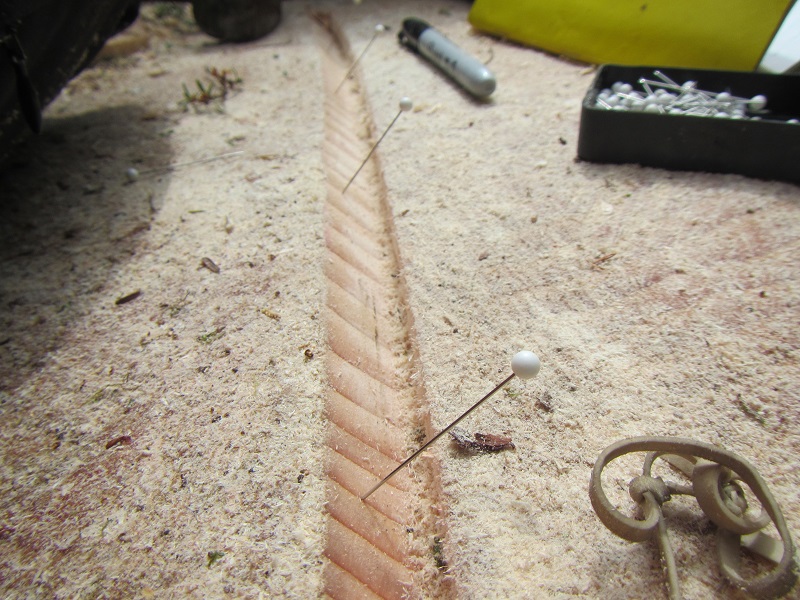
We used discs of cambium and phloem (since it’s difficult to get just cambium – it’s all stuck together in the inner bark) obtained using a leather punch from the base of Sitka spruce trees and dried in silica gel. We shaved around 20-30 mg (usually 22ish) of tissue from the inside (wood side) of each disc. That’s the region that should contain the (supposedly) DNA-rich cambial tissue.

Our samples weren’t perfect to begin with. Mine were collected in late July on Vancouver Island, after the peak of cambial activity in the spring. Collecting earlier might have improved the yield. Joane’s samples had been dried in silica gel for a year, and it’s possible they became less tractable with time.

Put your tissue into a 2 mL tube with one steel ball bearing. It is really important to weigh tissue into a 2 mL tube because the ball bearing can get stuck in the end of the 1.5 mL tube.

PART III: Grinding

1. Place your samples in a mixer mill block, put it in a Styrofoam box, and pour liquid nitrogen over it (wear insulated gloves!).
2. Assemble the block and fit it into the mixer mill.
3. Grind samples at 30 Hz for 1 minute.
4. Quickly disassemble the block and freeze each part again.
5. Reassemble the block, flipping it 180◦ to ensure even grinding, and grind again at 30 Hz for 1 minute. Usually, redistributing the samples within the block each time helps them grind evenly.
6. Disassemble the block and check each sample. It should look like a fine beige powder. If the sample is not ground properly, freeze everything and grind it again. For our samples, it took as many as ten repetitions of the grinding process.
7. After grinding, quickly add the prepared buffer and start the protocol.

PART IV: Protocol

8. Put some 3%CTAB to warm at 65◦F with loose cap
9. Add 1 ml of CTAB-free buffer (cold) + 6 μl β-mercaptoethanol (mix done beforehand in the fumehood with a bit extra)
10. Mix by inversion (shake each sample quickly), keep 10 minutes in the freezer. While waiting, put some 3% CTAB in the waterbath and some 2-propanol in the freezer
11. Spin at 10.000 g for 10 minutes in the centrifuge (longer may be required, depending on your tissue)
12. Discard the supernatant under the fumehood in a trash beaker
13. (if you use particularly nasty tissue, you can repeat this step)
14. Add 500 μl of pre-warmed 3% CTAB + 5 μl of β-mercaptoethanol in the fumehood
15. Incubate at 65°C for 60 minutes
16. Let the tubes cool down a little bit
17. Add 500 μl of chloroform-isoamylalcohol 24:1 in the fumehood. SUPER CORROSIVE!
18. Vortex
19. Spin at full speed for 15 minutes. Meanwhile, label new 1.5mL tubes
20. Move the aqueous phase to the new tubes (1.5mL) under the fumehood. This must be done exactly right – it’s probably the most important step. The aqueous phase is the liquid above the solid phase in the centre of the tube. Don’t take all the liquid, and don’t disturb the part that’s within a couple mm of the solid-liquid interface. Take around 320 uL from the top surface of the aqueous phase slowly and carefully. Too much will give you an impure sample. Too little will decrease the yield of DNA.
21. Add 250 μl of NaCl 5M, mix fast
22. Add 500 μl of cold isopropanol (2-propanol), mix (have a tube ready in the freezer)
23. Leave at least 20 minutes or overnight at -20°C. You can take a break here if you want!
24. Spin at max speed for 15 minutes
25. Wash pellet in fumehood with 1 ml of cold 80% ethanol (prepare the mix from 100% and PCR-clean water)
26. Spin at max speed for 5 minutes
27. Repeat wash (no need to be under the fumehood anymore)
28. Dry pellet (by putting the tubes in the heatblock at 25 to 37 degrees)

Depending on your tissue, you may need to include the following seven optional steps (labelled 29-35). Otherwise proceed directly to step 36. We found that omitting the optional steps often led to severe RNA contamination. The Nanodrop would say we had lots of very pure DNA, but the Qubit (which is much more reliable) would say we had almost none.

29. Resuspend in 400 μl of high salt TE + 2 μl of RNAse A (sometimes more RNAse is needed)
30. Incubate at 37°C for one hour, mixing occasionally until the pellet dissolves. Sometimes this is a LOT of mixing.
31. Add 800 μl of cold 100% ethanol
32. Spin at max speed for 15 minutes
33. Wash pellet with 1 ml of cold 80% ethanol. If the pellet is invisible, it doesn’t mean the sample failed. Just continue, leaving a bit of liquid at the bottom of the tube with every wash, and be very careful not to touch the part of the tube where the pellet should be when you suck out the liquid to dry the pellet.
34. Spin at max speed for 5 minutes
35. Repeat wash

36. Dry pellet and resuspend in 50 uL elution buffer or TE. Use less if you need higher concentrations. The yield of this procedure was often in the range of 250 – 1250 ng when the optional steps (29-35) were included, and more if they weren’t.
37. Quantification and quality control: we used a Nanodrop and a Qubit. The Nanodrop gives (sometimes wildly) inaccurate DNA concentration readings but it can test for purity. The Qubit gives accurate concentrations, but doesn’t tell you what might be in the sample along with the DNA.

Hazards

It is important to note the two most hazardous reagents used in the protocol. In addition to being stinky, the B-mercaptoethanol is also toxic. Any supernatant or plastic item contaminated by it must remain in the fume hood and becomes hazardous waste. Do not breathe it in or get it on your skin. The chloroform is also toxic and can burn your skin and lungs. Keep the lid on and it in the fumehood! Any plasticware contaminated with chloroform needs to remain in the fumehood until dry, and then it can be thrown out with regular trash. Liquid waste needs to be stored and disposed of according to your local regulations (but not down the drain!).

Advice

The biggest problems with this protocol were:

• A mystery contaminant. There seems to be something in Sitka cambium or phloem that gives low 260/230 ratios on the Nanodrop (i.e. a bad quality score), if it isn’t properly removed. Sometimes it removes well, other times not.
• RNA contamination. We sometimes had lots of RNA in the samples if we skipped steps 29-35. If this isn’t a problem for you, omit them. If it is, include them – but the whole protocol gets more finicky when you do. Getting rid of the RNA while keeping enough DNA to work with (in our case for GBS and sequence capture and then next-gen sequencing) wasn’t always easy.
• Low yields. Sometimes we just didn’t get much DNA. The good news is, this often seemed to be protocol-dependent rather than sample-dependent. When a sample didn’t work out, trying the same sample again often solved the problem.

Some suggestions for troubleshooting:

• Try changing the amount of supernatant you take in step 20. Take more if you have no DNA. Take less if you have a contamination problem.
• Try starting with different amounts of tissue. Use more if you have no DNA. Use less if you have a contamination problem.
• Be careful washing the pellet: don’t lose all or part of it! Maybe spinning at colder temperatures (4°C? 10°C?) would help.
• Consider using RNAse A if you still have a contamination problem after including the optional steps. Consider eliminating the RNAse A steps if you have no DNA.
• Try using your newest tissue, collected whenever cambium is active near you (probably spring).

Final note:

All the extra cautions and advice I added to the protocol might make it seem a bit daunting. But remember, it actually works! The protocol isn’t particularly difficult, and maybe it’s less finicky than my comments make it seem — and after a few repetitions you should be churning out extracted samples no problem. So good luck!

08/4/16

Climbing in Carmanah: Part II of an MSc

At the end of my post about the first part of my Master’s fieldwork, I mentioned that there was a thrilling second part coming soon. In this my second blog post, I can say that it was an adventurous and photogenic experience, if somewhat over-generous in mosquito bites.  I only wish there were a third part to my fieldwork, insect-free for once, to round it off nicely.

Carmanah Walbran Provincial Park contains the tallest trees in Canada. It’s a few dusty hours down logging roads from Cowichan Lake on southern Vancouver Island, and that’s probably why not many people go there. It was, apparently, a much more popular destination in the early 90s when the protests that led to its creation were internationally famous; but the intervening years have brought retrenchment and decline to the park’s infrastructure. The trail down to the Carmanah Giant is closed, and the trail upstream is no longer maintained. The park headquarters and a hummingbird research station upstream are both gone, and – most importantly – the road is falling into disrepair.

Matthew chilling on The Needle. Photo Credit: TJ Watt

Matthew chilling on The Needle. Photo Credit: TJ Watt

We were there to collect a second batch of samples for my MSc project on somatic mutation in Sitka spruce. The earlier blog post explains the research – in case you’re interested in an overview — but briefly, somatic mutations are changes to the DNA sequence of individual trees that might help tree species evolve more quickly (or they might not – that’s what we want to find out). Because mutations happen very infrequently, we need to increase our chances of finding some by taking samples from the tops and bottoms of old, large trees. The taller the trees, we think, the more mutations we will find. Although we considered many ways of getting samples from the tops of trees (drone, rifle, slingshot…), climbing them is most efficient and, coincidentally, most fun.

Looking down from the Party Tree past some lichen. Photo Credit: TJ Watt

Looking down from The Party Tree past some lichen. Photo Credit: TJ Watt

When we left for Carmanah Walbran Provincial Park we were eight people departing from three different cities, and once again we had too much cream cheese. It was quite an expedition. From the CFCG there were Sally Aitken, Jon Degner, and myself. There were also three exceptional arborists and big tree climbers, Matthew Beatty, James Luce, and Ryan Murphy, as well as two photographers/videographers/drone enthusiasts, James Frystak and TJ Watt, who dropped by for a few days each and took amazing footage.

Major Tom (aka James) ascending
Photo Credit: TJ Watt

The main difficulty climbing trees this large is getting a rope up into the crown. James Luce calls this process “fishing for tree bass.” He shoots a weight attached to some fishing line over a high-up branch using a giant slingshot, and pulls up larger and larger ropes until there is a solid climbing rope hanging from a solid branch. He then clips into the rope with his harness and mechanical ascenders, and walks up the rope into the canopy. Reaching the top of the rope, he climbs up the limbs to the top like a ladder, attaching himself to trustworthy branches or the trunk as he goes. Once at the top, he collects a few handfuls of needles, drops a tape to the bottom of the tree to measure height, and then either descends or traverses to a nearby tree to sample once more.

Standing in the tops of these trees feels surprisingly solid. The wind makes them sway in big circles, but so slowly that you only notice it when you look at other trees swaying with another rhythm. Because the spruce we climbed were so exceptionally tall, the tops of ordinary trees below look small and far away, and the tops of other large trees are as obvious as church steeples. Throughout the crown the limbs of the trees are draped with mosses and lichens, in thick mats or hanging loosely, which occasionally harbour small plants that would more usually be found on solid ground. Previous research in the Carmanah valley, by Neville Winchester and Richard Ring in the 90s, has also revealed an abundance of canopy anthropods, including roughly 120 new species.

Looking down at the top of the tallest known amabilis in BC, called The Two-Headed Boy for a song and its forked top. Photo credit: James Luce

Since we wanted to register some of the trees we measured with the BC Big Tree Registry, we got to choose names for our spruces. The first two we climbed were 77-meter spires in an open clearing: we named them Major Tom and Ground Control, in honour of David Bowie, but also as a reference to our radio protocol. Ground Control referred to Jon and me at the base of the tree, collecting samples, keeping pedestrians clear, helping with measurements, and answering questions from the climbers about sampling techniques. If Matthew or Ryan were in the canopy we usually referred to them as Canopy 1 and Canopy 2, but by radio James was always Major Tom.

The biggest spruce we found will be named the Party Tree, after the centrepiece of Bilbo’s birthday party in the Lord of the Rings. It was also a tree that we had a bit of party in, though, because all of climbed it at once – five of us that day hanging in the canopy. I think everyone would have loved to spend more time in the monumental crown of that 84.4-meter tree. During some spare time in Carmanah we also found the two tallest recorded amabilis firs in BC, at 60 m and 63 m tall. We’ll submit them to the Registry as well, although I’m sure any diligent big tree hunter could find many taller firs in that park.

Matthew and Jon trying to DBH The Needle. Photo Credit: TJ Watt

Matthew and Jon trying to DBH The Needle. Photo Credit: TJ Watt

I had been worried, before visiting Carmanah, that there might not be enough large spruce for my project… and that was a ridiculous worry. Within 30 minutes walking from the trailhead we found more than enough big trees. We were spoiled for choice. We climbed 23 trees averaging 76 meters – that’s more than double the height of the UBC clock tower, and taller than the sequoia featured in the famous National Geographic composite of tree climbers in winter. Jon and I spent our days rushing madly around on the ground processing samples and measuring things while the climbers rushed around equally madly, although vertically. But it was a successful trip, a fun trip, and (as Matthew pointed out) the sort of trip that quickly becomes legendary. I’m very glad to have met such great people, and seen a bit of the magic of canopy research.

Party in the Party Tree. Photo Credit: Matthew Beatty

Party in the Party Tree. Normally Ryan was moving too fast to take a picture of, but here we got him, as well as James, Jon, and myself. Photo Credit: Matthew Beatty

06/13/16

Heading to Haida Gwaii: Part I of an MSc

The many moods of the Cumshewa inlet and estuary on Moresby Island. Lea took some of these photos

The many moods of Cumshewa inlet and the estuary on Moresby Island. Lea took some of these photos.

Sampling for my Master’s project began in May 2016 when Lea and I drove Bean (our lab truck) out of Vancouver towards Haida Gwaii, with lots of unnecessary gear and too much cream cheese. Our mp3/ipod hookup (which is certainly not considered unnecessary gear) broke 45 minutes into the trip, leaving us with no music except intermittent radio. What followed was an epic 28-hr set of travel conversations, over three days, that I could spend this entire blog post recounting – including a history of each of our entire lives, year-by-year in total detail, since birth. The high point of the trip out was the precipitous mountain scenery between New Hazleton and Prince Rupert; the low point was Lea eating all the M&Ms in the trailmix (REALLY, LEA?).

We arrived at Moresby Camp on Moresby Island, where we camped while we sampled at a nearby clearcut. The campsite sits on the end of a little peninsula into a long inlet from the east coast of Haida Gwaii, at the mouth of a river and surrounded by the highest mountains on the islands. Company consisted of bugs, occasional rain, one massive bear, and a rowdy crack-of-dawn party of birds in the estuary. In the morning, Bill from Taan Forestry took us out to the cutblock (thanks, Bill!). Here Lea won honours with distinction by remembering her bug net. I forgot mine, and regretted it.  Over the next five days we searched for 10 or so tall Sitka spruce to sample. We took samples of needles or buds from the top of each tree, as well as samples of the inner bark from the base of each tree. We also counted rings, took pictures, GPSed things, measured tree heights and diameters, sawed stumps, swatted flies, fell off tree trunks, fell onto tree trunks, fell under tree trunks, and generally worked hard.

You might get the impression that mostly Lea worked while I took pictures. You might not be wrong.

You might get the impression that mostly Lea worked while I took pictures. You might not be wrong.

If you’ve made it two paragraphs into this post without quitting, you’re too committed to quit when I explain my research topic (even if I bore your socks off – not that I will). So, the research: I’m studying somatic mutation, the same kind of mutations that in humans cause cancer. Somatic mutations are mutations (changes to a cell’s DNA sequence) that happen in the body cells of an organism instead of in reproductive cells like the precursors to sperm or pollen. And unlike in humans, somatic mutations can be inherited in trees. Because somatic mutations happen when cells divide, and because trees can be large, we expect there are lots of somatic mutations in trees.

View of the cutblock from the spruce we named Mihail

View of the cutblock from the spruce we named Mihail

What’s interesting about somatic mutations is… a lot of things. Mutations are the raw material for evolution, so if trees boost up their mutation rates with extra somatic mutations, they could adapt more quickly and more closely to local environmental conditions (temperature, precipitation). This could be important for adaptation to changing climates, too. Similarly, long-lived trees need to evolve defenses against the short-lived insects that eat them. Maybe somatic mutations help trees overcome their own long generation times (which slow down evolution) and keep pace with fast-evolving insects. There are other interesting points, too – somatic mutations have to do with ageing, and the evolution of mating systems, and horticultural varieties (pink grapefruits!), and competition between branches and buds, and selection within individual trees.

No one knows for sure how many somatic mutations there are, in a tree’s lifetime, so I’m going to try to find out.  The idea is to sequence samples from the top of the tree and compare them with samples from the bottom of the tree. Differences between the two are somatic mutations. Improvements in sequencing technology mean that these mutations, which happen maybe once in a million or ten million base pairs, should now be possible to detect — we hope. Luckily, for the sake of fun, field technology lags behind sequencing technology, and actually obtaining the samples involves a lot of mucking around in the cutblock with envelopes and a small annoying electric saw.

Our increment bore was a circular saw. Photo: Lea Zhecheva

Our increment borer was a circular saw. Photo: Lea Zhecheva

A few days into sampling we were going a bit crazy. “Smell me,” said Lea, after an overly-long day of tumbling around the cutblock. “I smell good.” I thought that was unlikely, and I refused to comply. But she’d been spending most of her spare time bathing down at the river, because I’d been unmercifully crushing her at board games – and so her options seemed to be either bathing or re-reading Harry Potter while giving me dirty looks. I may be exaggerating the ill-will board games generate, but I’m sure she smelled much better than me. Anyway, clearly a rest day was needed. Our rest day was an all-day hike up Mt. Moresby, which included some good views, some snow, and some interesting plants.

Well, after finding nine suitable trees to sample from (each whimsically named), we took the overnight ferry and drove the long drive back to Prince Rupert.  And now (I hope) you’re clamoring for a Part II to complete Part I of this blog post. Well you’ll have to wait. Not because I’m too lazy to finish it (which is probably why Joane divided her post in two parts), but because sampling Part II hasn’t happened yet. But it promises to be lots of fun, too – we’re planning to climb the biggest spruce we can possibly find… I’ll tell you about it sometime.

Some trees were still upright

Some trees were still upright