3D Printers
*The 3D printers are available to use after a one time training session. After the training session, the 3D printers are free to use during available booking times.*
![]()
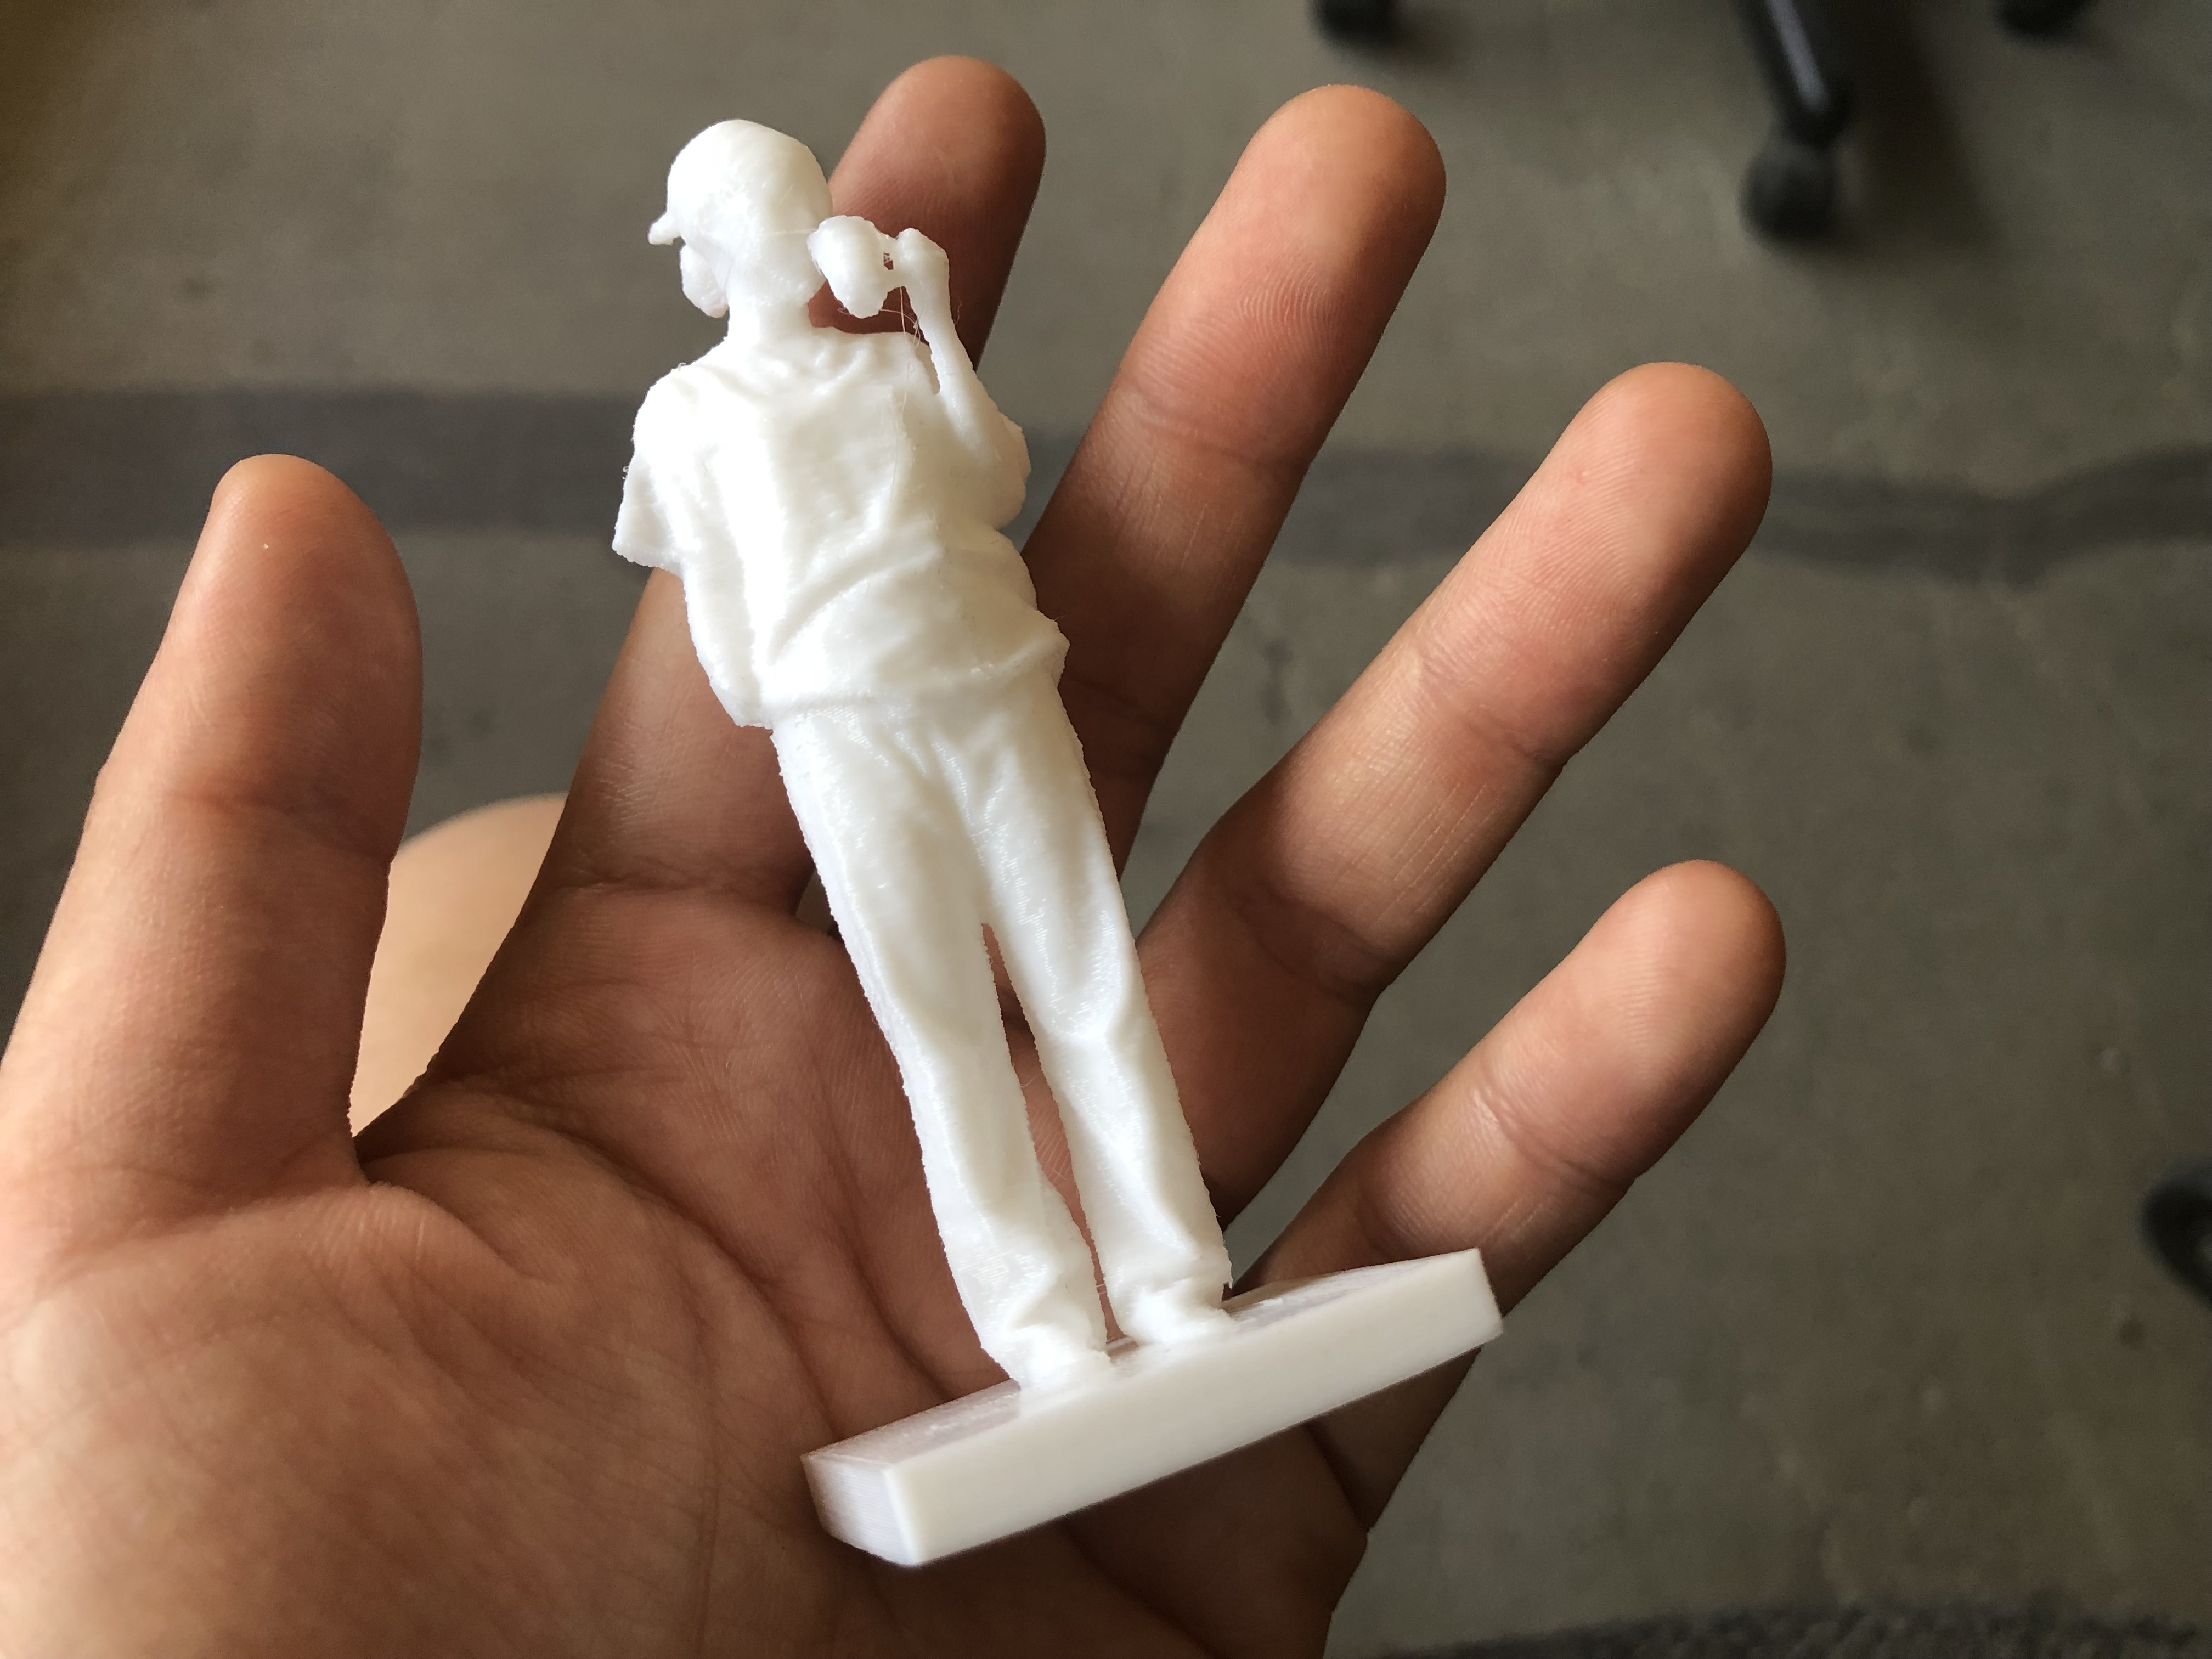
The printers print ultra-thin layers of PLA plastic on top of each other to build up a very high-resolution plastic model. The PLA filament is biodegradable and is made from corn starch. It comes in a variety of colors (the work shop typically sells white). The maximum size for any print is 8.4 x 6.3 x 8.7 inches (21.5 x 16 x 22 cm).
Please bring your own SD card with your file loaded on to it.
Location
Three Tinkerine Ditto Pro printers are on the third floor of the Lasserre studio space, one is in the Landscape Architecture Annex, and two are in the environmental design studio in the Macmillan Building.
Booking
All Tinkerine filament printers are available for self-serve use 24 hours a day, seven days a week. Book online to ensure availability.
Fee
There is no fee for use; however, there is a one-time $15 fee for the tutorial that is required before using them.
Materials
Filament is for sale in the work shop. Only Tinkerine filament is allowed because other filament brands clog the machines.
For a full list of items available for purchase in the shop, please visit our materials page.
File Setup
For all files:
- Files need the .stl extension.
- Create a new file for digital output. You can easily do this by saving your file under a new name. Create a separate file for each job.
- Delete everything that isn’t required.
- Remove layers that aren’t required.
- Rhino users can use the Purge command to get rid of unused blocks and layers.
- Ungroup everything.
For Rhino:
- Use the Boolean Union command for all solids.
- Ensure there are no hidden features or any extra surfaces on the interior of the model.
- Use the “ShowEdges” > Show Naked Edges command to ensure there are no naked edges.
- Use the “What” command to ensure the shape to be printed is a closed solid polysurface.
- Change the units to millimeters.
- Scale the model to the size you want your output to be.
- Save as an .stl file with a tolerance of .001 and choose the Binary file type.
In Tinkerine Suite:
- Download Slicing Software from Tinkerine's website
- Import the .stl file. Scale and rotate as needed.
- Adjust the Slice settings as needed. Suggested defaults are:
- Resolution: Medium (200 micron)
- Infill: Sparse (18%)
- Walls: 1
- Supports: Off
- Filament: Enter the actual diameter of your filament as measured with calipers (calipers are available in the work shop)
- Speed: 60-70 mm/s
- Temperature: 210 for white filament, 220 for black, 205 for clear, 215 for grey or colours
- Slice the file, use slider to visually confirm correct geometry.
- Insert pause points if you want to change filament in the middle of the print.
- Save g-code file to your SD card.
On the printer:
- Tape the glass bed without overlapping or wrapping the edges.
- Clip in place.
- Level the bed with the wizard.
- Load filament with the wizard.
- Start the print.
- Confirm bed is level by observing the first layer carefully. Adjust as needed.
- Monitor the job at all times. Do not leave it unattended.
- When finished, first remove the glass from the bed, then the print from the glass.
- Snip off filament, leaving four inches for the next user.
- Report concerns to the technician.
- Record results in the log.
- Clean up area.
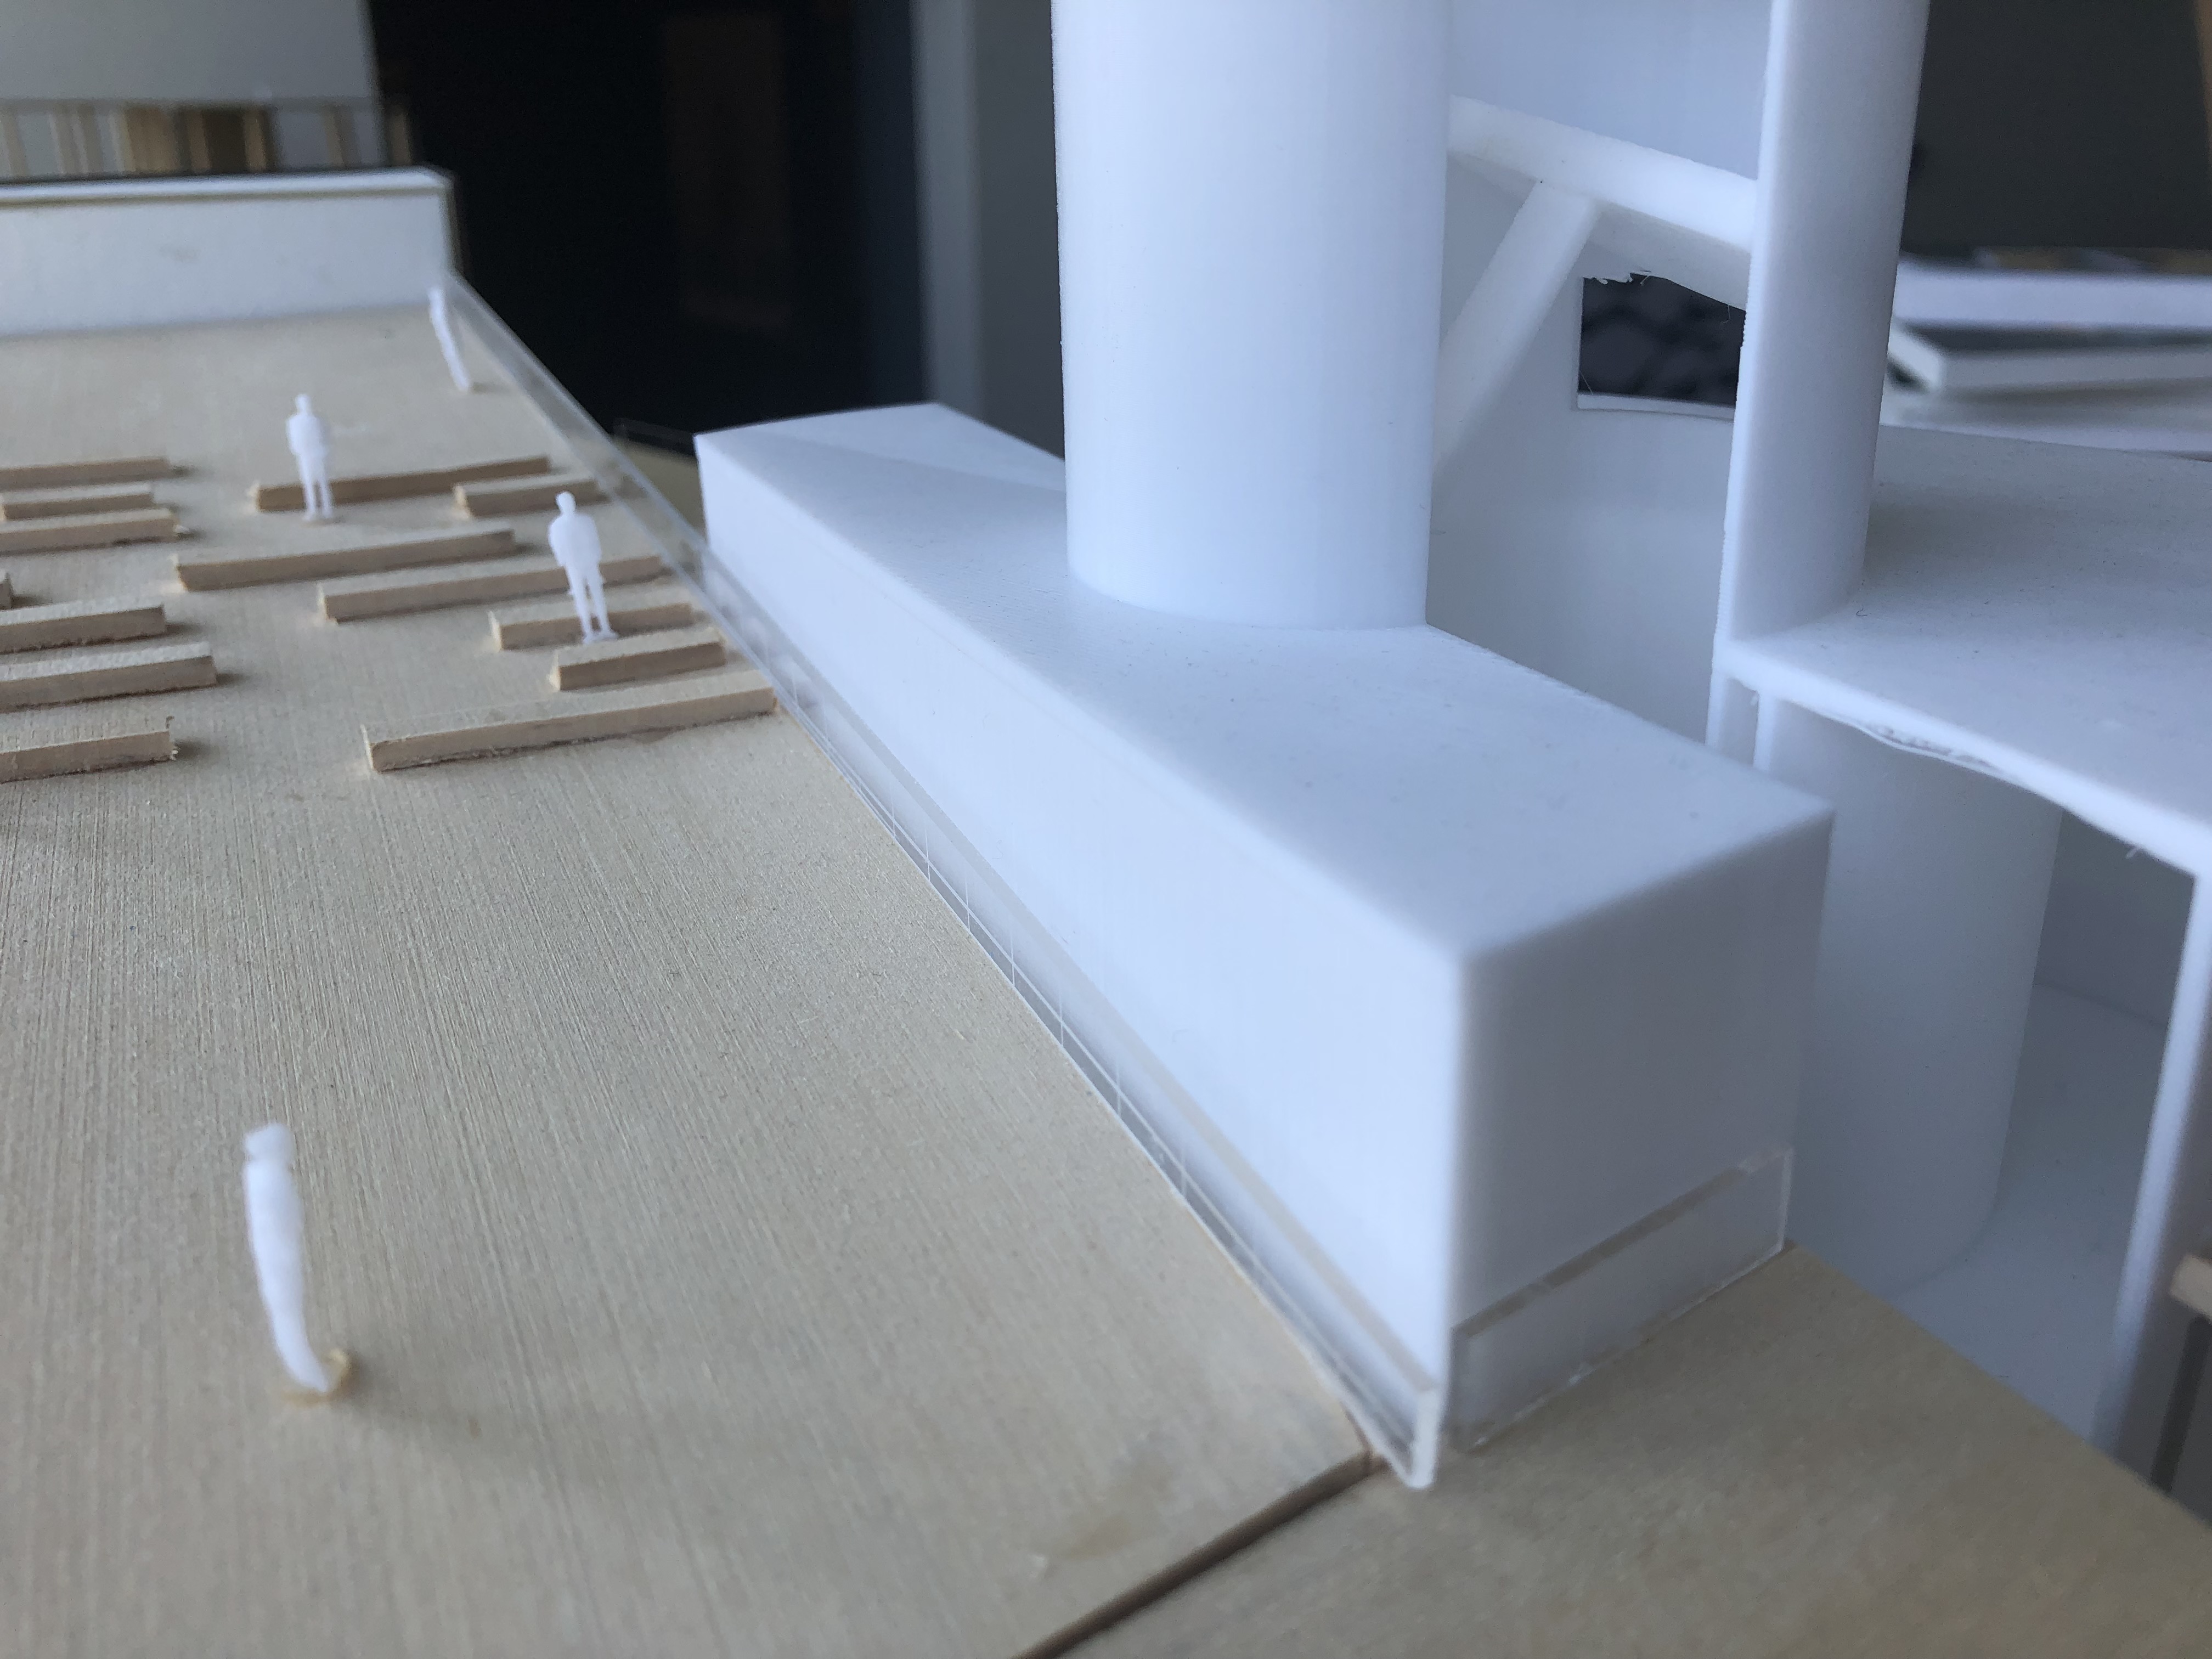
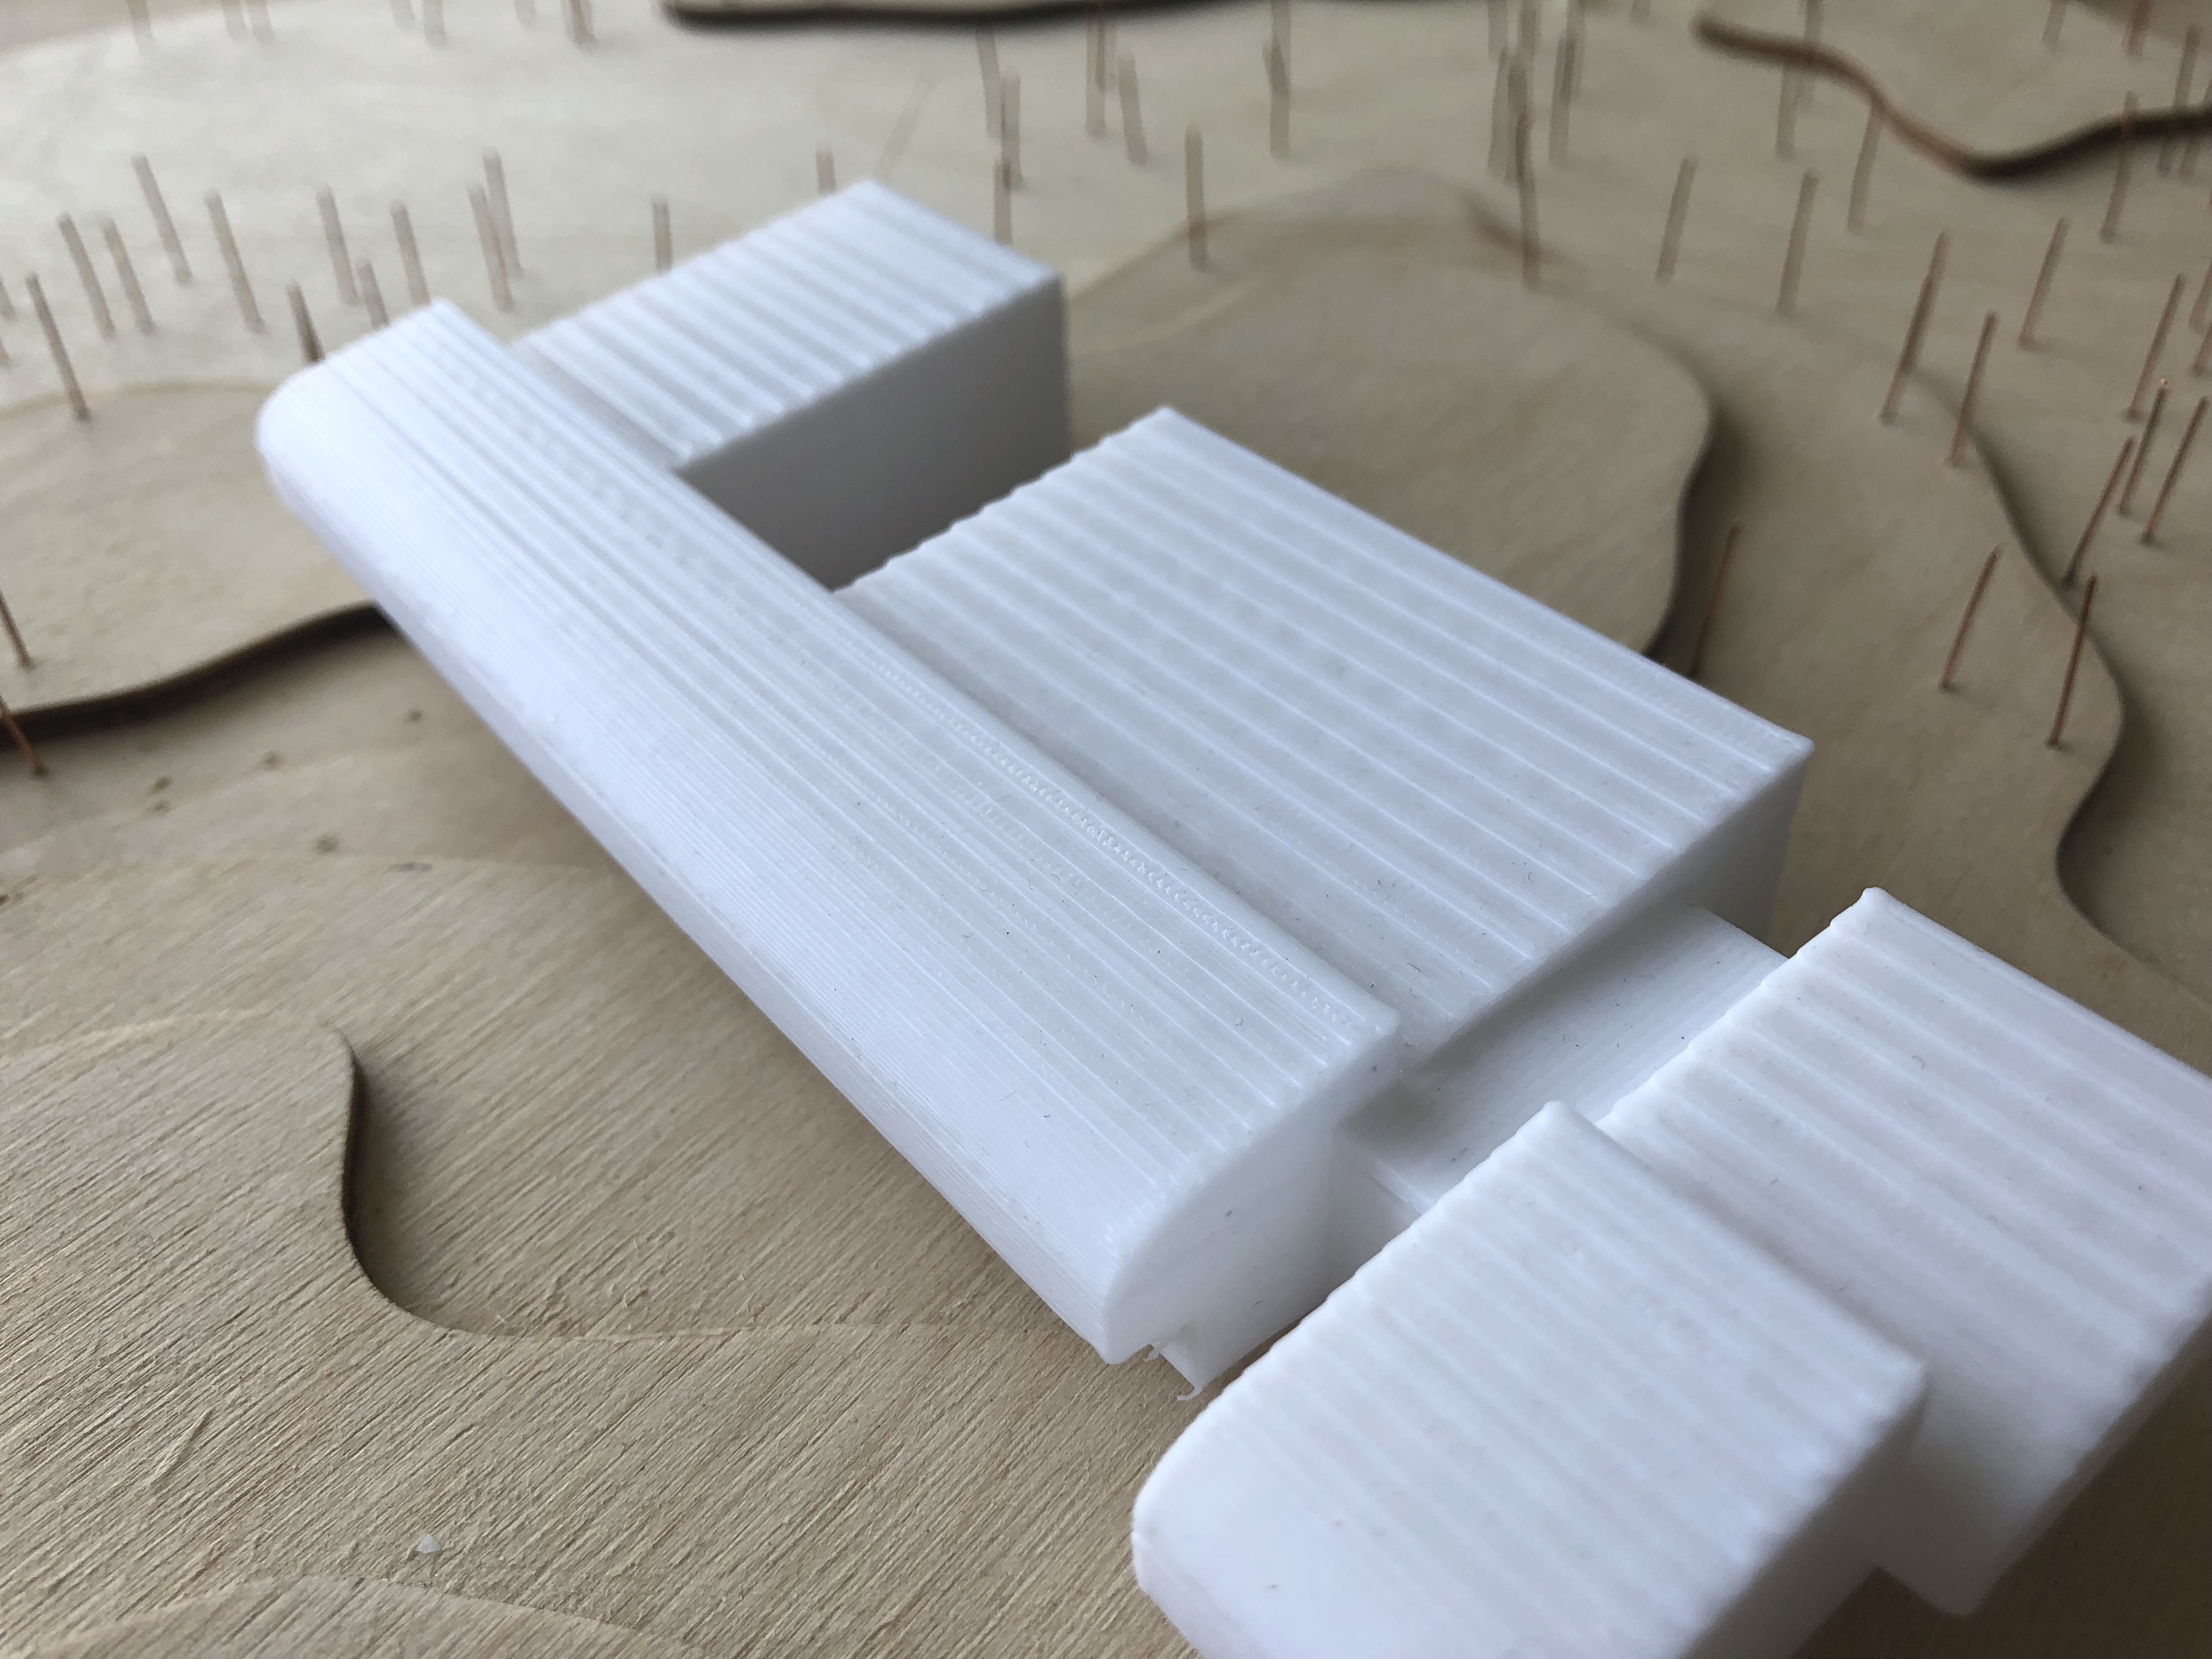
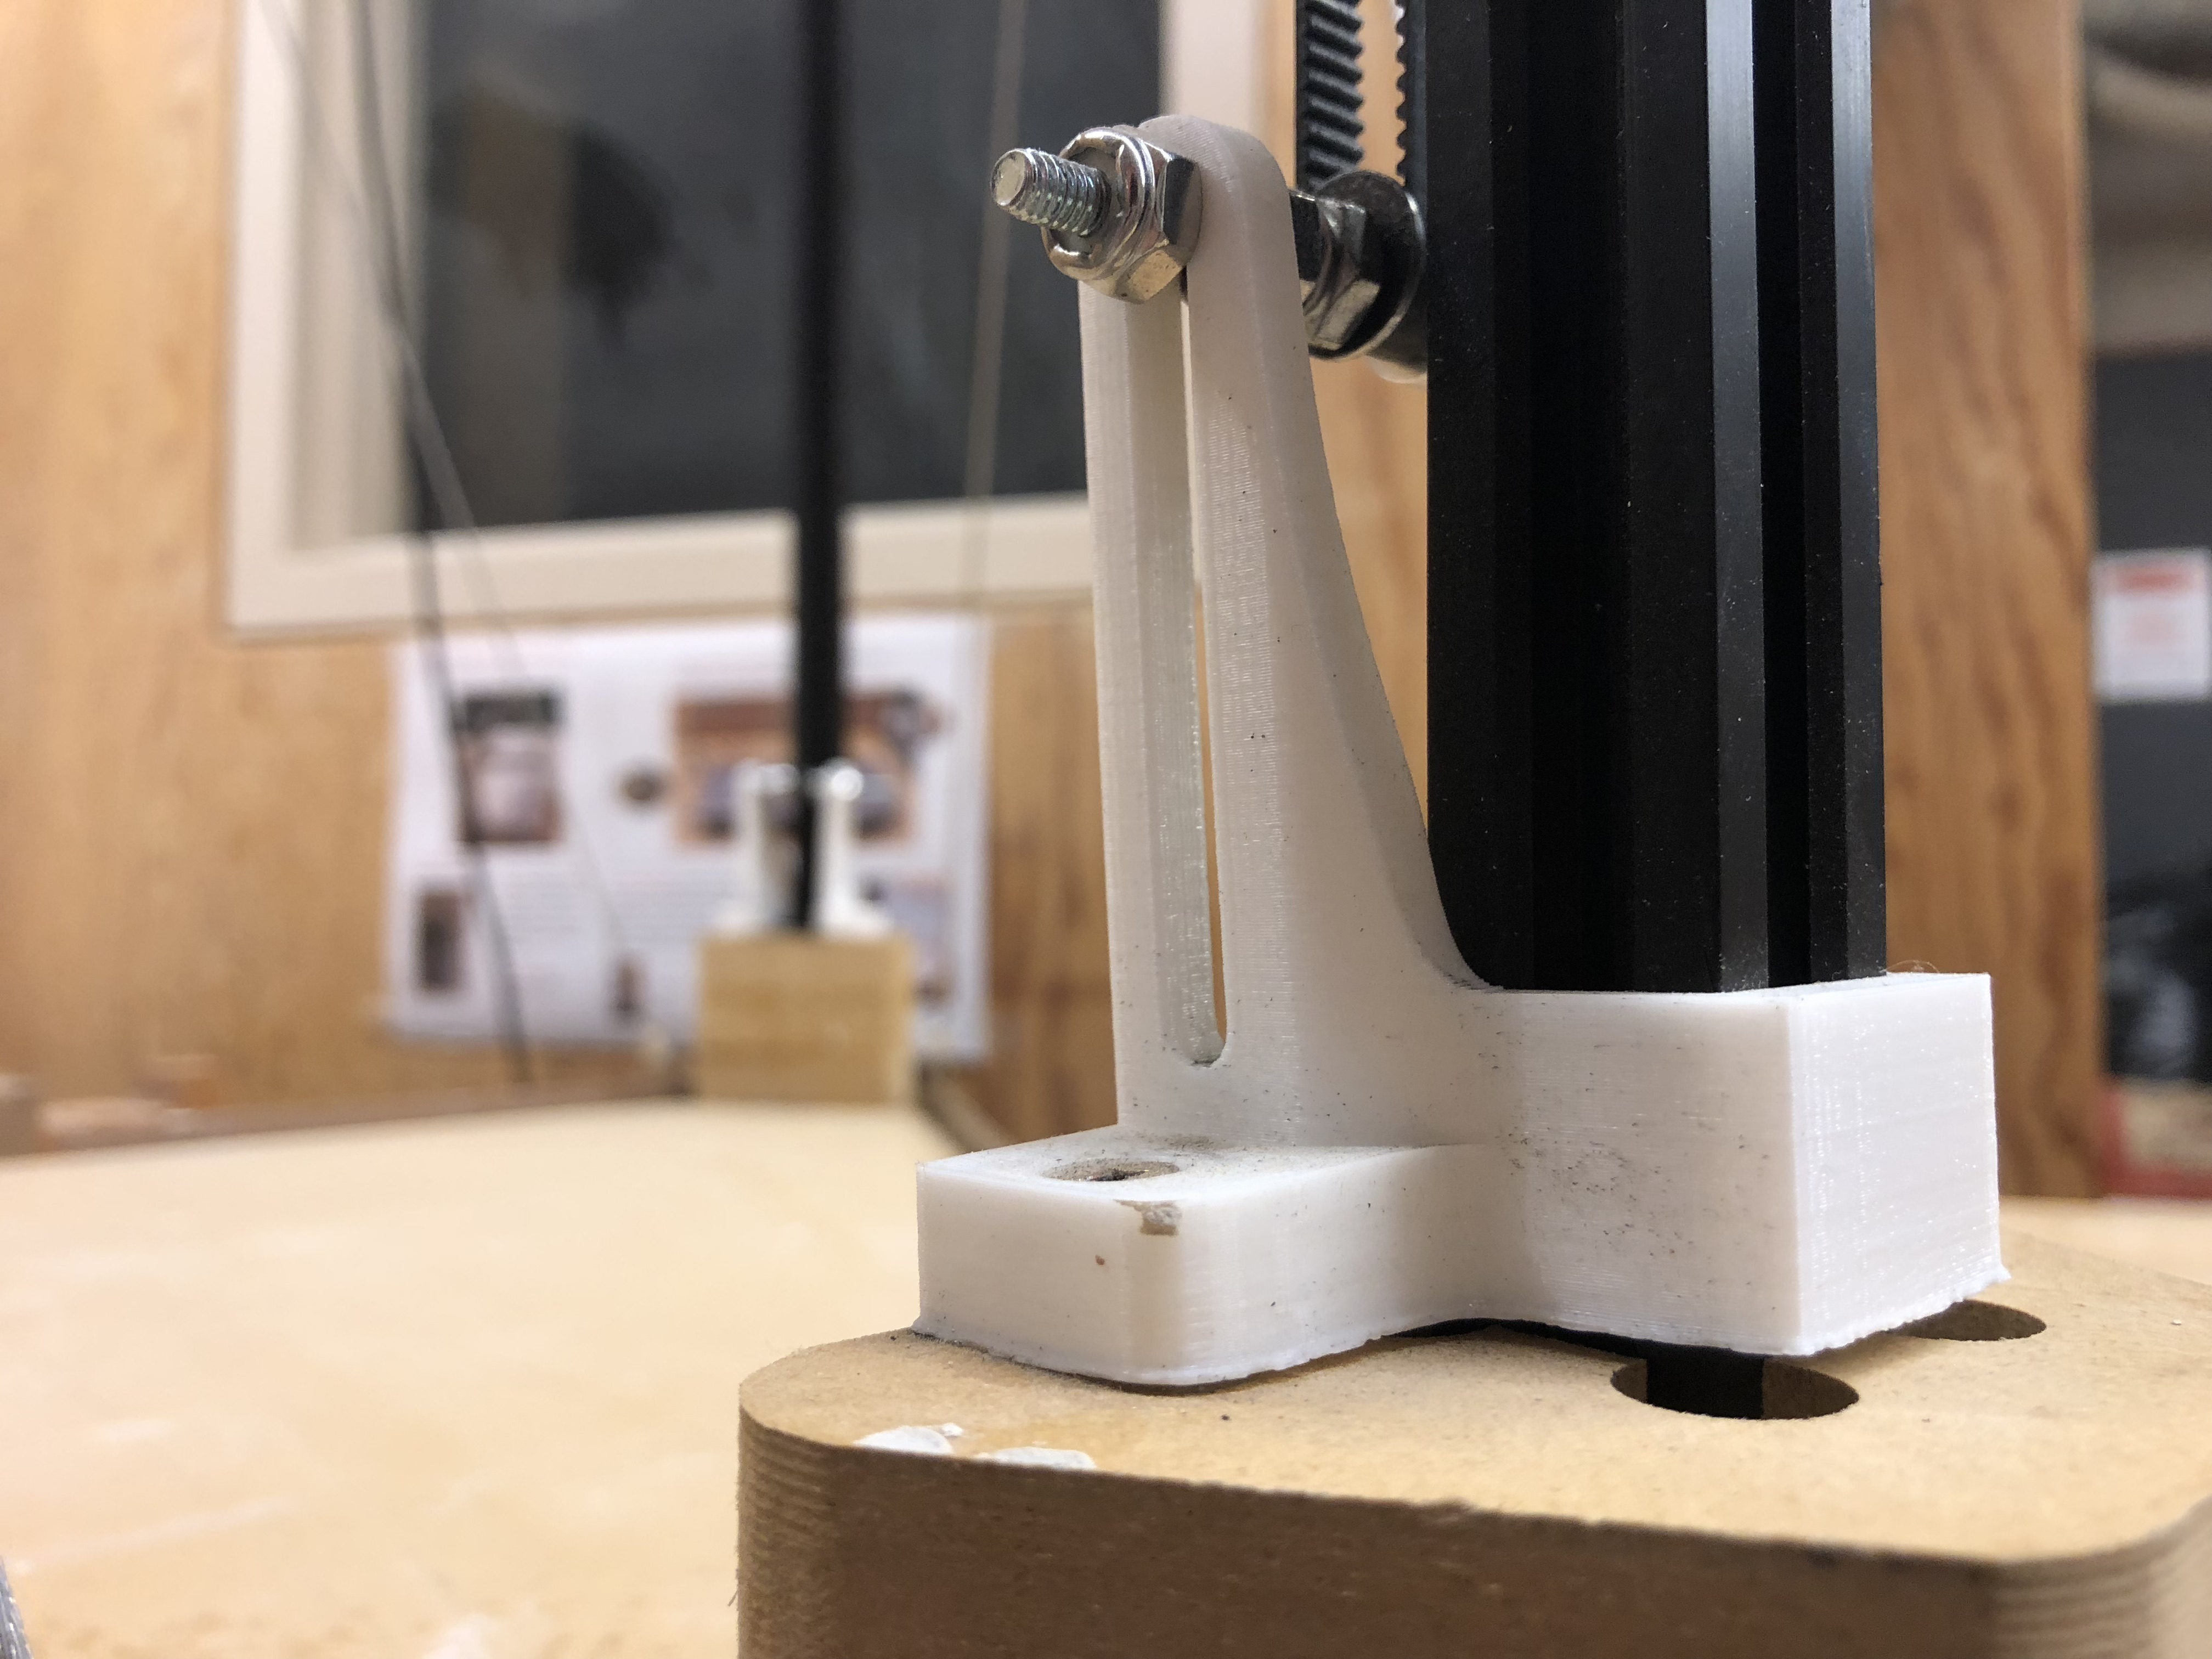
Example Work