Tag Archives: iste-3

QR Codes in education – seek, share, scan

iphone-513495_1920

whatisit.png

A QR (Quick Response) Code is a type of barcode you can use to point your students towards information or online content. They are free, easy to make and quick to access (once you have downloaded a QR code reader) and as long as you are able to point and hold the camera on your device over the code. QR Codes can be printed and scanned individually or displayed on a high res projector and scanned by the whole class.


Why-is-it-relevant-360x82.png

Ways to use QR Codes in your classroom/school:

  • Aid in student research by providing links to online sources
  • Create a treasure hunt or quest – this can be a physical journey like ours around the library or a strictly virtual journey in one classroom. I’ve even used QR codes on a ‘Community Unit field trip’ where groups of students, along with a parent, visited various locations around the community getting clues and prompts to learn more and find their next location!
  • Organize resources in your classroom library or help your students find resources around the school
  • Share long URLs more easily (especially with younger studnets)
  • Have students create QR codes to share multi-media projects or other content/questions/info with the class or the wider community
  • VISIT the following for more comprehensive info and lists of ways to use QR codes in educational contexts:

how-to-get-started-360x80.png

How to create a QR code:

    1. Create and/or Decide on the content, multimedia, text, URL etc to which you want to link
    2. Find a QR Code Generator online (there are so many – I like the features allowed free with http://www.qrstuff.com/; I also use https://www.the-qrcode-generator.com/)
    3. Add your content and create.
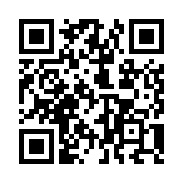
    4. Download or embed the QR code (as I’ve done below… do you know where this QR code goes?)

How to scan or read a QR code:

  1. Find and download a QR code reader compatible with your device – again, there are many, but I like QR code reader – simple name, easy to remember and cross-compatible!
  2. Launch the app by clicking on it
  3. Now hold your device’s camera centered over the QR code so that it appears in the ‘lines’ or ‘box’ provided by the reader. Tap scan and you should be on your way!

Now get Scanning…


videopng-360x61.png

Leave a Comment

Filed under Not Subject Specific, Resources

Citing Research in your Blog

“The term reference is used in many spheres of human knowledge, adopting shades of meaning particular to the contexts in which it is used.”

When citing other sources in your blog or website, it is very important to give ‘credit’ where credit is due (and it is always due!). For online sources, you can simply create a link to the original source and remember to always use quotation marks when directly quoting. You can highlight and link to the entire quote as I have done above.

When sharing information you gleaned from another online space or publication (that is not a direct quote), such as a blog or website, you should link out to the site as I have done below. For academic sources, I would suggest using Chicago in text citations (which footnotes your reference) as they are ‘cleaner’ looking with numbers rather than bracketed names and dates, but you can use any style with which you are comfortable. Again, though, I would recommend citing on each page or post of your blog rather than a reference list as a separate page. Unfortunately, I am unaware of a specific style guide to advise on this. You can create the footnotes in Word and just copy and paste the paragraph into your blog. The footnotes automatically become links and the citations from your document will appear on the bottom of the page.

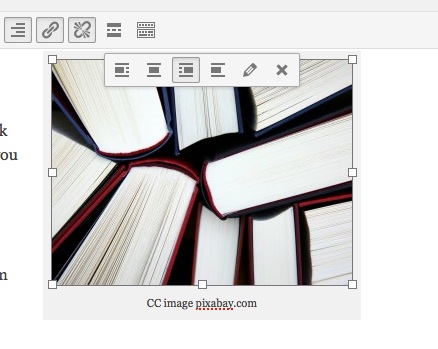
books-462579_1280

CC image pixabay.com

With images, it’s also important to reference (and use creative commons images citing appropriately where needed). I often use a caption with a link to the image source but always ensure you check individual copyright needs. NB: Pixabay has creative commons images with not attribution needed (although link-backs as I’ve done here are always appreciated!)

NB: to add the caption below the image, click on the image you’ve inserted into the page or post, select the ‘pencil’ edit tool and type the caption. You can also set alignment here so that your images has text ‘wrapping’ or not. (I used text wrapping above but not in the image below)

imageedit

Below the following paragraphs, I’ve added a horizontal line (from the visual editor menu bar) for a more organized appearance:

Interactive WhiteBoards, like the SmartBoard, have become commonplace in many schools over the past decade. IWB’s afford access to a variety of learning styles and can support inclusion according to Universal Design for Learning theory.[1] They promise the ability to increase student engagement by providing a focal point for instruction, interactivity, gaming and animations. This increased focus and engagement can improve student learning.[2]

Still, barriers to this potentially valuable technology include the price tag (a system must include a dedicated computer, projector and the IWB), and time. Teachers report that initial planning and preparation time are increased when using IWB’s. Further, time spent on troubleshooting, including ‘orienting’ the board, is seen as a disadvantage to implementation.[3]


[1] Pellerin, M. (2013). E-inclusion in early french immersion classrooms: using digital technologies to support inclusive practices that meet the needs of all learners. Canadian Journal of Education, 36(1), 44+. Retrieved from http://go.galegroup.com.ezproxy.library.ubc.ca/ps/i.do?id=GALE%7CA323659495&v=2.1&u=ubcolumbia&it=r&p=CPI&sw=w

[2] Troff, B. & Tirotta, R. (2009). Interactive whiteboards produce small gains in elementary students’ self-reported motivation in mathematics. Computers & Education ,54, 379-383.

[3] Krug, D, (2004). Leadership and Research: Reimagining electronic technologies for supporting learning through visual arts. Studies in Art Education: A Journal of Issues and Research. 46(1), 3-5.

CC images courtesy of Pixabay.com

Leave a Comment

by | January 14, 2015 · 3:50 pm

Search Smarter not Harder!

Are you busy searching for articles and resources to complete your inquiry project or to support your lesson and unit planning? Did you know that the UBC Ed library has links to your school district’s online resources and resource catalogues? Visit the Resource tab in this blog for more info.books-462579_1280

You can also download this handout of search tips that will help you find what you’re looking for through our library indexes and databases! Don’t get overwhelmed with too much info… learn to narrow your search to get what you want…

Resource Search Tips

Leave a Comment

by | January 10, 2015 · 7:35 pm

Create your own gif’s

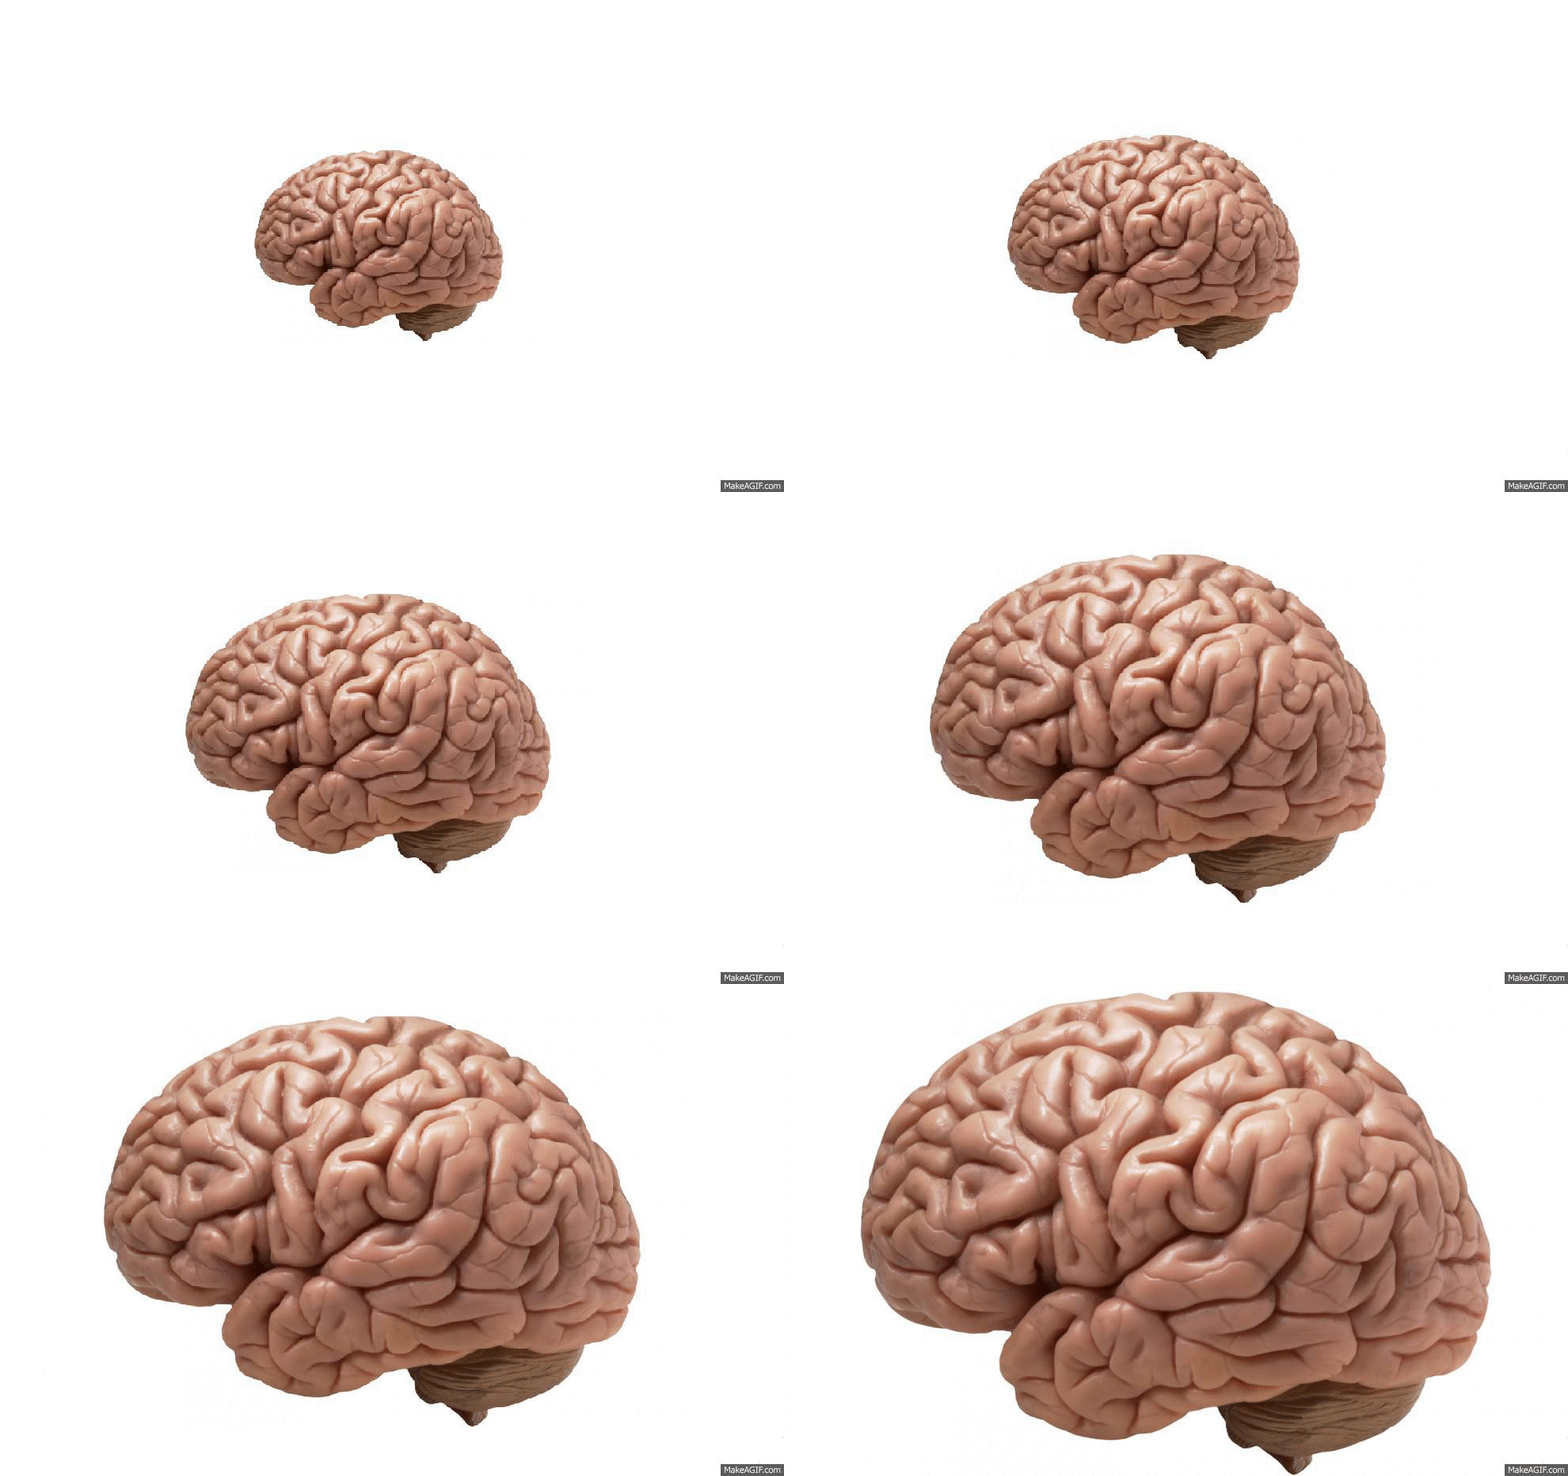
A GIF (Graphics Interchange Format) is a file format for both animated and static images. Gif files are well-suited for the web due to the level of ‘compression’ (how small they are and how fast they load). Gif files can be ‘static’ images or animated. Consider how you might ‘perk up’ your presentations using these interactive images… or perhaps challenge a student to create their own (think ‘makerspace!)

The Gif file below was created by Brittney Merriweather (MY-SRL cohort) using http://makeagif.com/  You can use your own images or video to create an animated gif and embed the gif on your blog (as we’ve done here) or use it in your presentations. Brittney used a flikr image  ( _DJ_/Flickr) to create this gif.
Brain Grow on Make A Gif

make animated gifs like this at MakeAGif

Have Photoshop and want to try creating your own gif? View this tutorial: Using Photoshop to create a gif.

 or visit this site for a variety of options.

Leave a Comment

by | September 1, 2014 · 12:24 pm