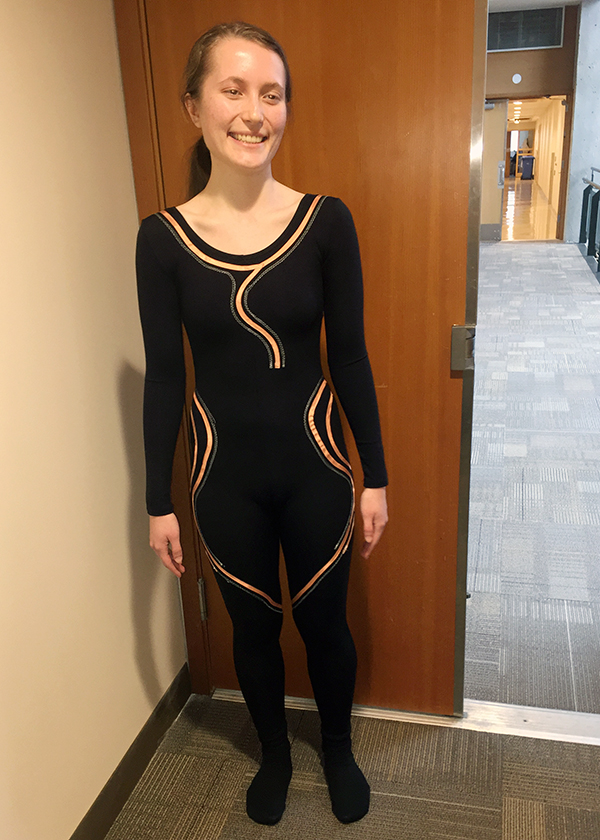
The Responsive User Body Suit has now been joined with the Kinect-Controlled Artistic Sensing System (KiCASS) to form the Tracking And Smart Textiles Environment (TASTE). The TASTE website can be viewed here.
RUBS now…
Leave a reply

The Responsive User Body Suit has now been joined with the Kinect-Controlled Artistic Sensing System (KiCASS) to form the Tracking And Smart Textiles Environment (TASTE). The TASTE website can be viewed here.

 |
 |
 |
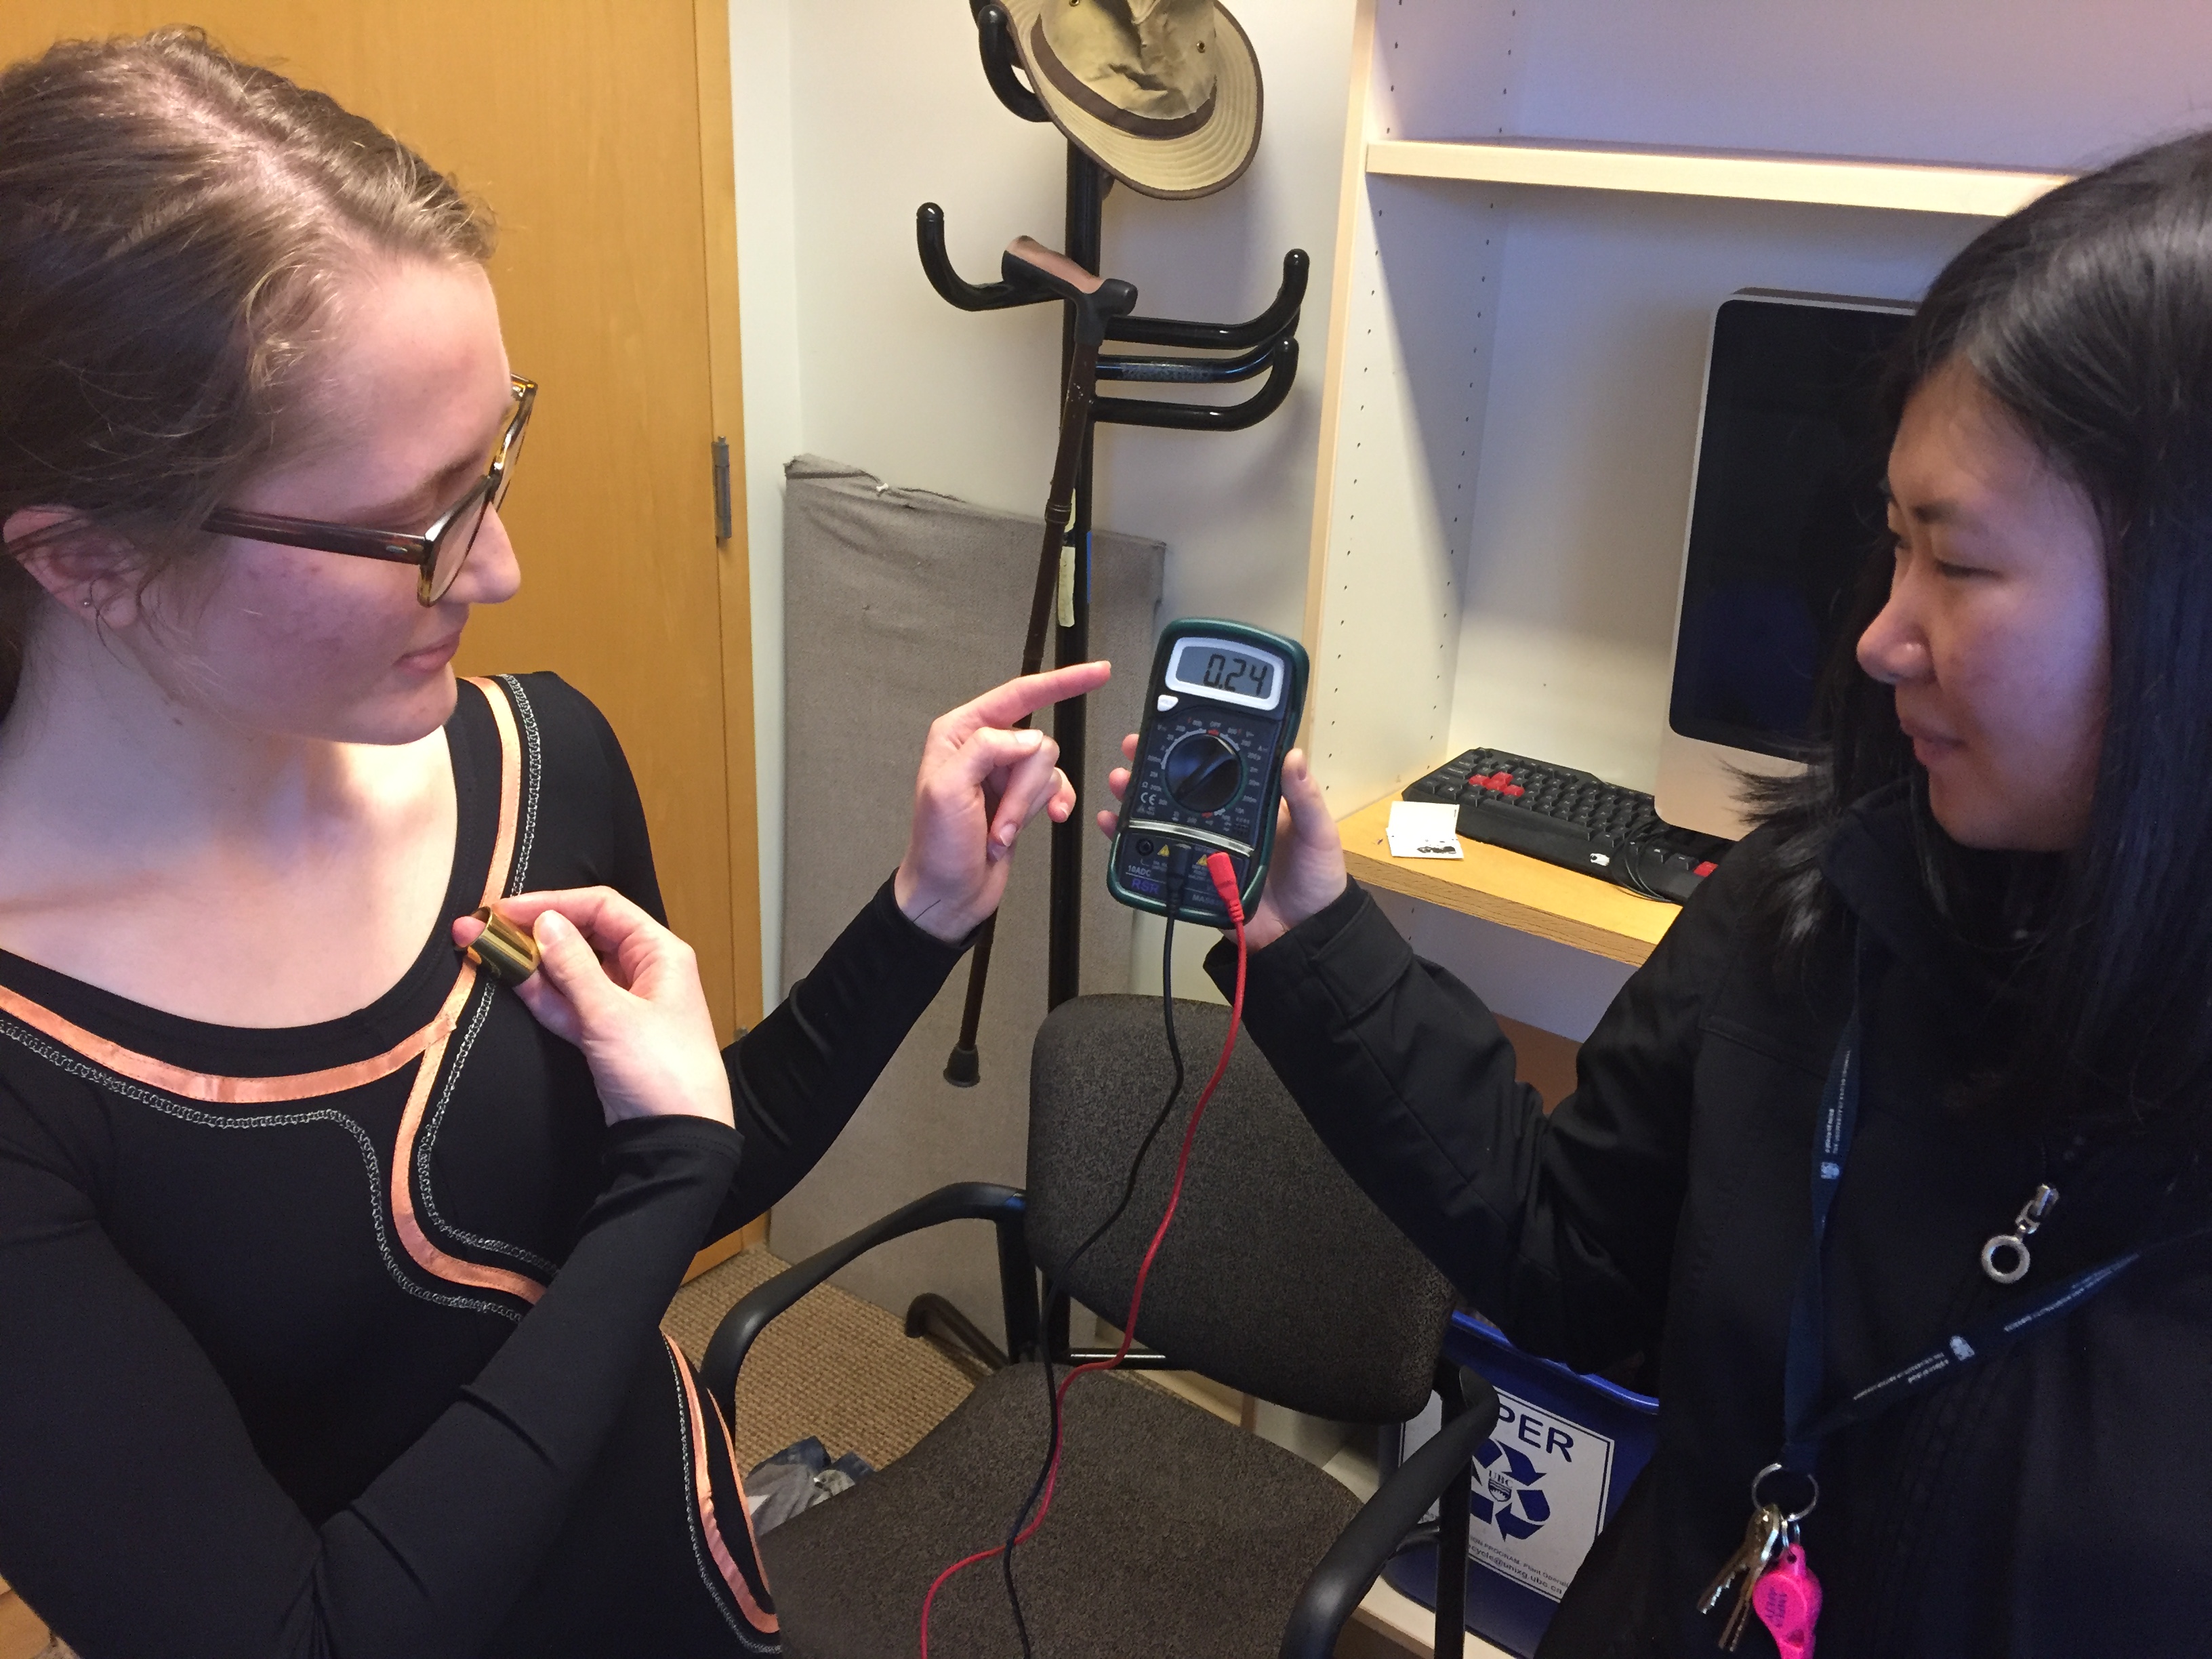 |
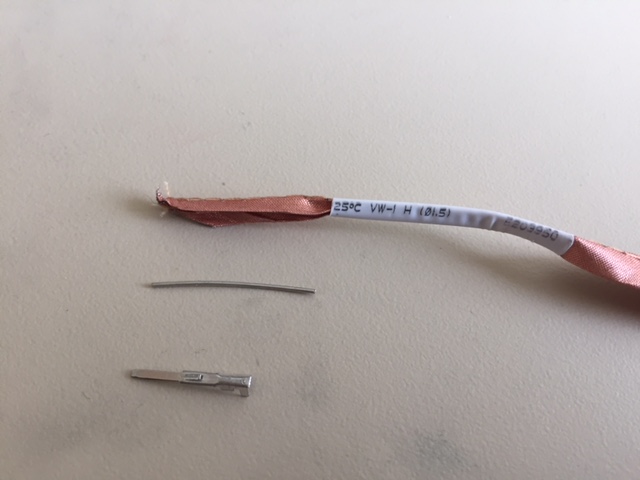
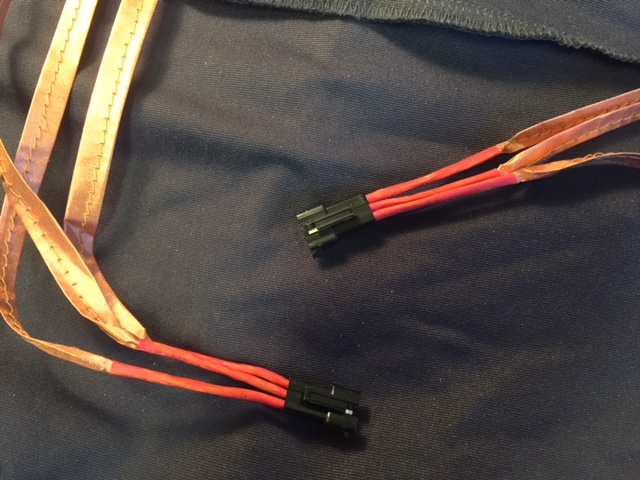
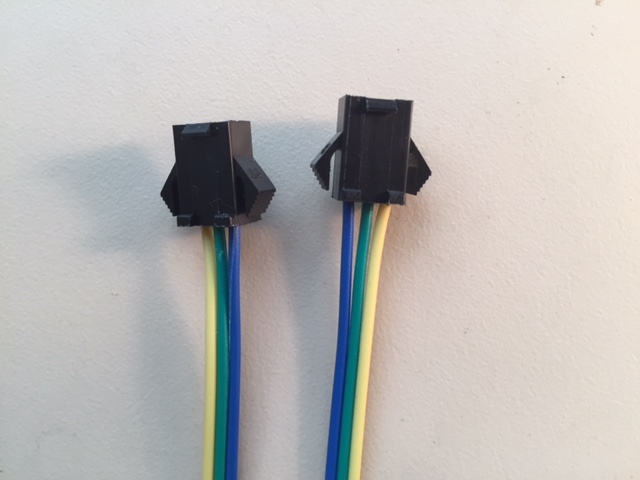
Start with taffeta pulled through the shrink tubing. Have solid wire and crimp connector ready.
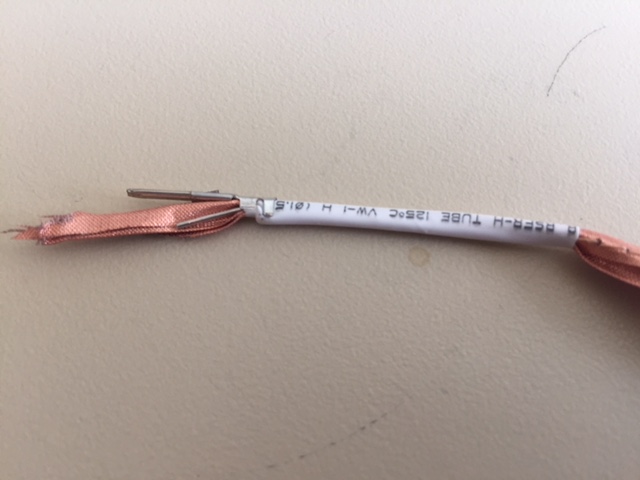
Put solid wire inside taffeta, and lay the taffeta inside the crimp connector.
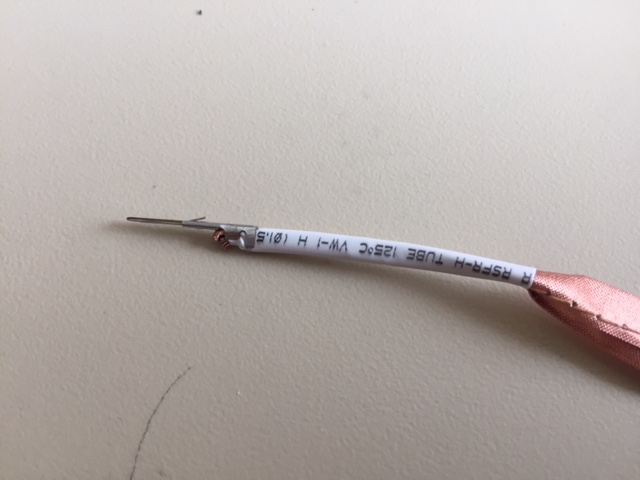
Crimp and then trim excess taffeta and wire.
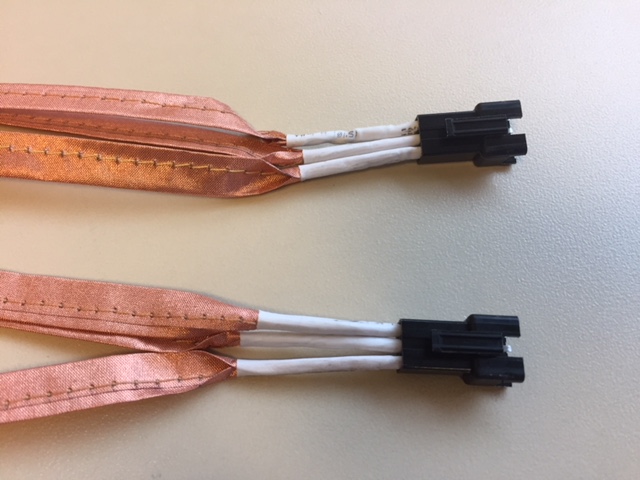
Heat shrink the tubing and insert crimped connector into plug. Insulate remainder of taffeta with fabric.


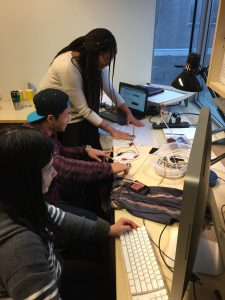
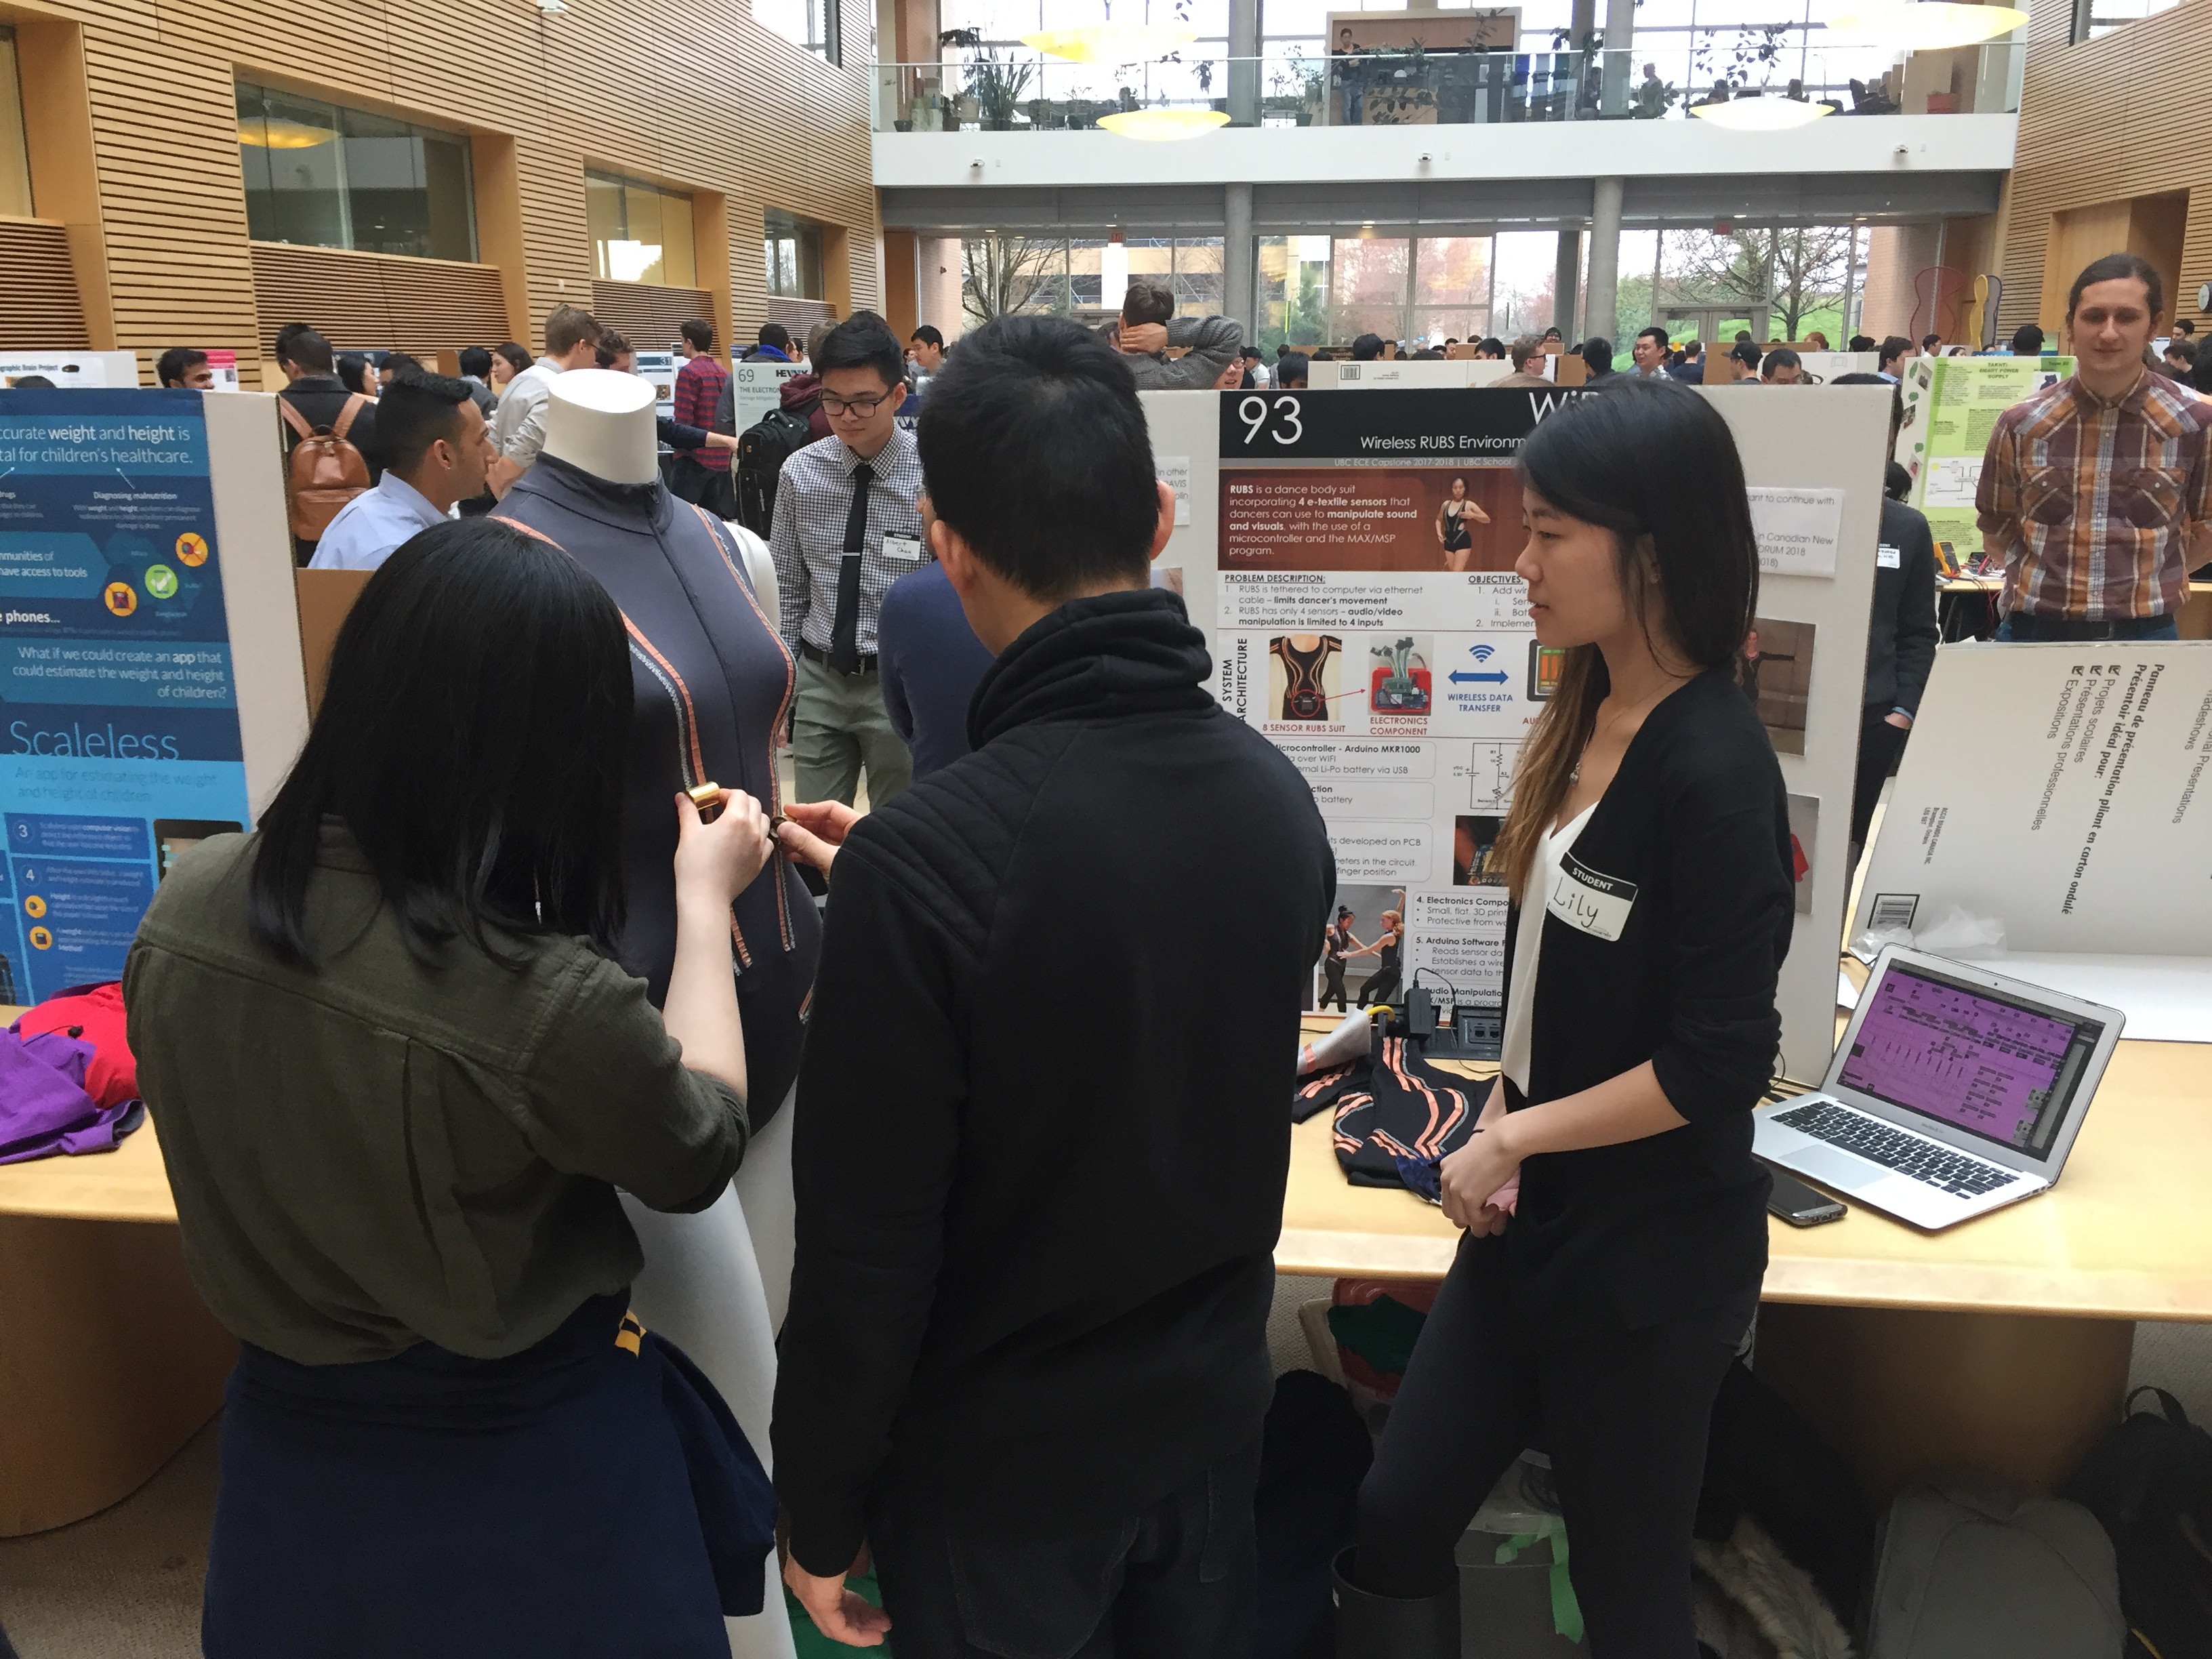
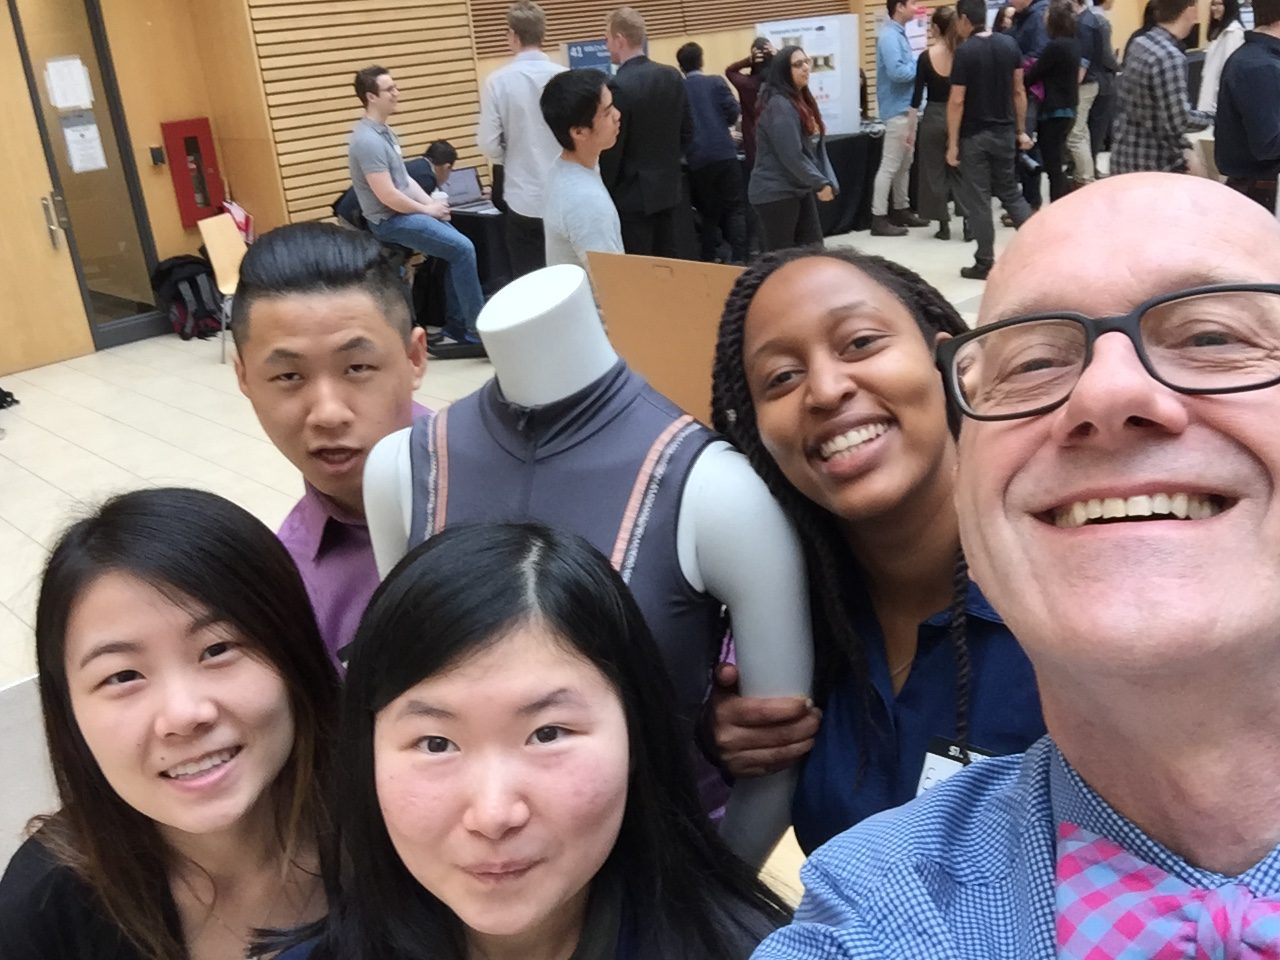
On Dec. 13, 2017 at the School of Music WinterBang! Festival we presented an overview of the developments so far. We discussed design issues, development, solutions to problems encountered, and some possible future directions. We also had a demonstration of the wireless prototype by Danielle Lee.
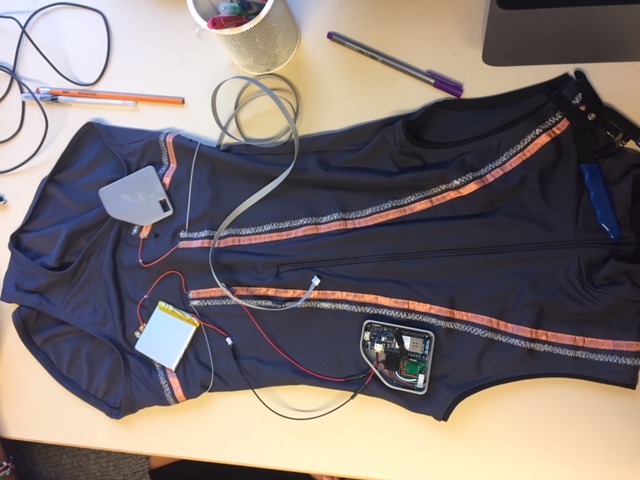
The past few weeks have not only featured lots of Halloween candy and even more cookies (Cranberry-Lemon were a big hit), but we’ve also made quite some progress as we approach the end of the semester and the first demo of the suit.
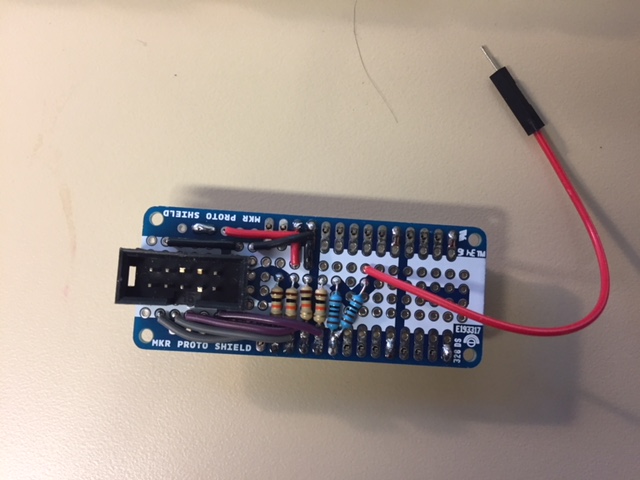
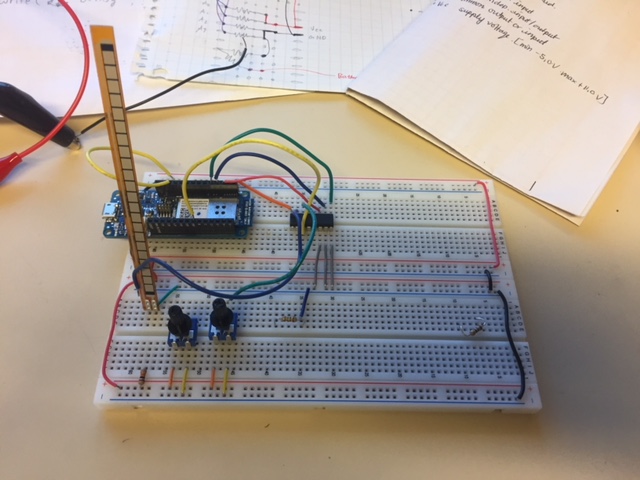
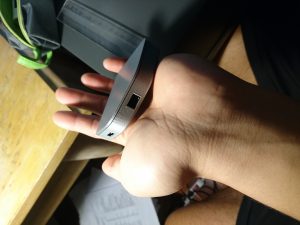
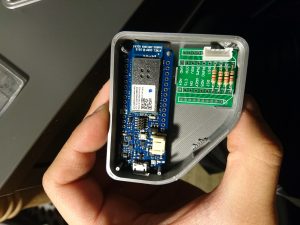
We modeled and 3-D printed our first prototype for the case, managing to fit in the Arduino and the voltage dividing circuitry. The circuit was soldered onto a XBEE board – that was the smallest prototype board that we could find that was still large enough for our circuitry. We’ve also added circuitry that now allows us to read the battery level, while still powering the Arduino.
Our team was able to set the IP address of the Wi-Fi module by sending a command from the MAX msp program across the wireless network. We’ve added features so that users can also query for battery level, baud rate from the MAX program. To make the module more user friendly, the WI-Fi module now has a LED indicating the status of the communication state.

We’ve ran a couple of quick tests to confirm that we can read data from the suit and the battery while battery powering the Arduino. More on this in the coming week as we put everything together and do out final testing and modifications.
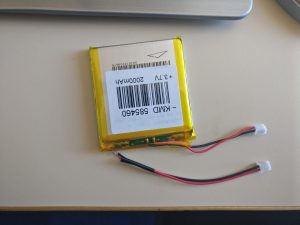
One last thing! Lesson of the week, make sure the polarity on your JST connector wires match the ones on the battery – apart from feeding the Arduino power the wrong way, side effects may include frustrated engineering students.
Finally! Max is able to receive data from MKR1000 wirelessly!
WiFiUDP from WiFi101 library can send data to other machines in the network through UDP, given “destination IP address and its Port Number”.
MAX’s “udpreceive” however, only accepts Open Sound Control (OSC) encoded bytes. Also, Arduino’s OSC library only send data via ethernet!!!
So… to overcome this problem, I created add-ons for WiFi101 library to support sending OSC encoded data via UDP. And after several cookies, cups of tea, and couple days of pulling my hair.. voila!!!
Enjoy 🙂
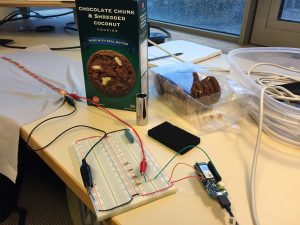
Our two weeks have been a good mix between a little more research, testing & cookie tasting (coconut & chocolate pairs well with testing circuitry).
Firstly, we managed to connect the MKR1000 to the computer running Max/MSP over WiFi via a router. We recreated a portion of the circuitry onto the Arduino MKR1000 using the existing suit and our test sleeve (conductive/resistive strips sewn into a rectangular patch of fabric). This allowed us to test whether the MKR1000 was able to receive data from the sensors, similar to the Arduino Uno, and send it to Max/MSP via ethernet cable.
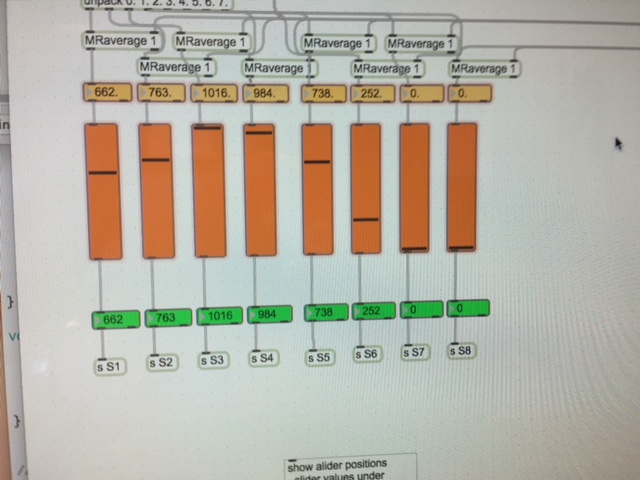
Here is a video of the Max/MSP output of one sensor on the suit during the test:
Our plans for this week are to try and filter out some of the noise from the analogue signals being fed into the MKR1000 for smoother output to Max/MSP, research into how to send OSC (Open Sound Control) via WiFi, and implement the battery on the MKR1000 to test out current draw and battery life expectancy.