Tag Archives: robotics

BBC micro:bit

micro:bit logo


whatisit.png

A micro:bit is a micro-controller designed by BBC for the use of computer education. It’s basically a mini-computer! The micro:bit can be programmed and makes use of multiple sensors including an accelerometer, a magnetometer, Bluetooth, a 25 LED display and two mechanical push-buttons (the V2 MBit also has a microphone, speaker and touch sensor). The function of the micro:bit is in the open hands of the user’s creativity which can include: games, tools, toys, science experiments, etc.

The micro:bit can be programmed using the ‘official’ code editor which supports block coding (by Microsoft MakeCode), Python and JavaScript. The Micro:bit can also be programmed using a Scratch block coding plugin. 


Why-is-it-relevant-360x82.png

Coding has become a very valuable skill and is recognized as part of the ADST (applied design skills and technologies) curriculum. Outside of teaching your students job-marketable skills, the act of coding helps to teach your students mathematical logic, creative exploration, how to understand systems, and a systemic procedure that exists in common computer programs (automator, video editing, animation, web design.)

By coding a micro:controller, you are also providing students with a more kinesthetic experience. They are coding to ‘make something do something’!

The micro:bit can be used as an entry point for beginners but can also level up to allow more intermediate users (including secondary students and beyond) to code and make.  One of the biggest barriers to teaching coding to a new audience is how complicated and detailed text-based programming languages can seem off first glance. The official micro:bit block code editor attempts to circumvent this barrier by representing functional code bits in terms of visual blocks. This makes coding seem more like joining puzzle pieces together rather than typing out complex functions. To further allow the ‘levelling up’, you can toggle in the make code editor between the visual programming blocks and the javascript editor!


how-to-get-started-360x80.png

  1. Go to microbit.org
  2. Click Let’s Code
  3. Select between the JavaScript Visual Blocks Editor (more guidance, comes with the block editor, tutorials, and projects) or the Python Editor (less guidance) and click Let’s Code under your respective choice. You can also select Micro:bit Classroom to share and manage coding sessions for your classroom.
  4. Start building your code!
  5. Once you are finished building your code, download your code into the form of a .hex file, connect your micro:bit to your computer and upload the .hex file into the micro:bit’s drive
  6. Test it out, revise your code, and have fun!

micro:bit extras

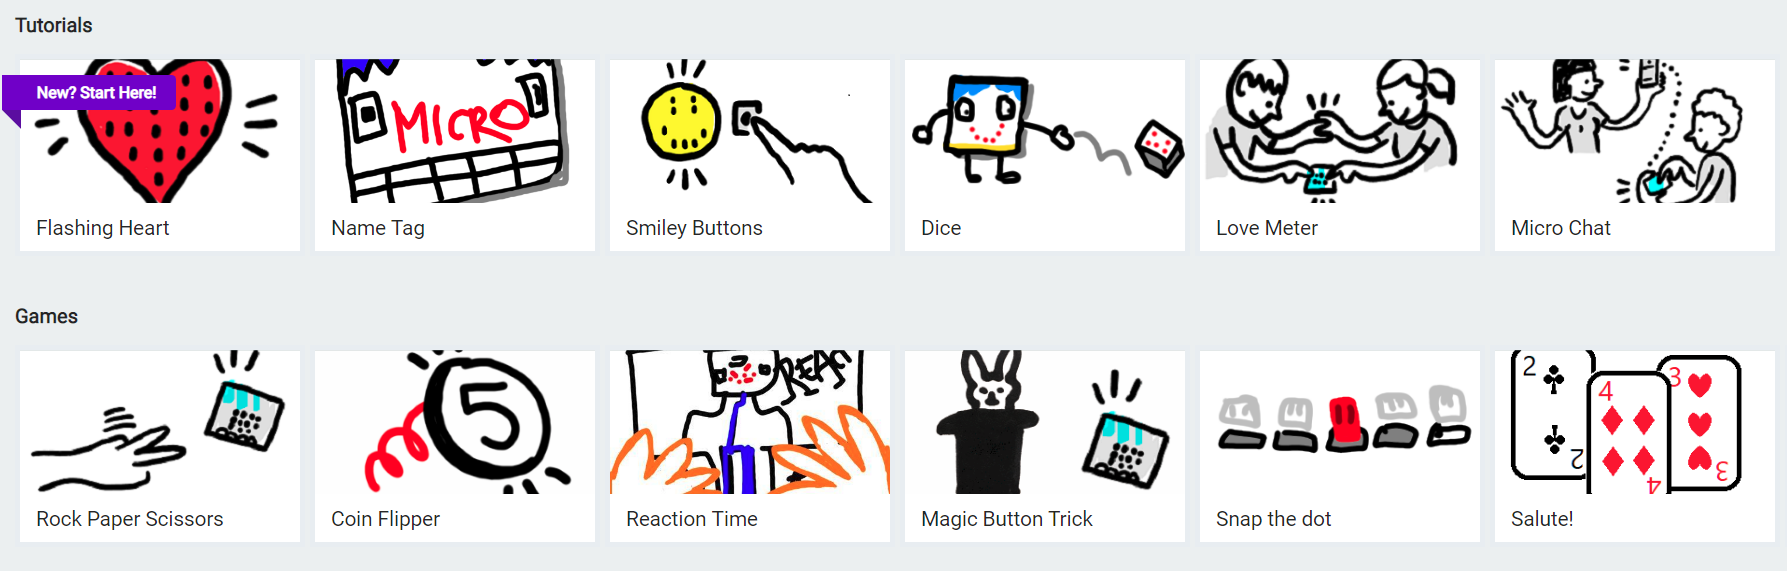
Click above to view a sample of micro:bits’ tutorials and games section.

micro:bit step-by-step tutorials and games

If you are new to coding, and you would like a smooth introduction into how to use your micro:bit, I would suggest starting with micro:bit’s tutorials and sample games. In the official micro:bit MakeCode code editor, you can find micro:bit’s tutorials as well as pre-made sample games in the MakeCode dashboard. The sample games and tutorials will guide you through building a project step-by-step with an explanation of how the code is working.

Block coding to text coding

While block coding is a very effective way to expose students to coding, block coding is not typically used outside of educational contexts. We might see block coding as providing some foundational skills, including computational thinking, as a stepping stone towards learning text coding such as Java, JavaScript, Python etc.

The official micro:bit MakeCode block editor provides a button that allows you to swap between JavaScript and block code. In conjunction with building a program with blocks, a student can flip back and forth between JavaScript and block code to see how the two translate into one another. Furthermore, once a student feels comfortable building with block code, introducing text coding to a student would seem much less daunting. The structural component of block coding remains in text code; the student would only need to learn the syntax of a text coding language to get a fair grasp of the language.

More resources


Check out our blog post about coding in classrooms!
BBC Microbits has a Lesson bank for Micro:bit that is searchable by theme and subject area.

Canada Learning Code MicroBit Challenge connected to UN Global goals.

Pinnguaq is a Canadian NGO working with and within northern, Indigenous and other communities on STEAM, ADST and digital tech competencies and has developed many resources related to MBits and more.

videopng-360x61.png

*post updated July, 2023

Leave a Comment

Filed under AppliedDesignSkillsTechnologies, Resources

Dash & Dot Robots

Dash and Dot are programmable robots that interact with each other and use various sensors to detect obstacles and motions.

Students will get a chance to plan their code, test it, evaluate if it works and problem-solve if it doesn’t! This is the next step beyond block coding online because there is an interactive component by the robot immediately responding to code.


[column size=6]

  1. Locate or purchase a Dash Robot & have access to a Bluetooth-enabled device.
  2. Choose which app will work best for your students (available on Apple, Google Play, & Amazon Appstore)
    • Tickle – This app is for advanced learners who understand block coding already. It can control multiple robots, not just Dash or Dot. Only available on iOS devices.
    • Swift Playgrounds – Created by Apple and used by IOS to create popular apps. This App can now power Dash.
    • Wonder – Houses a controller, free-play, and Quests which are similar to self-guided tutorials. It is also used for the Wonder League – a Global Competition.
    • Go – Allows users to control the direction of Dash with basic controls. This app is also a portal to online content and more activities.
    • Path – Control Dash’s direction by drawing where it should travel.
    • Blockly – Program Dash or Dot by using visual block coding
    • Xylo – Create your own music using. Requires the Xylophone component.
  3. Determine if additional components would be useful (for an extra cost)
    • lego blocks, launcher, sketch, xylophone
  4. Get inspired!
    • Browse what other students and teachers have done


**Note: Wonder has released another robot, “Cuebot” which can also be coded using javascript

[/column]
[column size=6]

[/column]

Video: Wonder Workshop (2015). Getting Started with Dash & Dot for Teachers

Leave a Comment

Filed under AppliedDesignSkillsTechnologies, Not Subject Specific, Resources

Ozobot: Smart and social robot

Ozobot is a miniature smart robot that can follow drawn lines or roam around freely, detect colors and can also interface with all the popular programming languages (especially Python), and it has Bluetooth for downloading programs! With Ozobot students will have hands-on opportunities to learn about robotics and programming while working on STEM/STREAM (Science, Technology, Reading, Engineering, Arts and Math) applications.


Ozobot is a simple and fun way for kids to learn about basic or advanced programming and coding practices.

With Ozobot, students from kindergarten to grade 12 can begin learning about the realm of robotics. Ozobot allows students to create routes or adventures for their robot with colored markers and codes. In fact, students can begin learning about robotics using the colored markers and then advance into coding as they begin to understand the programming process. Ozobot is thus an excellent tool to use in STEM/STEAM classes to engage and inspire your students!

By using the mat that comes with the Ozobot Evo Education Kit, teachers and students can observe how this smart and social robot reads and interacts with different circumstances. In this case, you can use the Evo app to control and monitor your Ozobot Evo by designing custom blocks and building a sequence of events.

Check out the Teacher’s Guide to explore some ideas on how coding activities can be integrated into the classroom.


All Teacher Candidates can sign out a kit of Ozobots from the Education Library to use in their practicum classrooms. Visit this catalogue to view when the kits are available and to sign them out.

Before you look for resources, figure out the model of your Ozobot – Bit or EVO

Next, choose how you want to introduce the Ozobots to your students. 

  • Are you going to play games that don’t require the Ozobots first?
  • Are they going to practice drawing lines and following their own pathways? USE THIS CODES CHART
  • Are you using the app to have students block code instructions?

videopng-360x61.png

x=2

Reference
Ozobot teacher’s guide. (n.d.). Retrieved May 15, 2017, from http://files.ozobot.com/stem-education/ozobot-teachers-guide.pdf

Colour Codes Bot Camp (August 2018). Retrieved April 11, 2018, from https://youtu.be/uRsFoAX4rGA

Ozoblocky Bot Camp (August, 2018). Retrieved April 11, 2018, from https://youtu.be/mHAJgIFlfGM


Images obtained from https://ozobot.com/press-kit 

Leave a Comment

Filed under AppliedDesignSkillsTechnologies, Not Subject Specific, Resources

Sphero: a coding, ADST & STEM learning robot

whatisit.png

Sphero – a programmable robotic sphere that is not only fun to play with but also an excellent access point for students of any age to explore coding. Sphero can be paired with a smartphone, ipad or tablet and coded using ‘visual programming blocks’. While the apps that help power Sphero are free, the Sphero itself is not inexpensive. I’ve also been experimenting with ozobots that offer some of the same functionality at a lower price and can be coded with visual blocks, java script and python allowing for differentiated coding opportunities!


Why-is-it-relevant-360x82.png

“Sphero engages students in a hands-on learning experience that can challenge them at different levels. The remote robot provides an interactive platform to develop competencies in planning, problem solving, testing, and making. Students have the opportunity to collaborate to programme Sphero to follow certain paths. By using Sphero students can become familiar with using block coding, angles, measurement, time, distance, and speed.

With a variety of control methods, Sphero can be used for a variety of ages and classes. Sphero can enhance student learning in physics, math, computer and technology, and robotics classes. It is a great introduction to coding where students can see the results of their work right away as they take on different challenges.” ~ Bryce Kicia, Secondary TC BEd 2017 (who used Sphero on practicum)

Consider creating a ‘design challenge’ using Sphero as the motor (The Sphero website has an example of a chariot challenge.. Consider: How can you/your students take this to the next level? Perhaps open up the challenge to include any type of vehicle (yes, the sphere is also waterproof!). Students can work together to use the iterative design process to design and create their own land or water vehicles using various found materials and then use  the Sphero as the motor to test their prototypes.  Once satisfied with the vehicle, they can then program a path using drag and drop programming (use of such programming language is included in Grades 6 – 9 of the BC ADST curriculum and can be incorporated even in the early primary years). A group of grade 4 students in Langley recently created their own games using sphero.


how-to-get-started-360x80.png

Once you’ve purchased a Sphero, download one of the free apps (itunes or google play). I recommend ‘draw and drive’ as a good starting place – to get used to how sphero moves. From there, I like ‘lightning lab’ to begin coding!

Be sure to visit the Sphero Edu website for access to a wealth of resources you can use to plan, prepare and teach.

Video Tutorial (Vimeo has several tutorials for Sphero):


videopng-360x61.png

Leave a Comment

Filed under AppliedDesignSkillsTechnologies, Resources