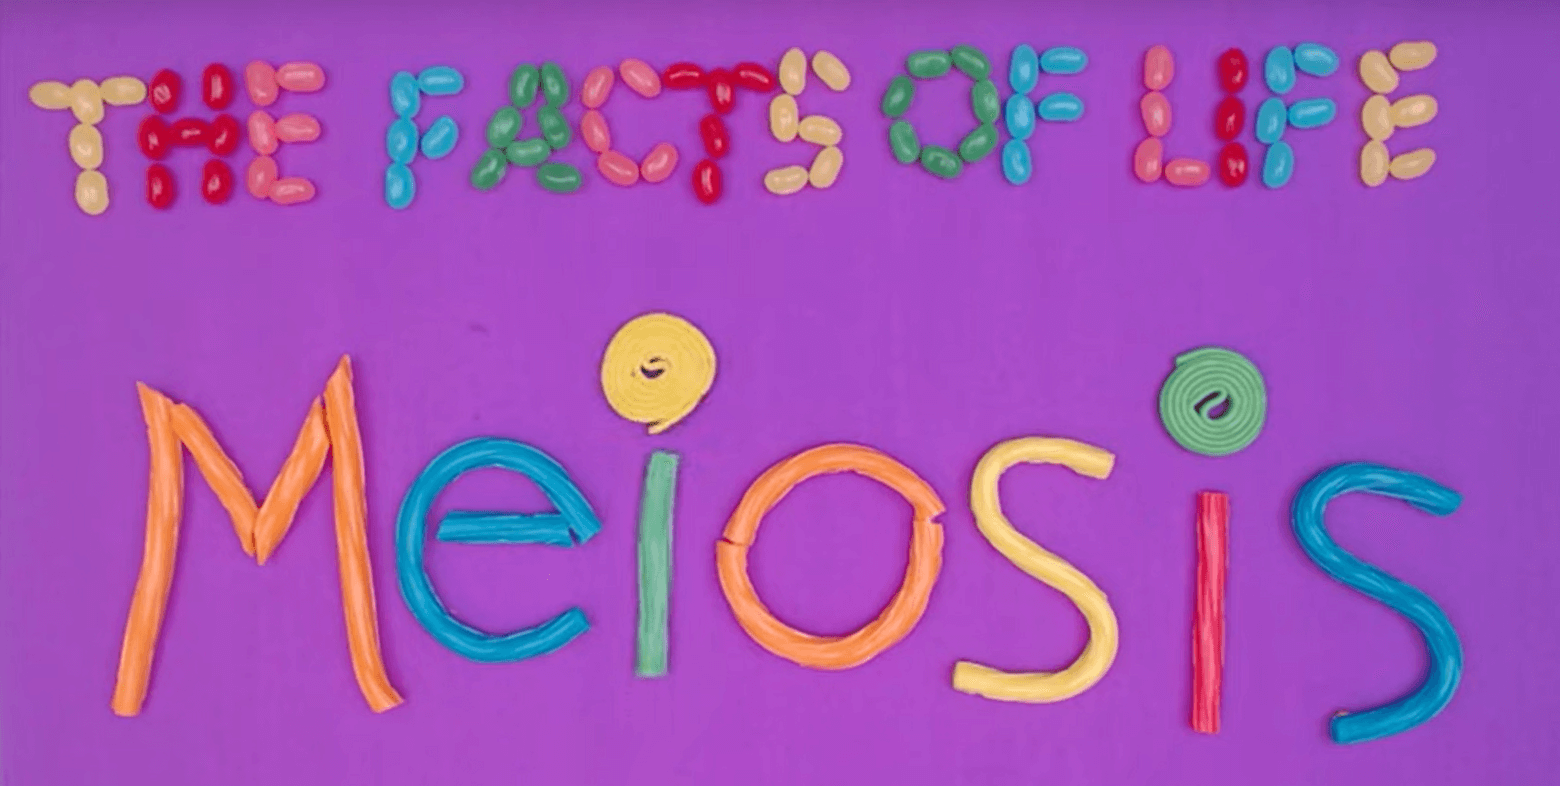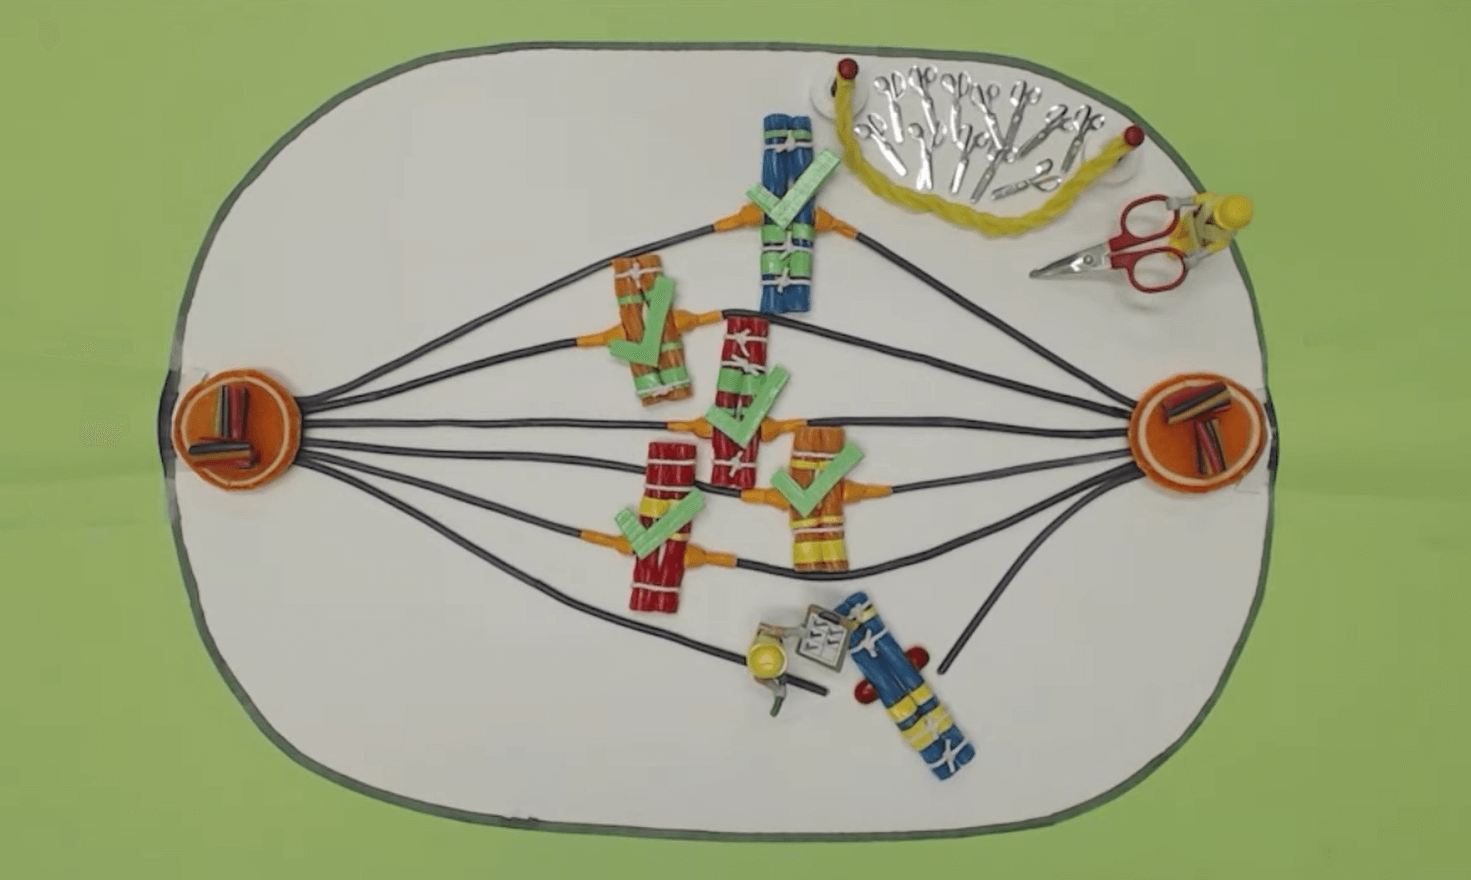
To help shift students’ focus from memorizing to understanding, Pam Kalas and Rosie Redfield recently developed innovative animations and teaching materials for learning mitosis and meiosis. Their question-driven, terminology-free, stop motion videos encourage students to discover the underlying principles and build a deep understanding of these key processes.
Below they describe what motivated them to create these resources, how they did it, the impact it is having on their students, and what they’ve learned along the way.
What was your motivation for creating these resources?
For many years, we’ve both been really frustrated, with how meiosis and mitosis are being taught. Typically, both textbooks and instructors present mitosis and meiosis as series of named stages, each illustrated with a labelled diagram. This approach ignores both the difficulty of the problems that mitosis and meiosis must solve and the elegance of the evolved solutions. Most students respond by learning only the terminology and simple diagrams, and retaining these only long enough to pass the exam. When instructors and textbooks do provide more detailed information, they often focus on the specific regulatory proteins and checkpoints that control chromosome behavior but neglect the information-transmission challenges these mechanisms evolved to solve. The terminology of mitosis and meiosis is especially frustrating, with many similar-sounding terms (e.g. centromere, centrosome), obscure derivations (who knew that ‘pachytene’ is Greek for ‘wide band’?), and archaic references (what’s a ‘spindle’?).
There are thousands of YouTube and textbook videos that students can go to for clarification. Unfortunately, these usually reinforce the textbooks’ emphasis on terminology and image-recognition, and many have glaring errors. Although a few do show molecular details, these rarely make explicit connections to the genetic outcomes.
What were you trying to achieve?
We had many ambitious goals for our mitosis and meiosis videos:
- To be inexpensive to create.
- To not require advanced technical skills on our part.
- To be visually simple and engaging.
- To make students aware of the informational problems that mitosis and meiosis must solve.
- To show students the molecular bases of the evolved solutions.
- To eliminate as much terminology as possible.
- To require students to think, not just observe.
- To minimize opportunities for memorization.
- To be freely available to a global audience.
How did you do it?
Rosie recorded the videos using stop-motion animation, using a webcam and inexpensive easy-to-use software. Pam did the editing using iMovie. We used candies to represent all the cellular components, moving them around on a sheet of coloured cardboard.
Each video presents a series of ‘how’ and ‘why’ questions that highlight the problems that the cell is solving. Each question is followed by animated events that illustrate the answer. However, the viewer is never told the answer – they have to carefully watch the video and figure out how what is happening answers each question.
Because the videos have no voice-over or explanatory text, and no labels, students have nothing to memorize. The questions also avoid terminology as much as possible; the only term we couldn’t do without is ‘chromatid’. They can learn the technical terms in an advanced course if and when they need them, but they shouldn’t need to know the technical terms in order to demonstrate that they understand how things work. For example, they can say ‘the loop protein that ties the chromosomes together’ rather than ‘cohesin’, and ‘the guy with the clipboard who checks that everything is done correctly’ rather than ‘the spindle assembly checkpoint’.

We also made an Instructors Guide for each video with detailed instructions and information for instructors to be able to comfortably teach using the videos. In particular, these provide many questions instructors can pose to students for each segment of each video, with answers, along with answers to other questions that students may ask.
To make the videos widely available, we posted them on YouTube with Creative Commons ‘share-alike’ copyright. We also posted them to Wikimedia Commons, since that’s a popular source of unrestricted materials. To help spread the word, we published a short article about the videos in the widely read journal PLOS Biology.
What was the result? What impact have the animations had on students or courses?
Pam: I used these resources in my Science One course last term and I found that it was easier to teach mitosis and meiosis in this form compared to how I had taught them before. I first assigned the videos and associated questions to students and they worked through it on their own, and anything they didn’t understand we talked about in class. They were given feedback on their worksheet answers, but I didn’t have to provide any additional information. Because we were able to get into the process more, I was able to ask more application and prediction type questions in the course assessments.
However, next time I use these resources, I think that I’m going to ask students to first watch the videos and write down their answers to the questions outside of class. Then during class I will have them work in groups to discuss and refine their answers and then build a class answer to each of the questions.
How have students responded to these resources?
Pam: It was really interesting to see students engage with the resources. At first there was general panic by the students because they only knew the protein names as ‘scissors’ and ‘ties’ and ‘licorice’, and they didn’t think that they knew enough to do well on the exam because they weren’t as familiar with the actual protein names. When they learned that they didn’t have to memorize the names, then they relaxed a bit and were able to focus on understanding the process.
What did you learn or find surprising?
When we began, we thought we already understood mitosis and meiosis, but we learned a lot! Cell division, like many other cellular processes, is typically illustrated with static images of ‘stages’. You don’t realize what’s been left out until you try to animate the transitions from each ’stage’ to the next. And so the process of making the movie really made us think a lot more carefully about how these biological processes actually work.
More generally, although recording stop motion animation is of course tedious, we were surprised by how creative the process is. At every step there were design challenges (capturing the essence of each event as simply as possible with the materials at hand) and technical challenges (making the materials do what you want them to do).
What challenges did you encounter?
Of course, recording all the frames is tedious (nudge, nudge, CLICK; nudge, nudge, nudge, nudge, CLICK; nudge, nudge, nudge, nudge, nudge, nudge, CLICK…), especially for scenes with many moving components. We also experienced lots of technical problems. Some mimicked real problems experienced by the cell (flexibility or inflexibility of chromosomes, microtubules failing to attach or detaching prematurely, breaking during the filming). But this also helped us to better understand some of the physical aspects of the mitosis and meiosis process because the physical properties of the candies that we were using reflected physical issues that the real molecules they represent face. For example, you would see that the candies would deform when you pulled on them and how the ‘DNA’ could or couldn’t bend. Other problems were specific to our ‘candymation’ medium (candies drying out or being too sticky; Rosie eating all the Smarties).
What advice would you give someone who wanted to use these resources in their course?
You could just show them to students and see what happens!
You could read through the Instructors Guides.
Ideally, you could start by going through the videos yourself as if you were the learner, developing your own answers to the questions they pose. This will help you to better guide your students as they go through the questions themselves as learners and to anticipate any issues or questions that they might have. For example, if you know that there is something that students might not be familiar with, you might want to let them know in advance and provide some additional information or resources. You can also determine which questions you might want to go over in class, maybe as iclicker questions or with worksheets.
What advice would you give someone who wanted to create something similar in their course?
Start simple! To begin, just for fun, add a few seconds of animation into one of your lectures. You can use a webcam or your phone’s camera, and a free-trial version of any stopmotion app. Use paper cut-outs or felt shapes.
Ask us for advice! (Rosie Redfield redfield@zoology.ubc.ca; Pam Kalas kalas@zoology.ubc.ca)
Use feedback from learners at every step! You want to show your drafts to someone who doesn’t already know what you’re trying to teach, and is willing to take the time to explain what they find confusing. You can’t do this for yourself, so find a couple of eager but ignorant students, or a colleague from another field. We were very lucky to have an educator colleague, Jolie Mayer Smith, who knows how to think about learning but doesn’t know much genetics. She was willing to sit with us and slowly and carefully go through our animations, pointing out all the things that were confusing about it. This was so valuable that we eventually brought her in as a co-producer of the videos.
Is there anything else you would like to share?
All the videos and Instructor Guides are available on the Useful Genetics website (www.usefulgenetics.com/mitosis-and-meiosis-resources). You can also learn more about these teaching materials in our recent PLoS Biology paper. If you try out any of these resources, please let us know! We’d love to hear about your experience and the experiences of your students.