Recording Video
You may wish to record videos to incorporate into your course. Videos could be created for weekly announcements, prep work, pre-recorded lectures, live lectures (i.e. Zoom recordings), guest presentations, homework explanations, student feedback, office hours, etc.
Video Recording Tools
| Tool | Great for: | Where to access: | Great for: | Automatic in Canvas | Editing |
|---|---|---|---|---|---|
| Canvas | Weekly video announcements; student-created videos, student feedback videos | Via Canvas, in the text editor toolbar | Just webcam and audio | Yes | Editing |
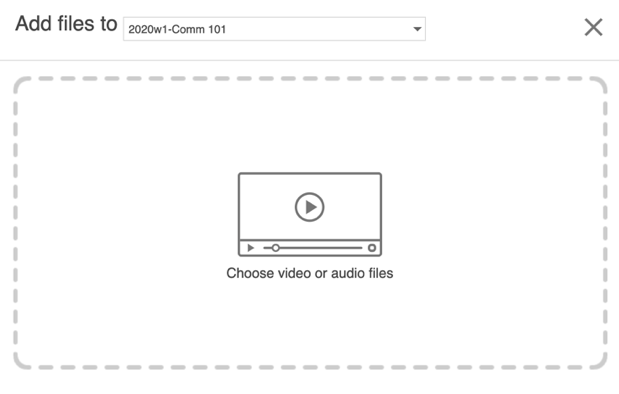
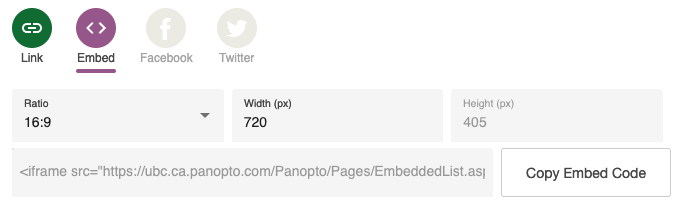
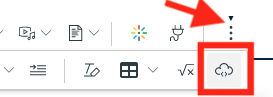
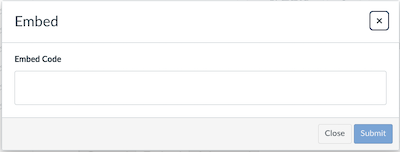
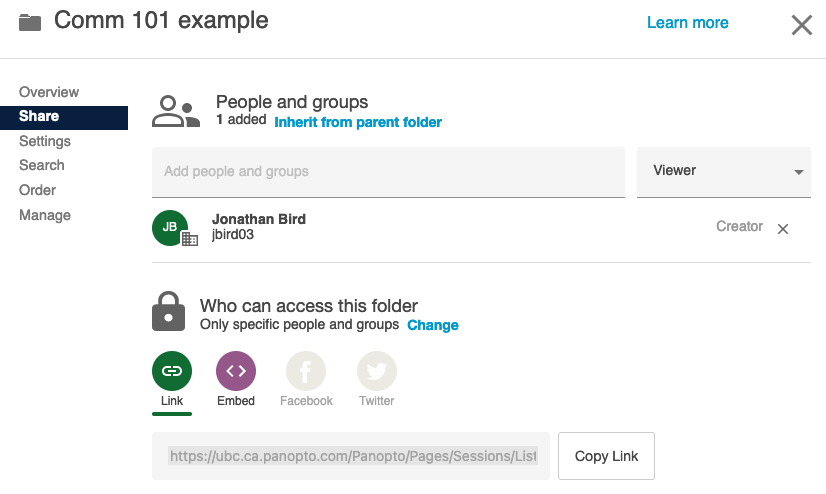
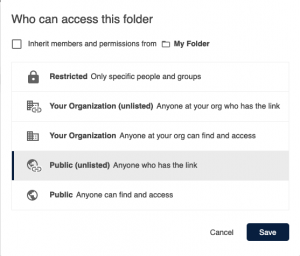
| Panopto | Pre-recorded lectures, Zoom recordings, Prep-work videos, videos with embedded quizzes, basic video editing | Can be accessed via web browser or downloaded for full-featured software capabilities. | Allows recording of multiple sources including adding content after the fact or even including multiple recording devices (such as document camera or iPhone) | Videos embed links can be created in advance. Videos can be embedded and/or shared both in Canvas and outside Canvas as required. You have complete control of how the videos are shared. | Offers web-based editing tools for creating videos. Panopto also accepts uploads of many video and audio formats. Videos can also be created in Camtasia and can be uploaded and controlled with the sharing capabilities of Panopto. |
| My Media (Kaltura) | Student-created videos, videos with embedded quizzes, | Kaltura tools can be found in My Media in Canvas. | Kaltura Capture allows for multiple inputs (video of self, screen, audio). | Yes, My Media allows you to access almost all Kaltura functionality from Canvas. | Very limited editing features. Closed captioning is available. |
| Camtasia | Pre-recorded lectures, screen recordings, editing, branding | Camtasia can be downloaded. | No, but media created in Camtasia can be uploaded to Kaltura’s media server in Canvas using My Media. | Offers a rich suite of editing tools for creating professional looking videos. Multiple inputs (video of self, screen, audio) are compacted into one video but can be edited separately. | |
| Zoom Recordings | Recording live lectures Recording presentations | Either via ubc.zoom.us, or via Panopto (Zoom can be connected to Panopto) | No, but links can be shared in Canvas from the Panopto recording (if connected), or from the Zoom cloud feature. | Very limited editing features. If connected with Panopto, editing features increase. | |
Where to record videos
| Teaching Space | This is great for: | Not suggested for: |
|---|---|---|
| Sauder Studios (DL013, HA043A) | Creating professional grade videos where editing may be needed. Conducting live online classes over Zoom using technologies like light boards, green screens, etc. | Videos that do not require a high-level of production quality (i.e. video announcements). |
| Learning Labs (DL005, DL009) | Creating professional grade videos where editing may be needed. Conducting live online classes over Zoom that do not require light boards or green screens. | |
| A Sauder Office space | ||
| Your Home Office | ||
| Your Classroom | ||
Branding your videos
There are two ways to brand your videos. One is using the automated branding service via Panopto that was developed by Sauder Learning Services. The other is for those who already edit your own videos, we have created Sauder branding templates for the two most popular video editing software suites (scroll towards the bottom for the templates. Note: you must be signed in to access the templates).
Automated branding service
Here is an example output of our automated branding service. The branding intro, watermark, and outro in this video were added automatically with our new software integration. This example is embedded using Panopto video platform:
https://ubc.ca.panopto.com/Panopto/Pages/Viewer.aspx?id=037915ab-4141-4802-bf4f-ac13017739dc
To use the automated branding tool, please follow these steps and prerequisites for your video:
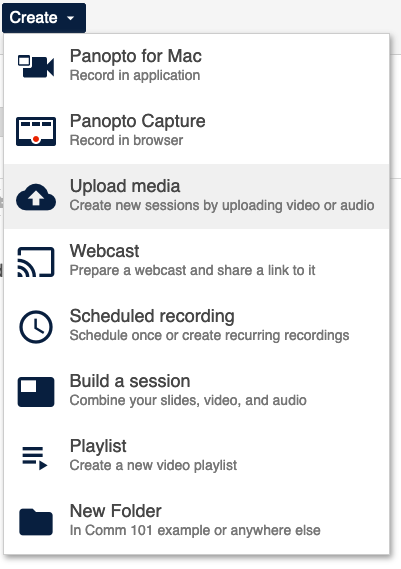
- Record your video and edit content as usual using a technology outlined above. Please note: ensure you have at least 3 seconds of silence at the beginning and end of your video for the transitions between the branding slides.
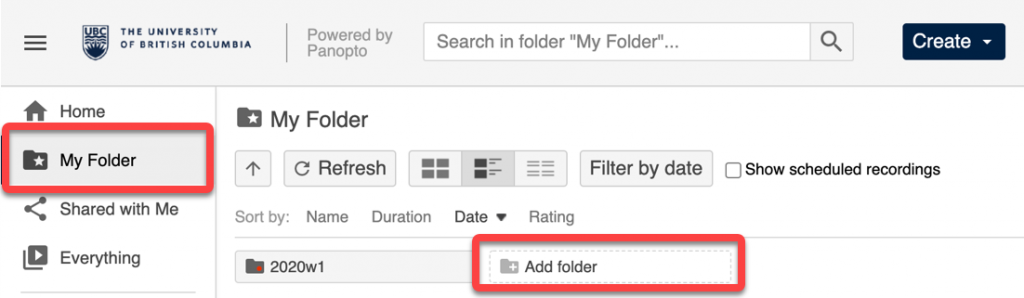
- Upload your video to your personal folder in Panopto.
- Visit our web request form to tell us which video you would like branded and the text for the beginning titles.
- Once processed, we will upload the branded version to your folder where you can share and embed in Canvas as usual. The processing turnaround time is 24-hours.
Self-serve templates
Note: the template files are only available to signed in users.