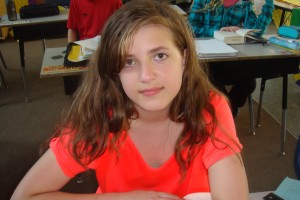
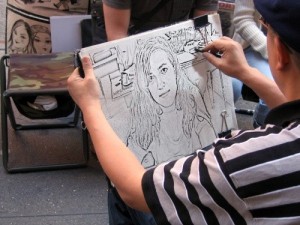
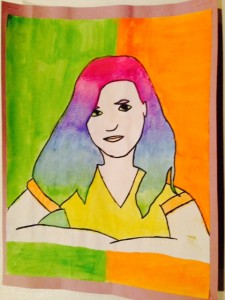
I came across an art lesson that mentioned Dumpr.net so I thought I would try it with my class and essentially kill two birds with one stone. First, I took pictures of all of my students. Second, I uploaded them individually into the “photo to sketch” section of Dumpr. I printed each one and enlarged them on our photocopier. Next, the students placed a blank piece of paper over their photocopy and with a sharpie, outlined their face, shoulders and features. Lastly, they used water colour paints to paint sections of their portrait. The lesson is from http://artiswhatiteach.blogspot.com.au/2010/05/6th-grade-pop-art-portraits.html. Below is an example of the 3 steps. I asked for student and parent permission before using their photograph and artwork. For some reason when I used the “Photo to Sketch” application now there was an error so I used “Sketch Artist” to give you an idea what the photo turns into. I loved how they all turned out and the students really enjoyed making their own “Pop Art Portrait”


I really like the activity you completed with your class using this tool. I think you could do this with high school students as well.
What a great way to have students engage in different steps of an art project and to include technology in art. I love the final project!
Thanks for providing an example of the three steps you used to complete the project. Way to use something from our course in your actual classroom!
Lisa